Make Your Own Stickers

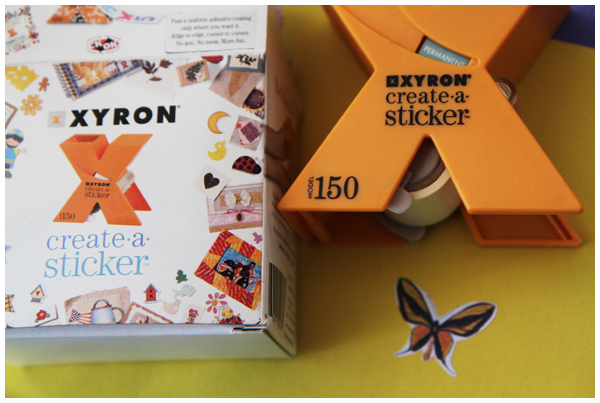
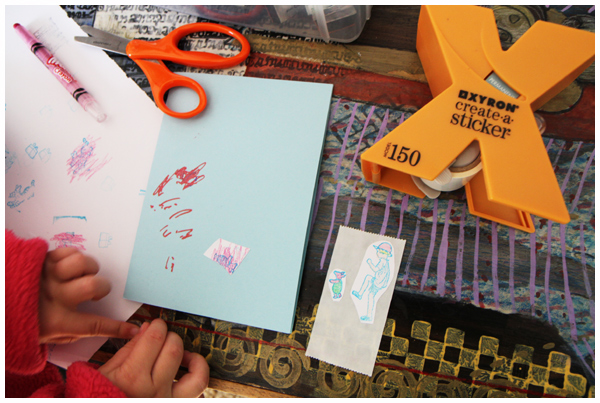
We picked up a Xyron Create a Sticker Machine at our local craft resale shop, along with a refill cartridge for just a couple bucks. Thrift store score!

The sticker maker machine is actually incredibly affordable (i.e. under $6!), so if this project appeals to you at all, I recommend picking one up! We’ve been using ours every day since we bought it.

Here’s how we made our own stickers:

We used plain construction paper, colored pencils and our Winnie the Pooh stamps, also scored from a thrift store. These stamps may look old and well-loved, but I’m thrilled we found them as I have been unable to find similar ones anywhere.
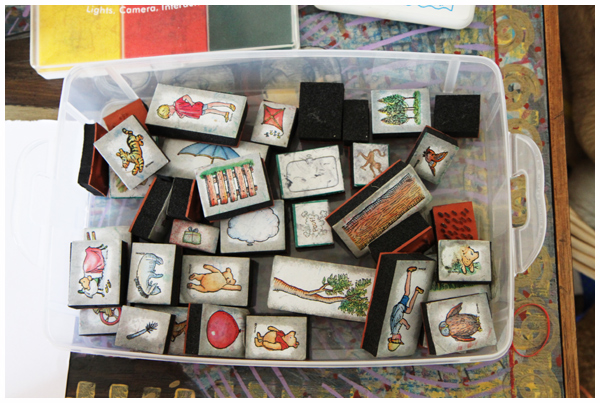
We stamped different Hundred Acre Wood characters onto plain paper, then filled in (over!) the outlines with colored pencils.
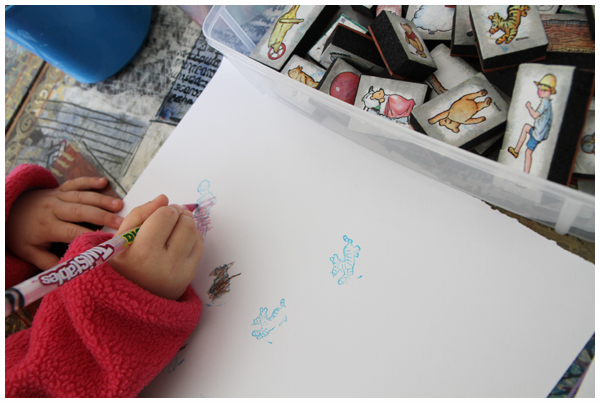
After cutting out the stamp shapes, we fed them through the sticker maker, peeled off the front and back of the tape, and voilà! We have a personalized Piglet sticker! Our little girl was thrilled.
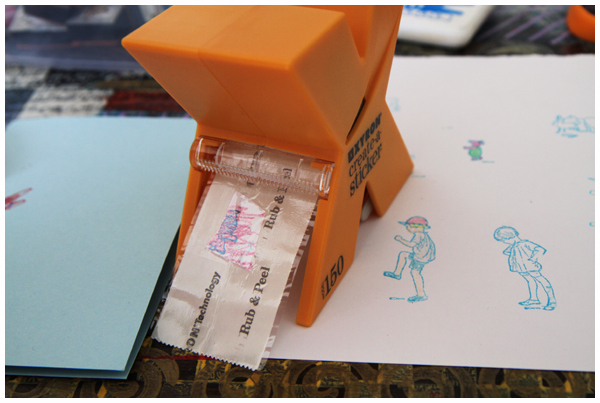
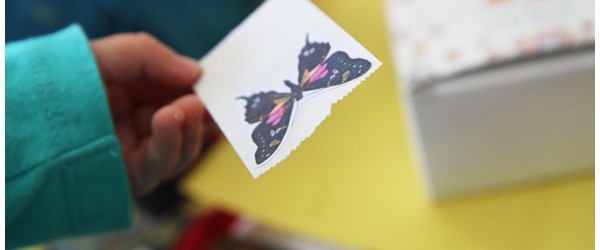
We’ve also made butterfly clip art and colored shape stickers cut from construction paper.
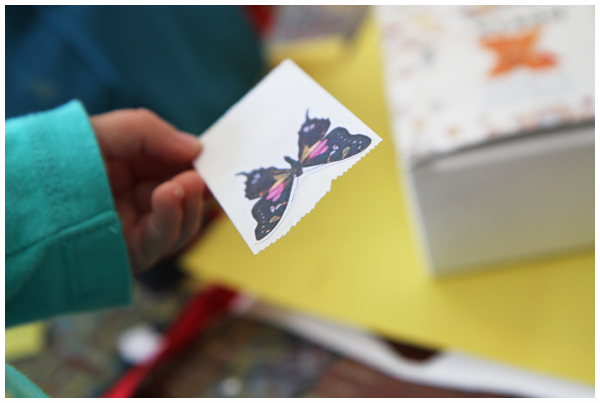
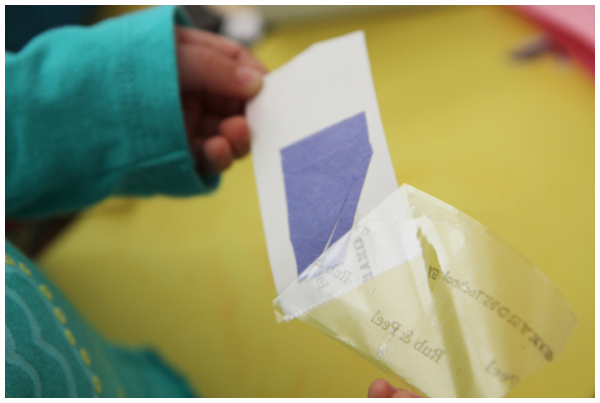
The possibilities with this sticker maker are endless!

We used these beautiful handmade stickers on some of the thank you notes from our birthday festivities. A handmade-touch to the cards and a super fun project!
Arts and Craft Supplies Organization – Paper Storage Inspiration

We’ve been working on organizing our arts and craft supplies. Today I am focusing on different ways to store paper.

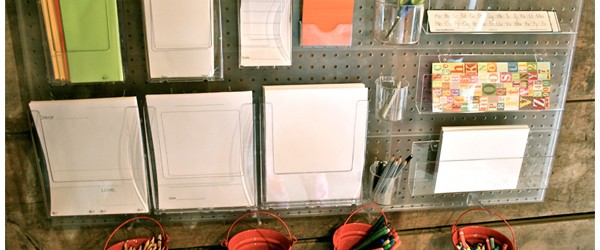
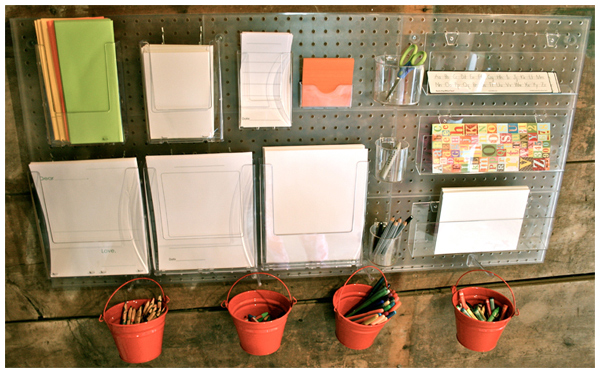
I adore the simplicity and functionality of this writing center, from one of my favorite educational sites Playful Learning:

Everything stored is easy to see and readily accessible!

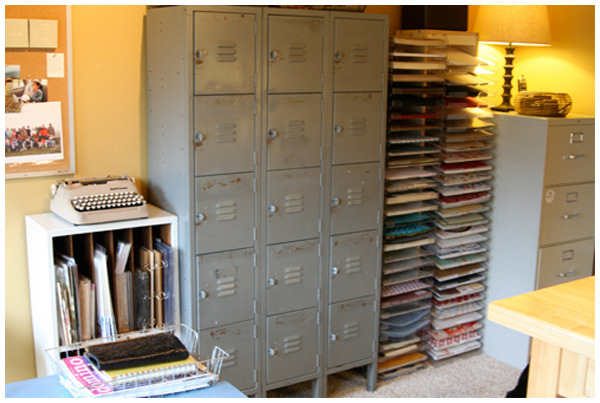
Ali Edwards also has fantastic paper storage ideas in her old studio:

I love the three different types of paper storage shown in the above photograph, but I am not sure that any of them would work for us. I especially like the open paper storage, but I wonder if the paper might get dusty being uncovered in our house.

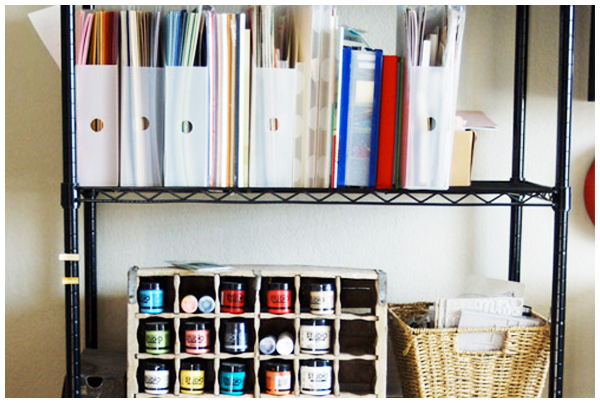
I also like the idea of using clear magazine files to organize paper:

I like how this solution takes up little space and with the clear files it’s easy to see the different papers. My concerns with this solution are that we’d have to keep the files full or the paper might warp, and that the paper may get dusty.

(Clearly, the theme of this post is that I need to dust more frequently.)

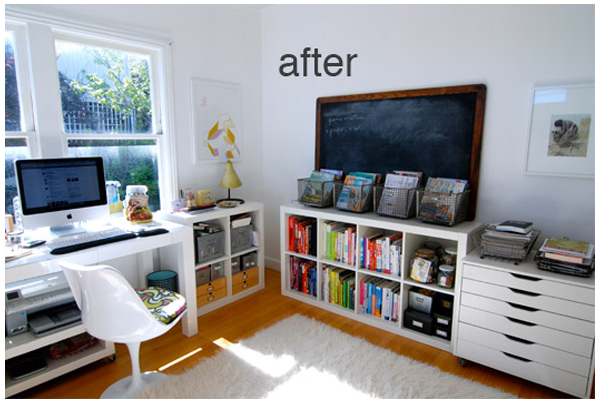
A dust-free solution might involve this IKEA drawer unit shown in Victoria’s beautiful (!) home office all the way on the right:

Unfortunately those drawers would take up space that I’m just not sure we have. Sigh.

What paper storage method are we going to use? I have absolutely no idea! I need to get to the stores and see what inspires me.

I have a sneaking suspicion that I’m going to be reusing the plastic, semi-transparent drawers we already own.

Stay tuned…

Picture Frame Decoupage Project

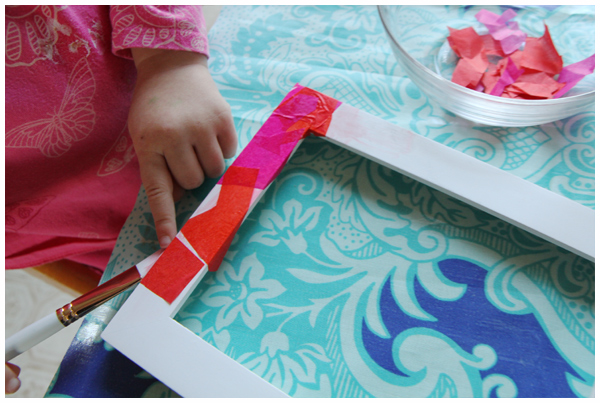
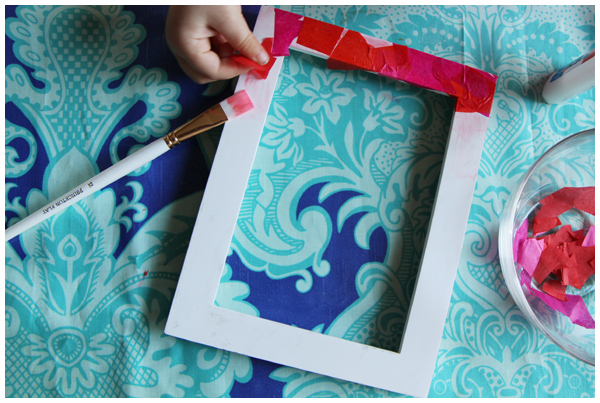
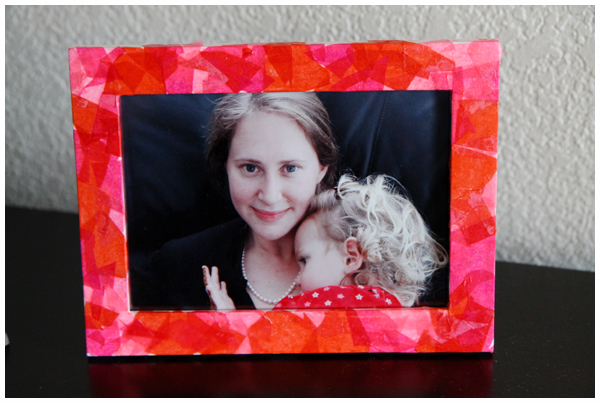
We spotted these inexpensive picture frames on clearance and felt they just screamed “PROJECT!” I wasn’t sure if we would spray paint them a fun color (turquoise! lime green! hot pink!) or do an arts and craft project. The project won out and what fun we had!

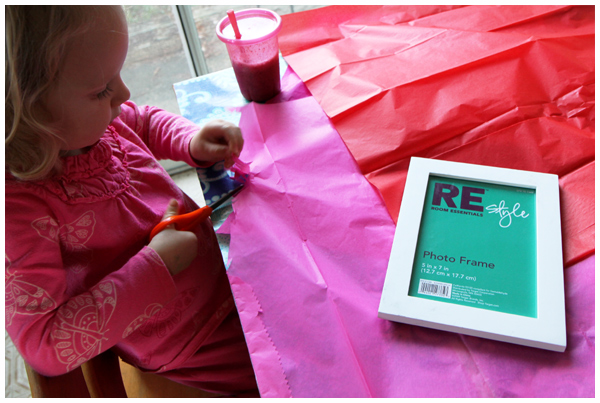
First my daughter cut up small pieces of pink, red, and purple tissue paper.

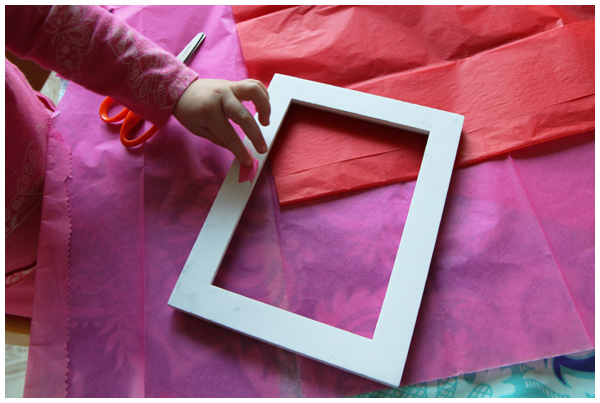
While she did this, I removed the glass from the frame.

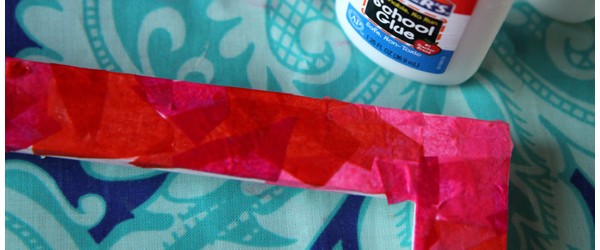
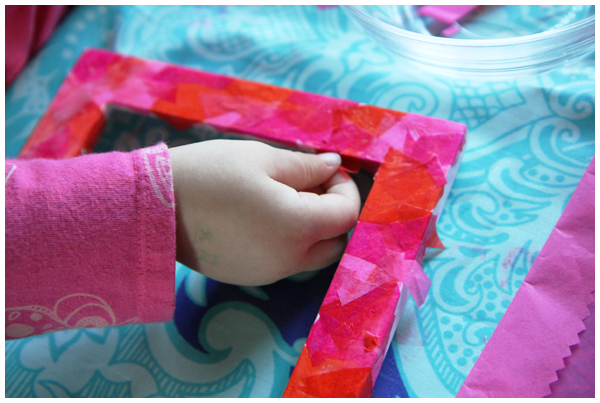
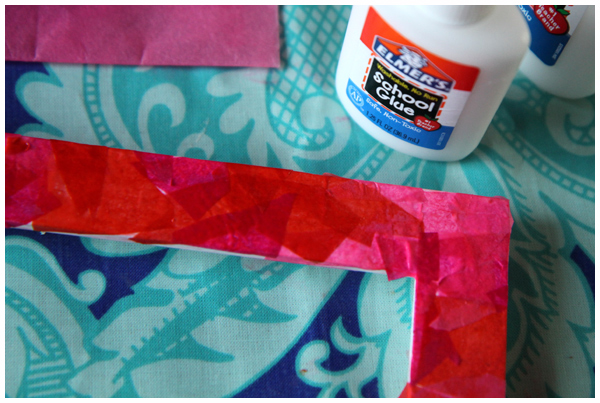
Then we glued the tissue paper pieces onto the frame using elmer’s glue. We then brushed glue over the paper to seal the paper on. (The decoupage part of the project!)

After the glue dried, we applied a coat of mod podge to really seal the paper on to the frame and add a glossy sheen.


What an easy, quick project with a lovely handmade feel! Not to mention a perfect Valentine’s Day gift for a certain daddy who needs a more recent photo of his loves for the office.

Adorable!

Simple Walnut and Grapefruit Salad

Each winter we enjoy the fruits of a Spritzer tradition: a case of ruby red grapefruit sent to us by my father.

Luckily we are a family of grapefruit lovers, like my father and grandfather before us, so we savor and enjoy the gentle and loving task of eating our way through approximately 45 grapefruits.

Nevertheless, we can only eat so many grapefruits cut in half and scooped out each morning or we’d never get through the case.

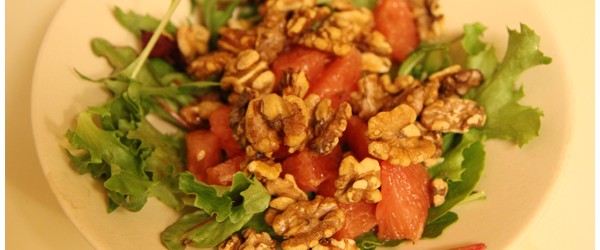
Here’s a delightful and easy salad I found online that we’ve made and enjoyed several times this month. Enjoy!

Walnut and Grapefruit Salad
Recipe adapted from the Washington Post version from Aliza Green’s book Starting with Ingredients

Serves 6

Ingredients:

1 cup walnut oil (may substitute 1/2 cup walnut oil and 1/2 cup vegetable oil)
1/3 cup sherry vinegar or rice wine vinegar
Hot pepper sauce, such as Tabasco (optional – we haven’t tried this yet!)
Kosher salt
Freshly ground black pepper (lots of it!)
2 ruby red grapefruit
12 ounces mixed salad greens
4 ounces (1 cup) walnuts, lightly toasted*
3 to 4 scallions, white and light green parts, thinly sliced crosswise

Directions:

Whisk together the oil, vinegar, a dash of hot pepper sauce and salt and pepper to taste. Set aside.

Using a sharp paring knife, segment the grapefruit in whatever manner you feel most comfortable, cutting away the peel, pith and membrane around the grapefruit sections and leaving as much of the fruit as possible. My preferred method involves cutting the grapefruit in half before running the knife along each grapefruit segment, which I then scoop out and set aside. (The original recipe outlines another way.) Reserve and discard (or drink!) grapefruit juice.

In a large bowl, toss the greens with about 1/2 cup of the dressing. Divide among individual plates. Arrange the grapefruit sections, walnuts and scallions on top of the greens. Serve immediately; pass the remaining dressing at the table.

* NOTE: To toast nuts: Spread them on a baking sheet and place in a 350-degree oven, shaking the sheet occasionally, for 8 to 10 minutes. Watch carefully; nuts burn quickly.

Arts and Craft Supplies Organization – Supplies Storage Inspiration

We’ve been working on organizing our arts and craft supplies. Today I am focusing on different ways to store our everyday, frequently used arts and craft supplies.

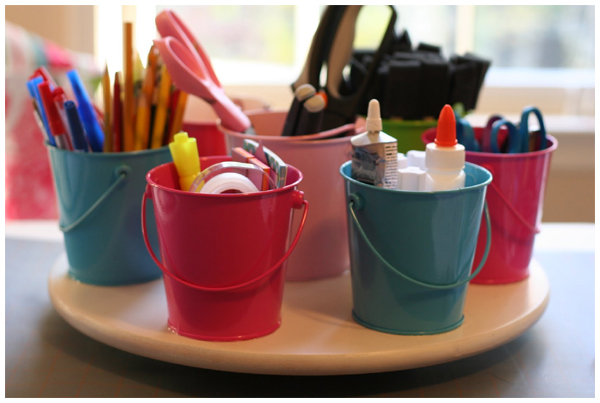
I originally thought we would organize our most frequently used art supplies on a lazy Susan like this one from The Crafters File Box:

Then I remembered that we most frequently make art at the kitchen table where, frankly, there isn’t room for this particular project.

Besides, I want something that I can easily move from the kitchen table for meals.

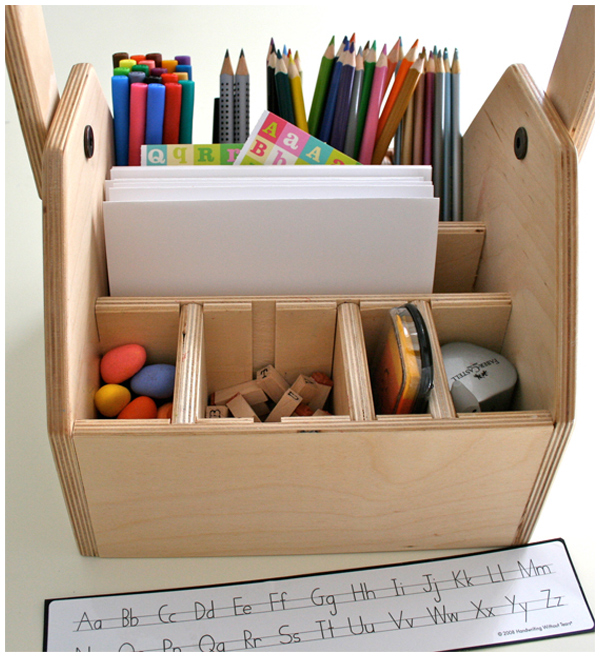
Perhaps something more like this writing caddy from Playful Learning:

I found other similar caddies online at Magic Cabin and Birch Leaf Designs. While I prefer the idea of making one ourselves, I may break down and buy one of these wooden ones.

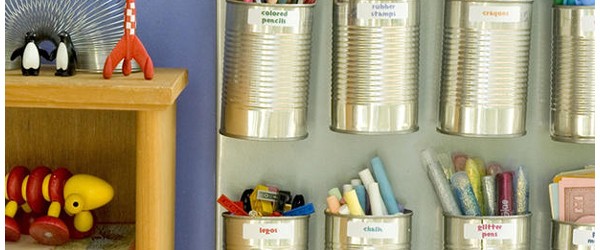
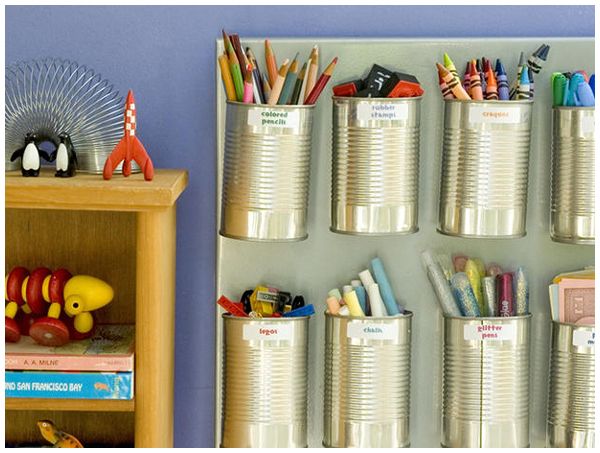
I love the industrial look and thrifty-nature (plus eco-groovy benefit) of reusing aluminium cans to store supplies (though I’m less enamored with storing them against the wall above our kitchen table):

I’ve found that I like the idea of individual bins or compartments for each art medium (pencils, crayons, markers, glue pens). I like the idea of them being adhered to something so they can’t fall over or be easily dumped upside down (ahem).

So my current, do-it-yourself plan is to glue bins (or reuse empty aluminum cans) to a tray that I can easily pick up and move away from the table.

Yes, we won’t be able to swing it around like we could have with a lazy Susan, but reaching over the tray or rotating it ourselves should work just fine for us. We also already have all the art supplies to fill the caddy, so it doesn’t make sense to buy the already outfitted Playful Learning wooden caddy or the smaller wooden ones where our supplies just may not fit.

I’m excited about my plan. Now, to make it…