Birthday Party Letter Art Banner

Our blog countdown to the three-year old’s birthday party continues!

Yesterday we talked about our photo banner:

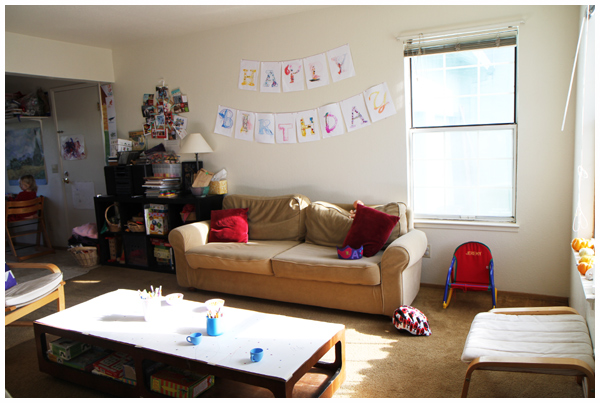
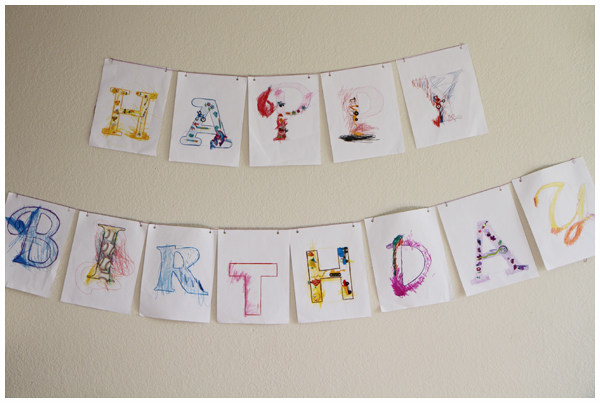
Today I want to share with you our Happy Birthday letter art banner that we’ve hung on the opposite wall of our living room:

I typed “Happy Birthday” using different fonts for each letter on our computer and set up the letters to be outline only. After printing the series out, we then decorated the letters with stickers, twistables crayons and colored pencils.

The project took us several days to complete and we talked about the different letters and colors as we filled in the outlines. For some of the letters, my daughter focused on coloring each outline one (or two) colors and matching stickers of the same color to each letter.

A fun preschool project that’s simple, yet open to endless creative possibilities.

Now, a freebie for you:

Download a PDF of our Happy Birthday letter art banner to print and color in for yourselves!

Birthday Party Photo Banner

Our blog countdown to the three-year old’s birthday party continues!

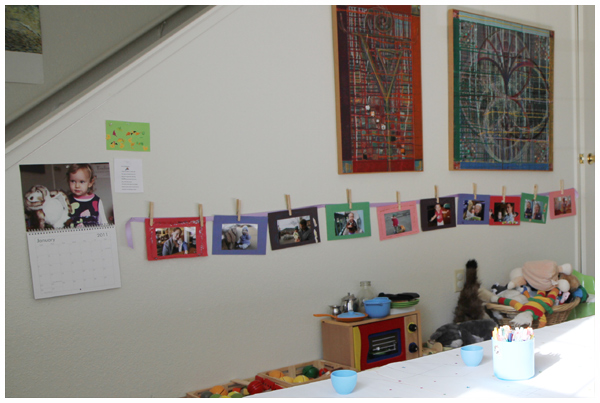
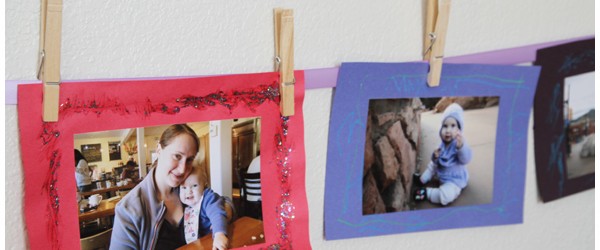
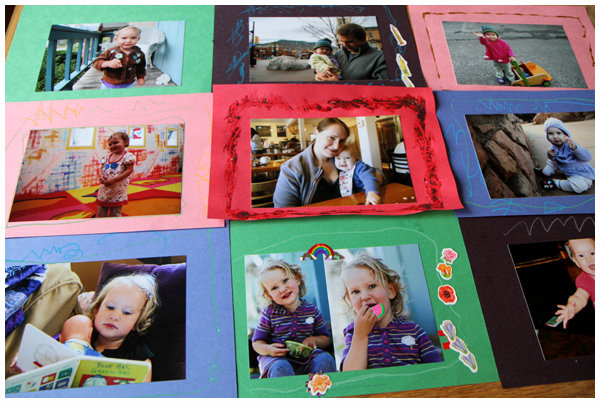
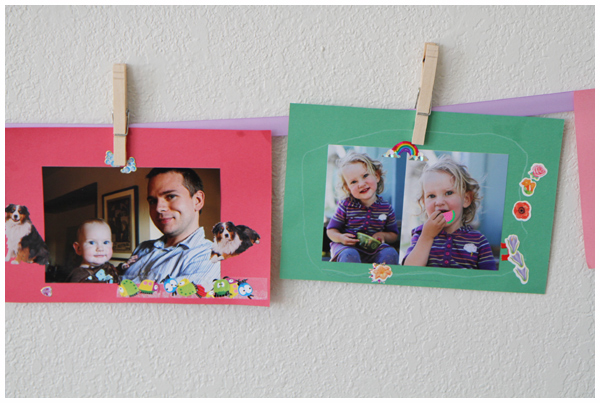
First we gathered photos of the birthday girl taken over the past three years, then we glued our favorites on colored construction paper and decorated the frames using glitter paint pens, gel markers, and stickers:

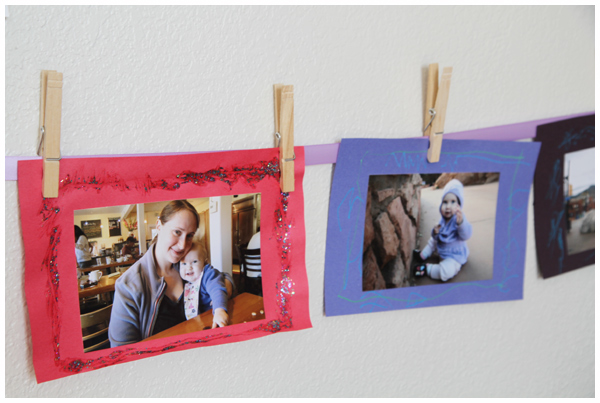
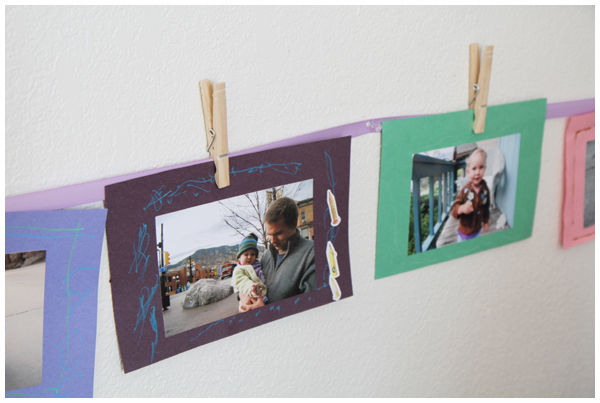
Then we hung a purple ribbon on the wall (using push pins) and clipped the photos to the ribbon with clothespins:

A simple, sentimental, and colorful birthday party decoration that we will definitely be recreating each year. Such a hit!


(Thank you to my friends Alissa and Dorothee for inspiring me with their own ribbon/wire art walls.)

Preserving Lemons

Another post in our First on Friday series where we share a recent, new experience.

I had never heard of preserved lemons until my good friend Alissa offered to teach me how to make them. I didn’t hesitate because I love learning new things, Alissa is so much fun, and what the heck are preserved lemons?!

Well, they are easy, SO EASY, to make and I’ve learned that you can use them in a variety of recipes (usually, though not exclusive to, Greater Middle Eastern cuisine). You can use the rind in salad dressings, fish or chicken dishes, stews, marinades, with pizza toppings, “anywhere you’d normally use lemon zest for a more intense, lemon kick.”

As for how they taste, I don’t know the answer to that yet. You see, you have to let them sit for a month in the fridge before you can use them. I’ll let you know how they taste in another week when they’re ready. :)

(I’ve included a list of links at the bottom of this post with more information about the process of preserved lemons and their many uses.)

Let’s get to the process. Here’s an overview.


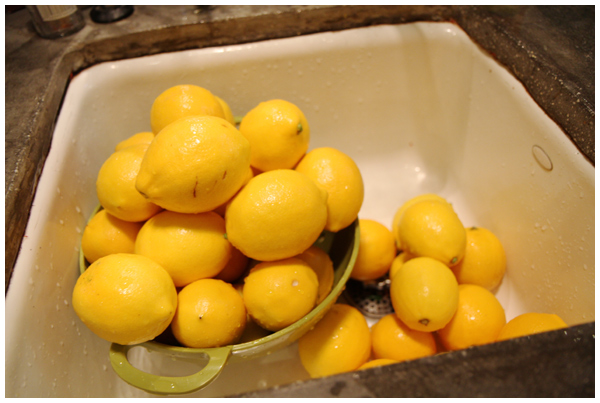
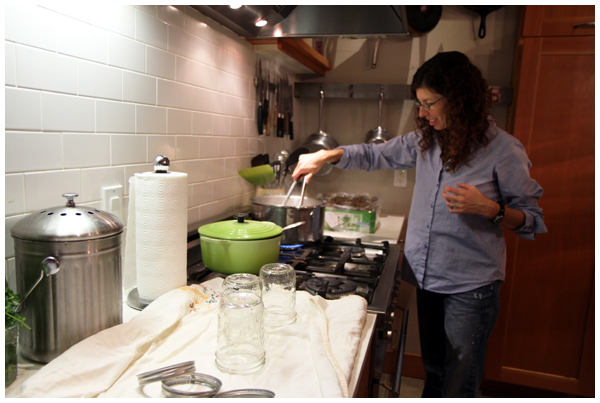
Start with lots and lots of lemons (since you will be eating the peel, be sure to use organic or unsprayed lemons). Scrub them clean.


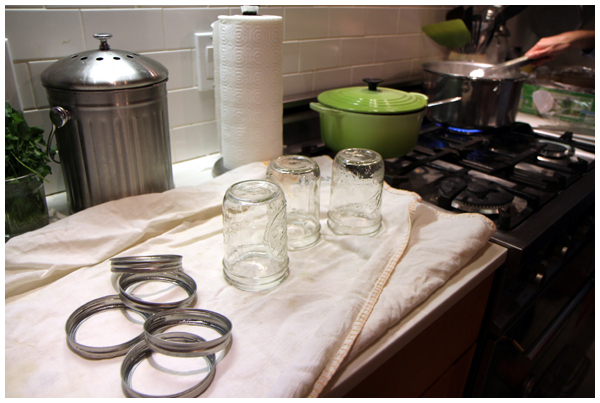
Place canning jars and lids in boiling water for several minutes to sterilize them.


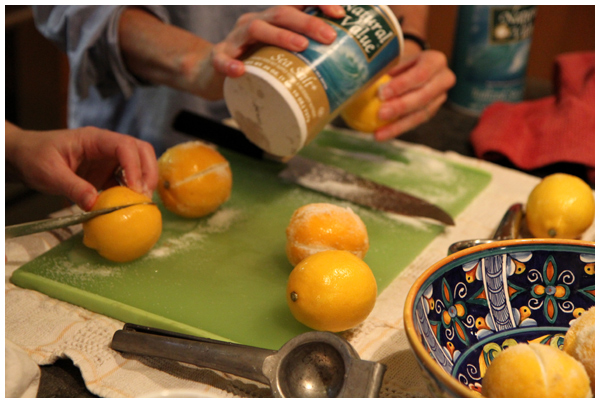
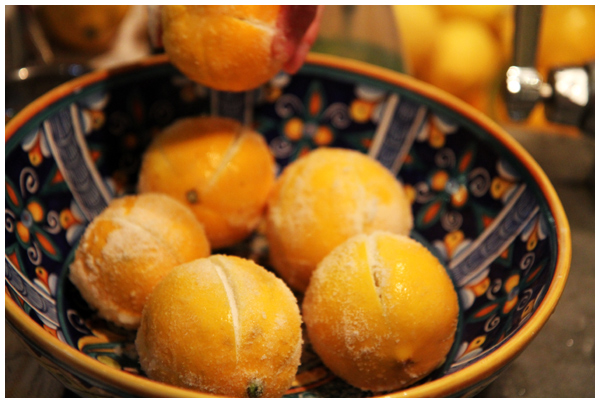
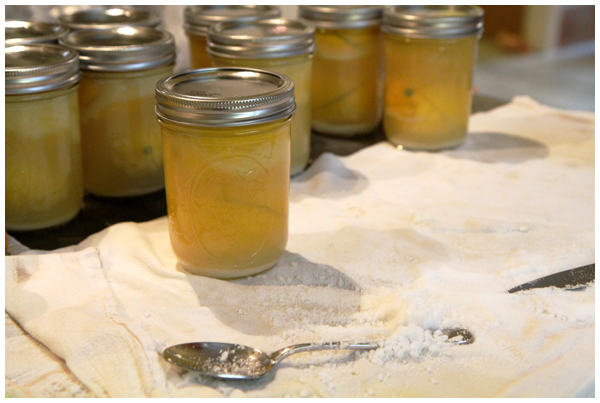
Slice into (but not fully through) the lemons on four or five sides and stuff with salt.


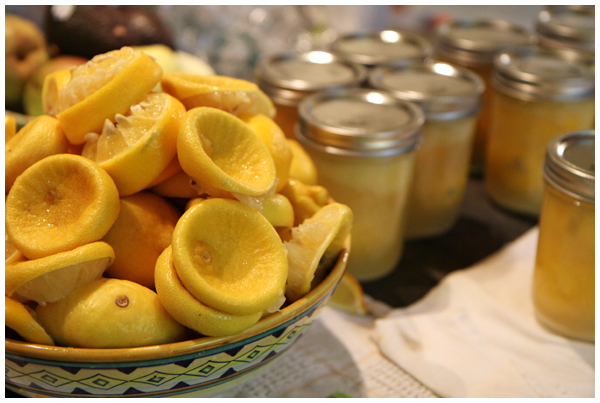
Set these salt-stuffed lemons aside while you juice many, many lemons. (Might I recommend this tool that I use daily and love?)


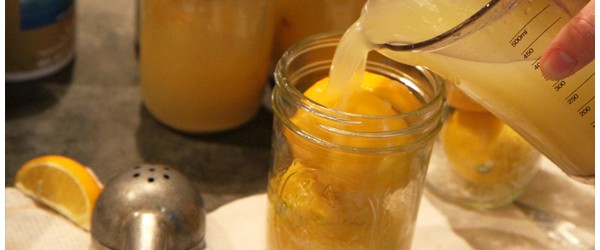
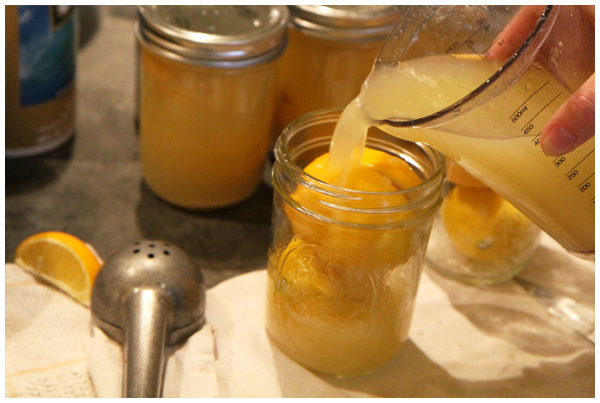
Place two (or more) lemons into the bell jars. Fill with lemon juice.


Seal tightly.


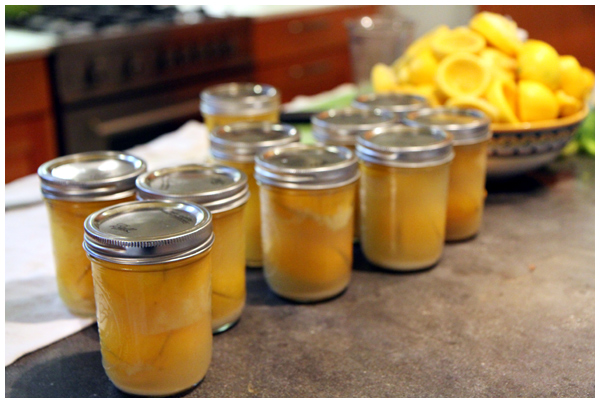
Admire your handiwork and the sheer number of lemons you went through.


Place them in the fridge for a month and then you can start using them!

Want to learn more about the history of preserved lemons, the many ways to preserve them and find some recipes incorporating them?

Check out:
+ David Lebovitz’s method for preserving lemons (similar to what we did, just taking a few more days).
+ Heidi Swanson’s method as described on her delightful site 101 Cookbooks.
+ The Kitchn’s how to article that parallel’s our method and explains it more fully.
+ This fascinating article on Serious Eats about that “secret ingredient.”
+ A great article about all of the above, plus a demonstration video on Stone Soup.

Recipes incorporating preserved lemons to try:
+ Fettuccine with Preserved Lemon and Roasted Garlic
+ Quinoa with Asparagus and Preserved Lemon Dressing
+ Sauteed String Beans With Garlic and Preserved Lemon
+ Grilled Salmon with Preserved Lemon and Green Olives
+ Sautéed Shrimp with Preserved Lemon
+ Lentils with Spinach and Preserved Lemon (plus another recipe for making, you guessed it, preserved lemons)

Our Annual Visit

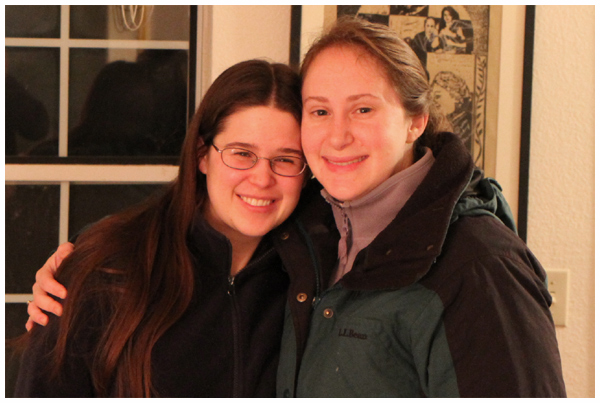
I’ve known my friend Natalia for over 20 years and, since we moved to the Bay Area, she has come and visited us every year:

In the 2007 photo, above, I am thirty-three weeks pregnant with Miss Leyba!

My daughter and Natalia meeting each other for the first time, above.

Last year walking the streets of San Francisco.

Our whole family looks forward to and greatly enjoys our time together.


We may see each other just once a year, yet I consider Natalia to be one of my dearest friends. Each year, we take off right where we left off and become closer in the short time we spend together. A true friend.

Natalia, we’re looking forward to next year!

Crafting Mess

Our kitchen table, after a day full of crafting:
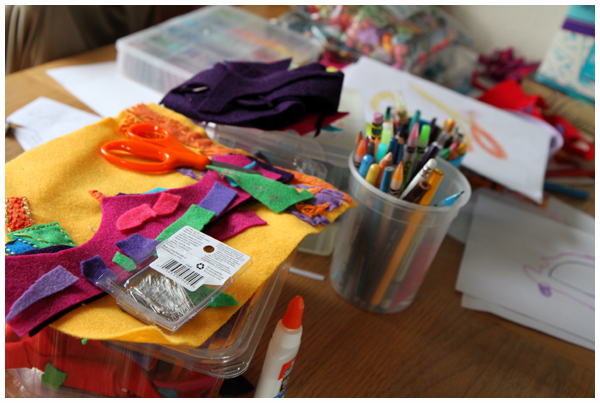
The table, honestly, looks better now than it did a couple of days ago. We’re working on organizing the mess.

No, really.

That table is just the tip of the iceberg.

This is my next house organization project: devising an inexpensive (and hopefully attractive) system to order the craft supplies chaos that is encroaching on the entire house.

You think I’m kidding.

Here are some before shots, with descriptions:


The shelf above our kitchen table complete with cookbooks I haven’t opened in a year and a giant stack of craft supplies (I believe there is more behind the cookbooks). Aside from the cookie cutters, crayons and ribbon that you can easy identify in this picture, I honestly have no idea what’s up there. What a waste of space!
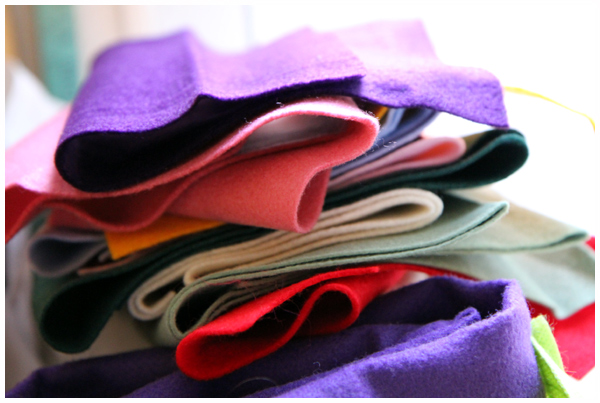
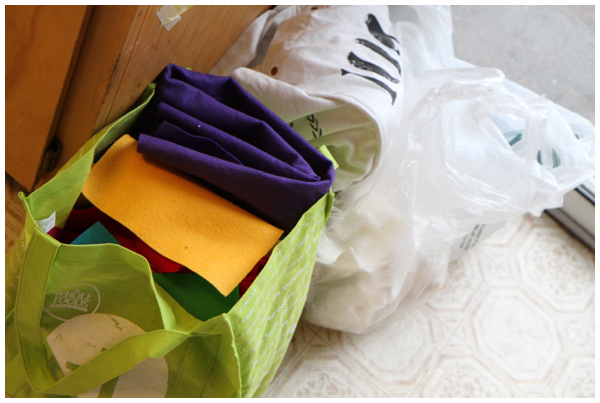

Piles of felt and bags full of stuffing. The top stack of felt, above, I bought from a local crafts resale shop for $1. Yep, I feel pretty good about that purchase. Now, where to store it?!
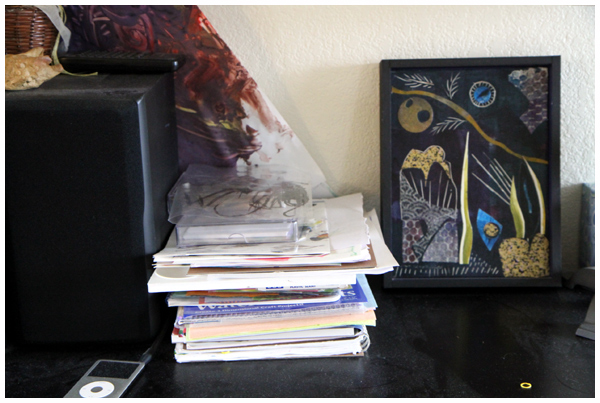

One of several spots where we store different types of paper. A neat stack, yes, but completely inaccessible. And it’s in our living room.
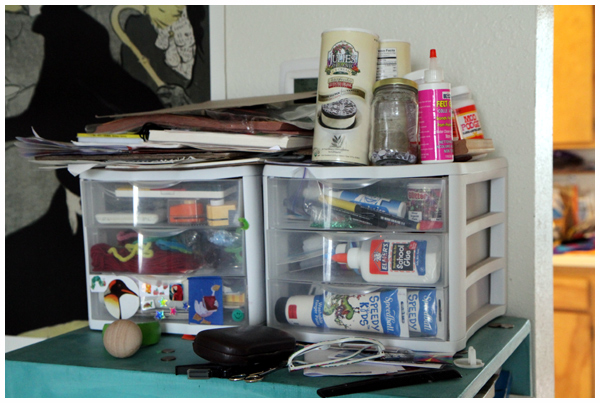

Drawers stuffed to the brim with craft supplies, packed so full that it’s challenging to open and close the drawers, although some are more organized than others. Yes, these drawers are also blocking our thermostat. It’s a disaster. I’ll post more about this soon.
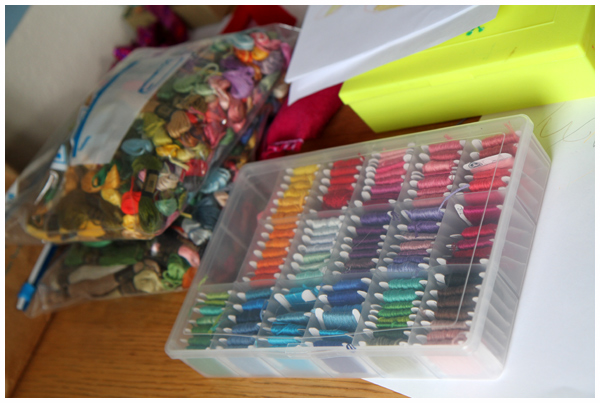

Lots of embroidery floss (thanks to my in-laws for this great present!) in the process of being organized (thank you to my toddler for endless bobbin winding and color organization in the storage box, above!). I honestly feel best about this part of the project because I have a storage plan that’s in progress and it’s a perfect activity while chatting or watching movies (i.e. mindless). Two giant bags of embroidery floss, my, what a project! Want to take dibs on how many floss containers we’re going to need? I’m thinking five.

What’s not pictured: boxes of colored pencils, sticker books, paper dolls, beads, sewing notions, edged scissors, embellishments, stamps, and so many types of paper piles: blank, colored, patterned, textured, watercolor, sketch, etc. Plus we have more boxes buried in the garage that I’d really, really like to dig through, as well as an assortment of craft related books that I need to make more easily accessible.

I think I have my work cut out for me.