Craft Drawers

We’ve finally been making headway on our arts and craft supplies organization project.
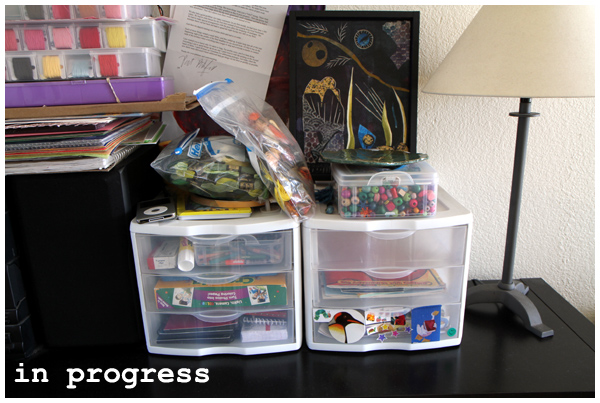
This week we focused on decluttering and reorganizing these plastic drawers. To refresh your memory, here is what the drawers looked like before:
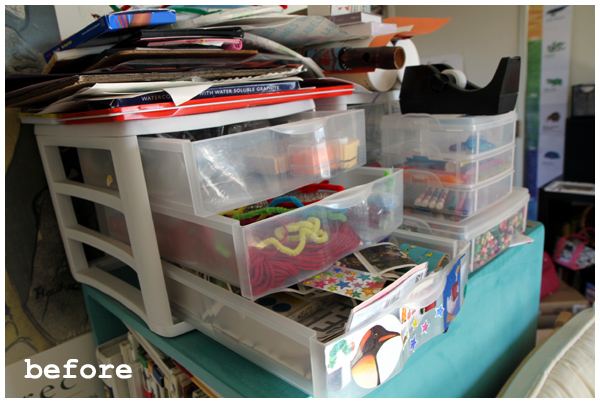
They were (inadvertently) fully accessible to our daughter (who discovered that she could reach the drawers by standing on a chair), yet full of all sorts of messy supplies that we didn’t particularly want her to use entirely by herself like finger-paints and mama’s hot glue gun:
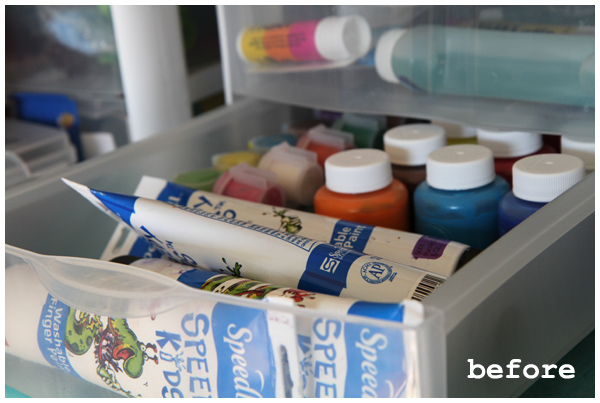
Luckily she always asked before she delved in those drawers, so I don’t have any horror stories to share. Nevertheless I knew the day would come when she explored them entirely on her own, so we had to move the supplies around to get them out of her reach.
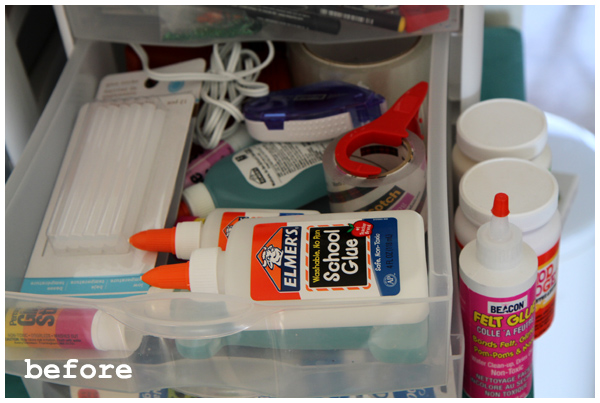
We essentially emptied these drawers, placing those supplies elsewhere (more on that soon!), and filled the drawers up with more age-appropriate supplies.

We also moved the drawers to a more easily accessible location so she can help herself to…
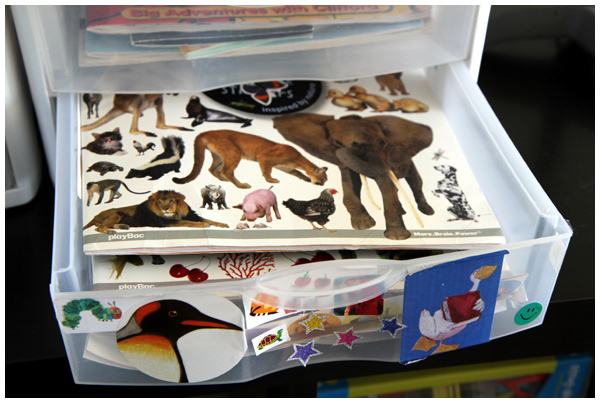

stickers,
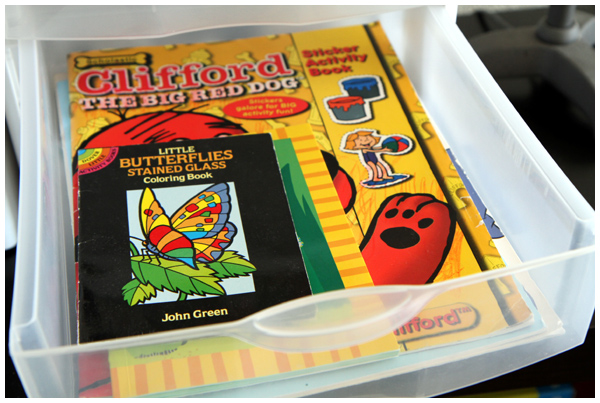

activity books,
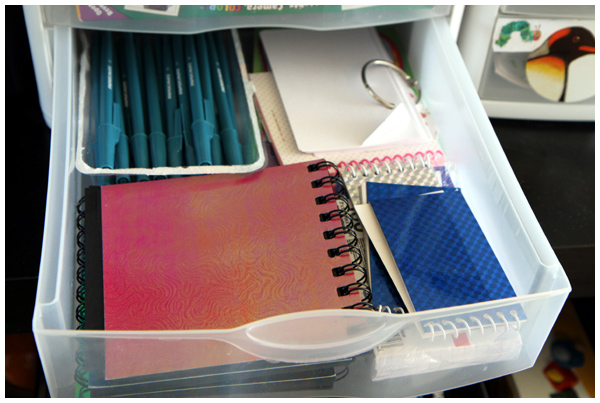

pads and pens (pencils are always accessible, placed out on the table),
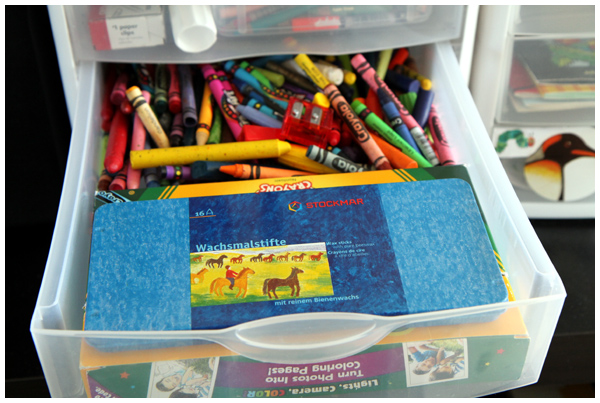

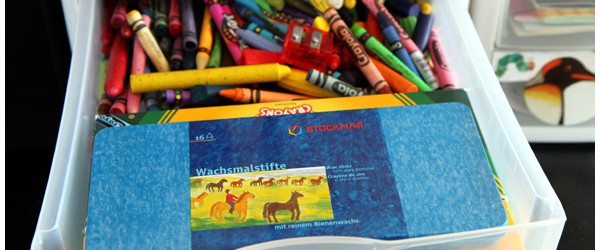
crayons,
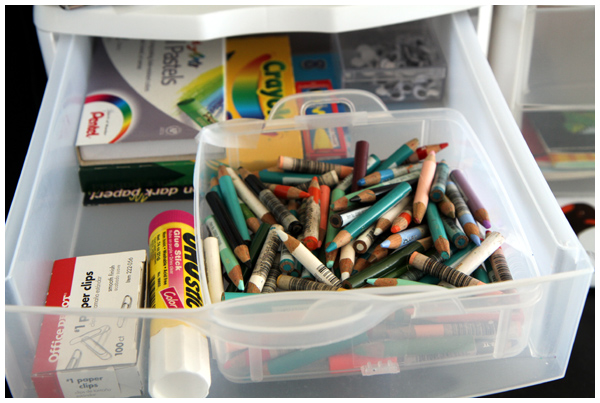

and miscellaneous supplies.

We’re very pleased with the results. We have one more drawer to fill and I have yet to tackle the clutter on top of the shelves, but it’s better and supplies that had been forgotten are being used. Success!
Stencil Exercises

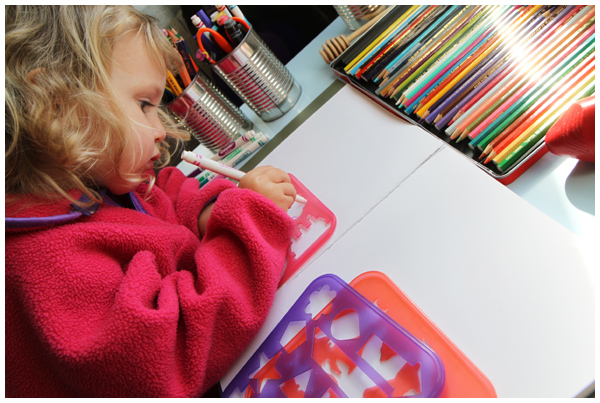
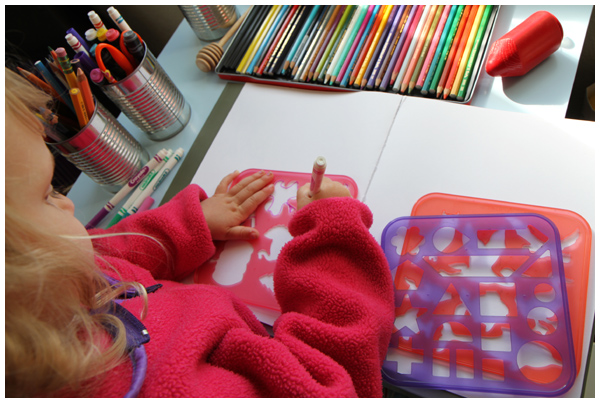
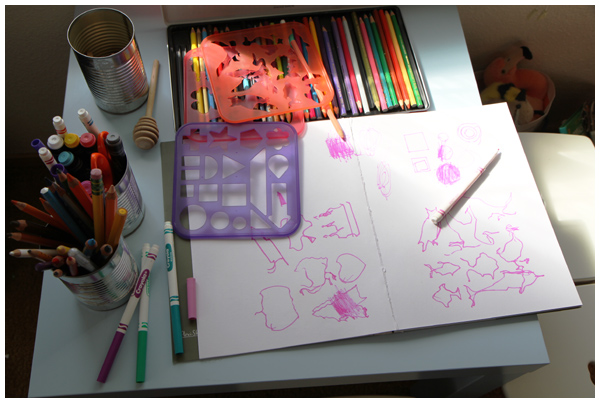
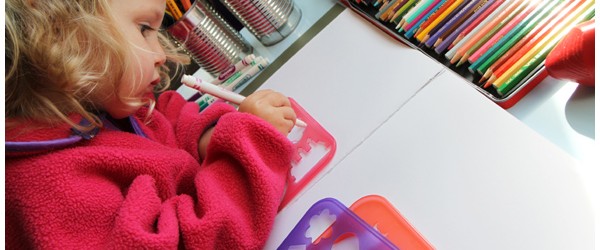
In the past I’ve written about activities such as using scissors and winding bobbins that help build hand strength and dexterity in young children, an essential first step towards learning to write. Playing with stencils is another such activity, one that our three year old adores.

We picked this set of kid stencils up from our local resale shop — thrift store score!

Simple good fun with an educational purpose, an everyday learning activity!

Decoupage Paper Mache Eggs

A simple, fun decoupage project for a spring celebration or Easter craft. You could also use this technique to cover balls with blue and green tissue paper for a fun Earth Day project.

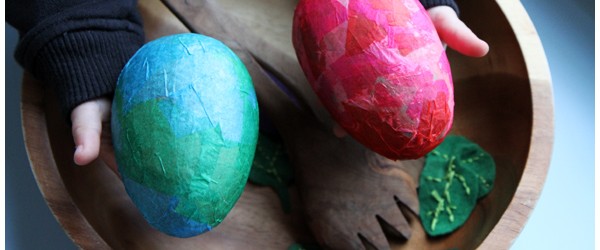
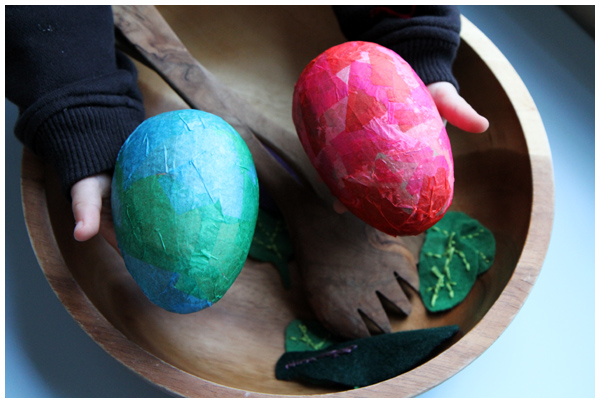
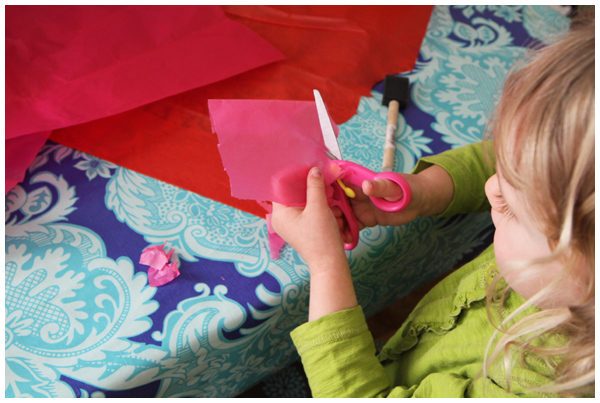
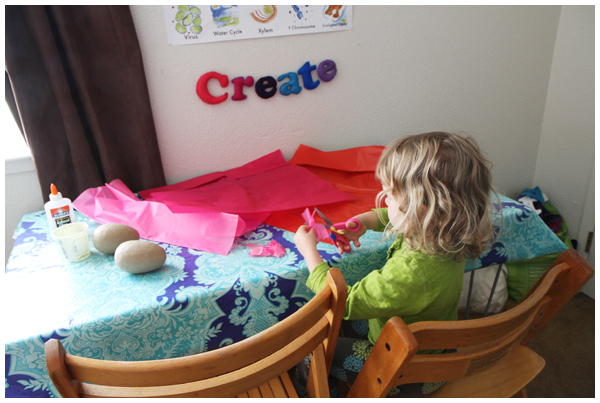
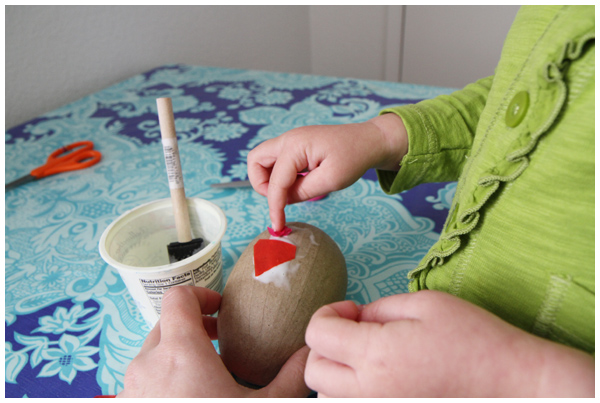
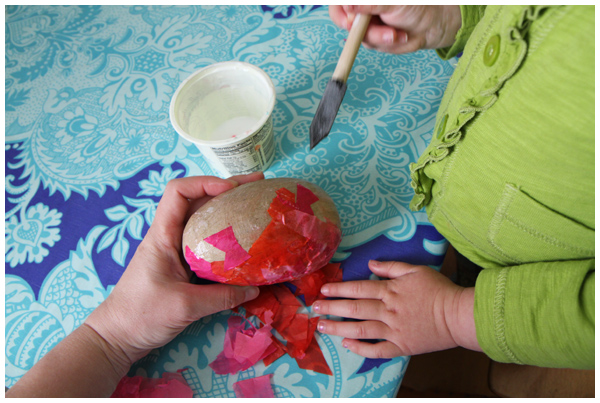
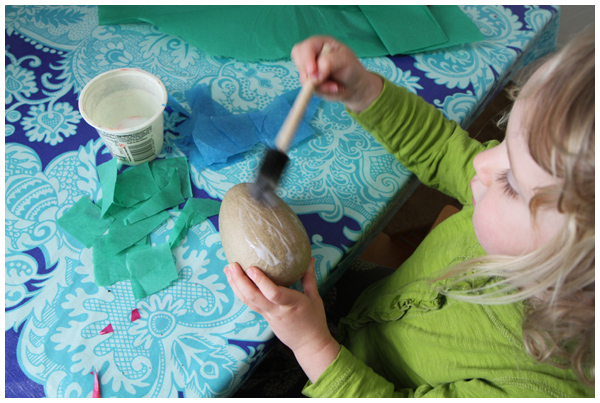
We covered these paper mache eggs with watered down glue and colorful tissue paper.

After we glued the tissue paper on the egg, we painted over the tissue paper layer with more watered down glue to smooth out the layer of paper and ensure that is was properly adhered.


The toddler wants me to add that “we got our hands all covered with stuff… with red tissue paper!” Translation: the color from the tissue paper may bleed all over your fingertips. This only happened with the red and pink tissue paper; the blue and green tissue paper didn’t bleed on us, so different brands and different colors may make a difference.

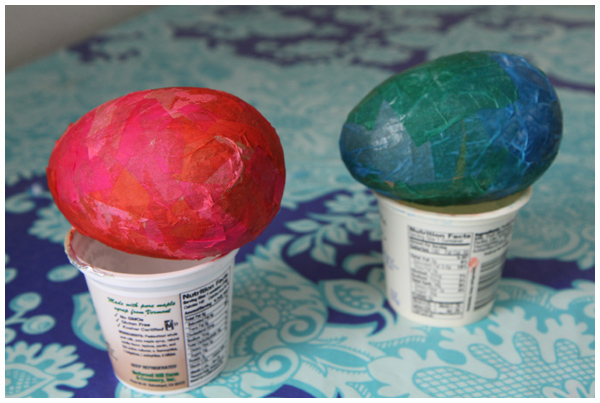
Our eggs, shown below while they were drying, have a matte finish. I may apply a coat of glossy mod podge to create a sheen, but for now we are enjoying them.

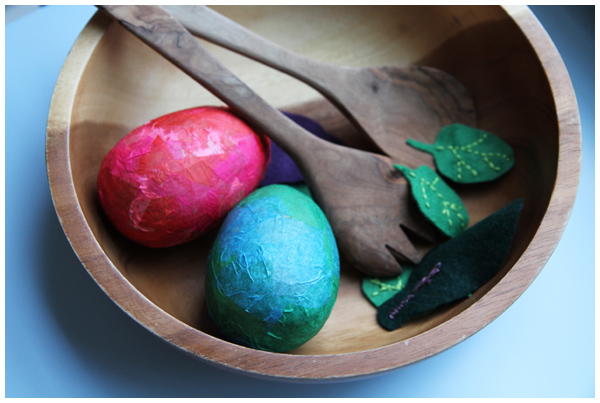
To no one’s surprise, both of these decoupage paper mache eggs have made their way into the play kitchen.

For more information about decoupage, see our Picture Frame Decoupage Project post.

Our Spring Garden

We’ve been gardening! And by gardening I mean we’ve been weeding, weeding and weeding some more… yes, I know, we’ll be weeding ALL SUMMER LONG. It’s one of those perpetual cycles, like laundry or dishes, that can really bring you down. The good news is that 1) I get to work outside and the weather truly is gorgeous here in Sonoma County, and 2) I have a wonderful little helper to keep me company.

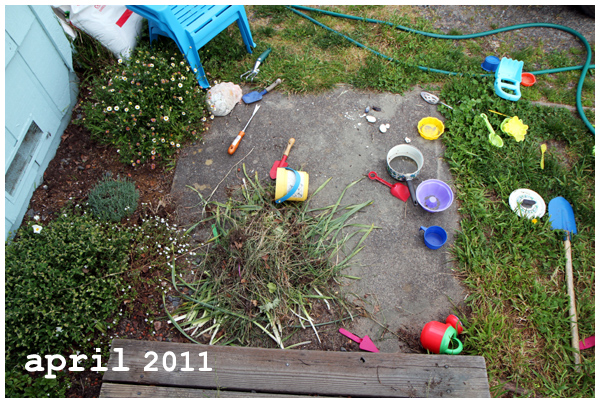
If only I could get her to clean up her garden tools. Ahem.

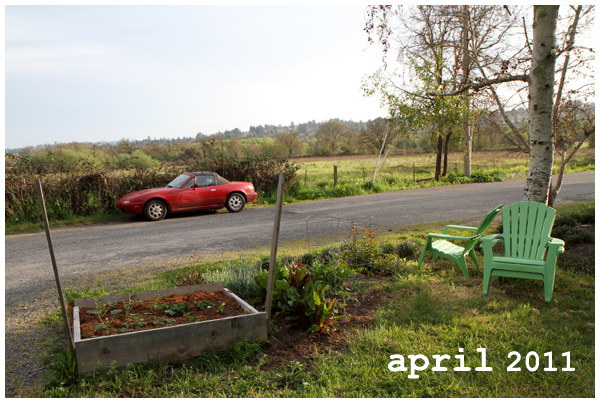
The Little Miss and I have started planning out and planting our front yard victory garden. Almost all of our perennial plants have resurfaced, so we’re focusing on cleaning up those beds and making room for our vegetables.

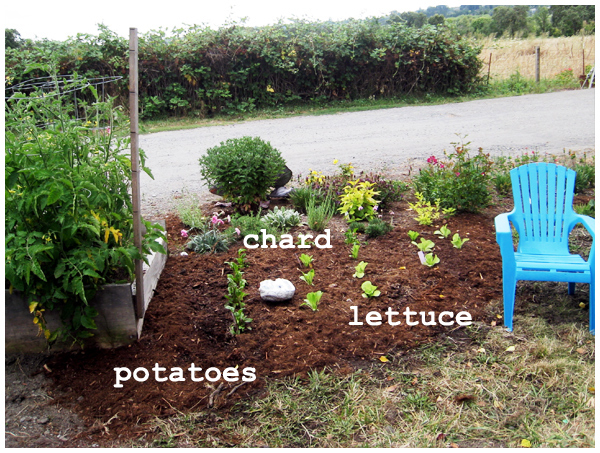
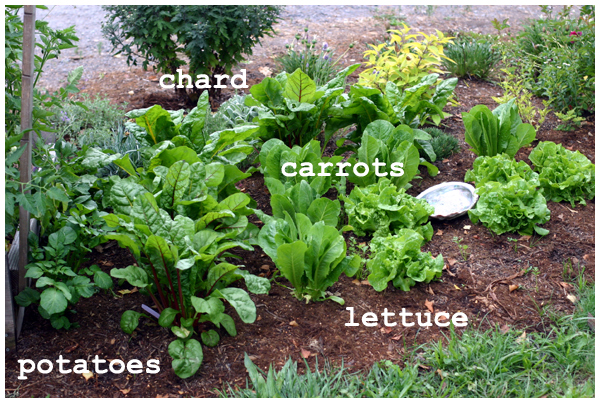
Last year we planted potatoes, chard, carrots and lettuce in the front yard:


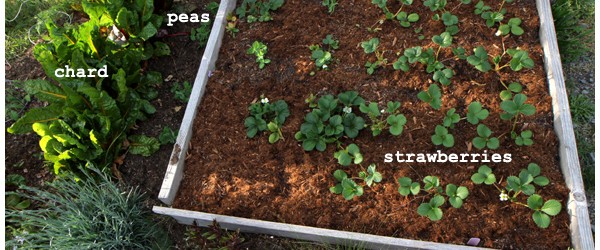
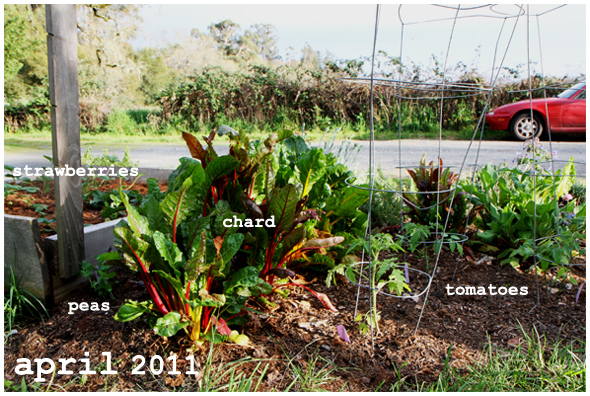
This year we’re shaking things up, rotating the location of our crops, and planting peas, (keeping the same) chard, and tomatoes:

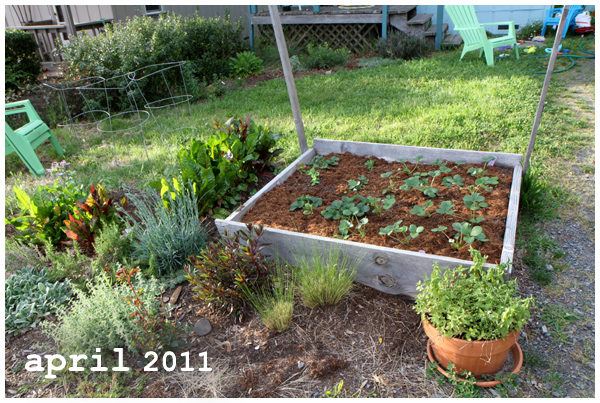
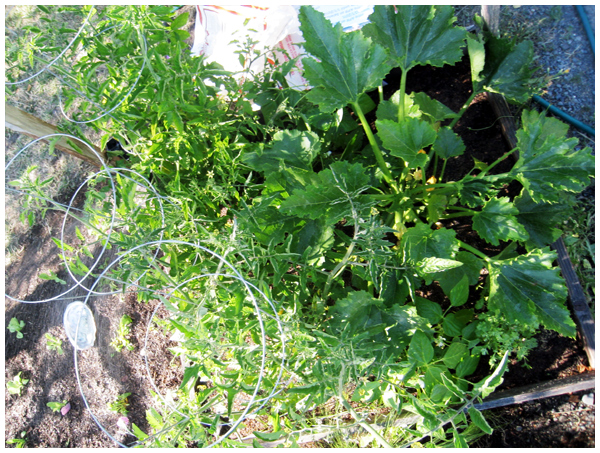
Last year the raised bed contained tomatoes, zucchini, herbs and strawberries:

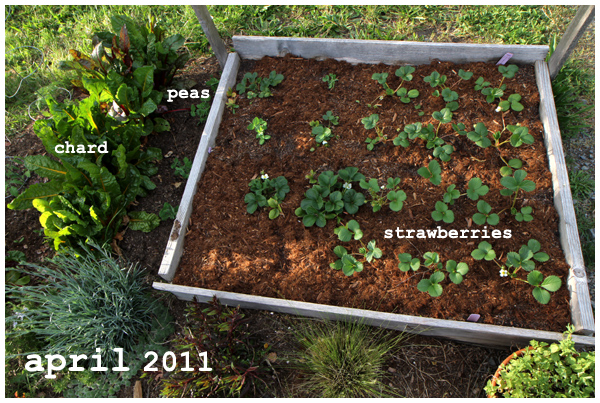
This year we’re devoting the bed to strawberries, with a few leftover pea plants (that we couldn’t find another spot for) and some (yet to be planted) herbs:

Tonight the temperature is supposed to drop to freezing, so I’ve laid out our frost blanket. We’ll see if the crops survive! We’re all about the garden drama here in the wilds of Northern California.

A Creative Salad (Felt Salad Project)

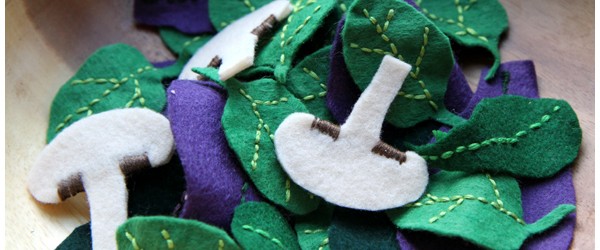
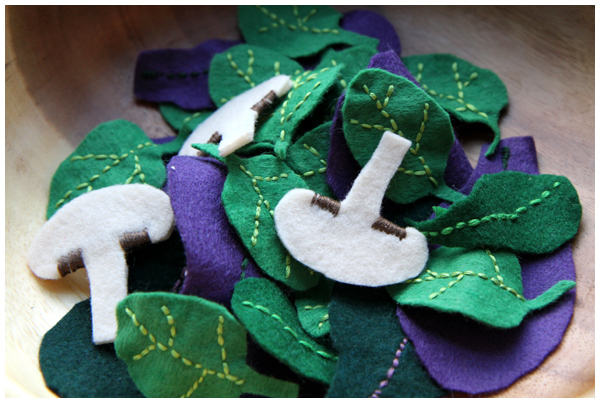
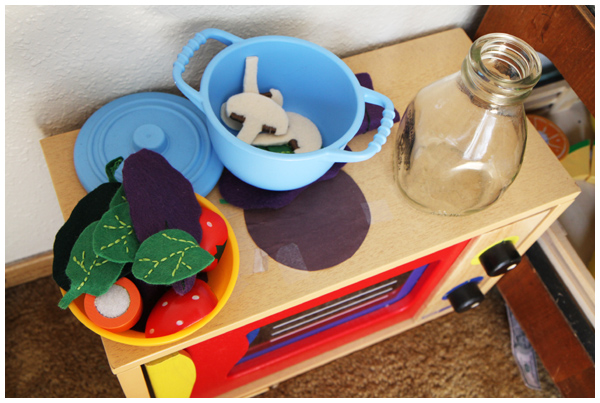
For the several weeks I’ve been slowly sewing up a felt salad of mixed greens and baby spinach to add to our play kitchen.

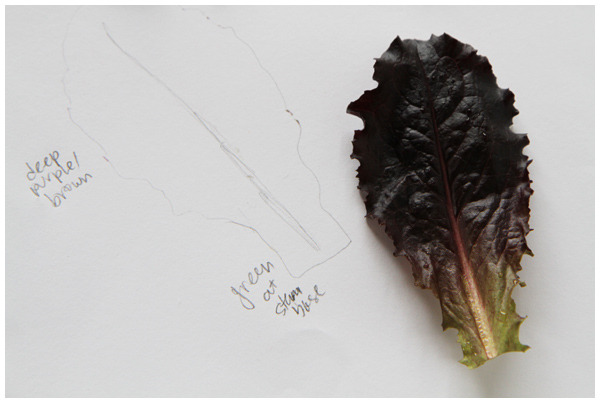
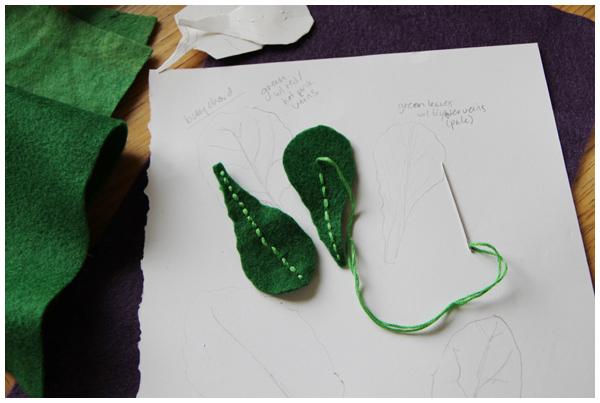
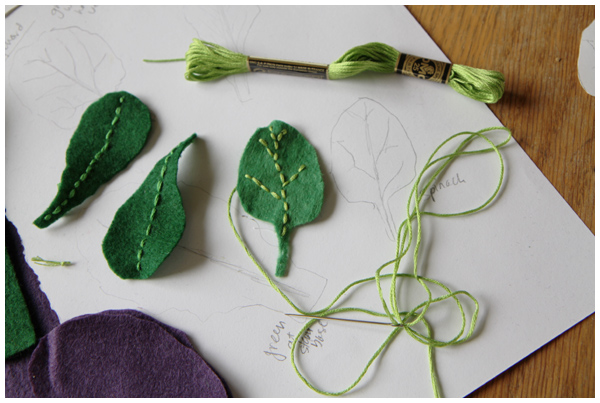
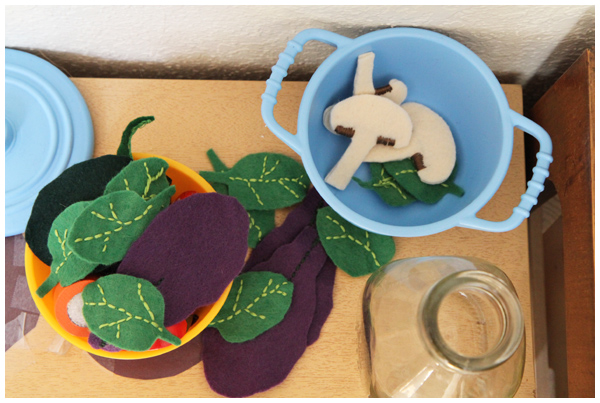
First I traced the leaves (pulled straight from our garden/fridge!), then I matched the colors of the leaves to felt and found embroidery thread to match the leaf veins. I cut out the templates, cut the felt, and sewed up the veins.


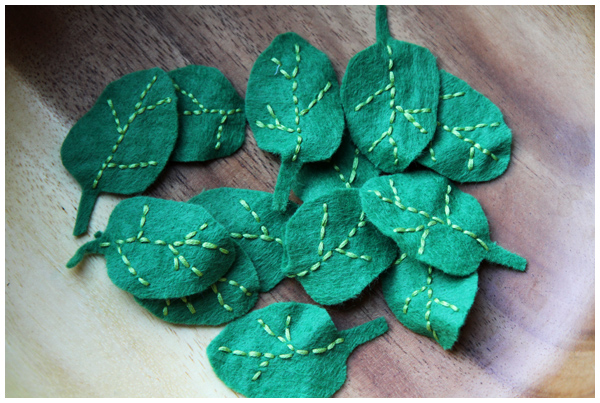
I made baby spinach leaves:

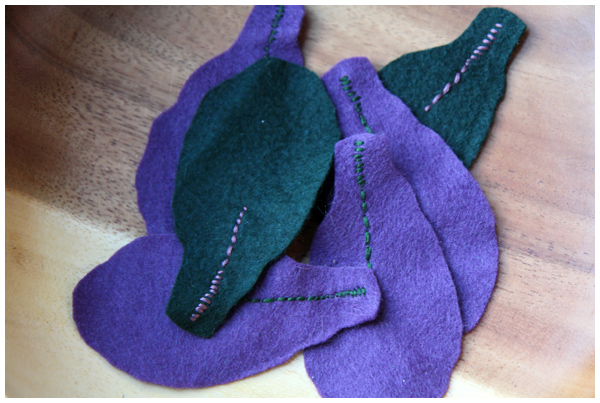
Mesclun salad mix:

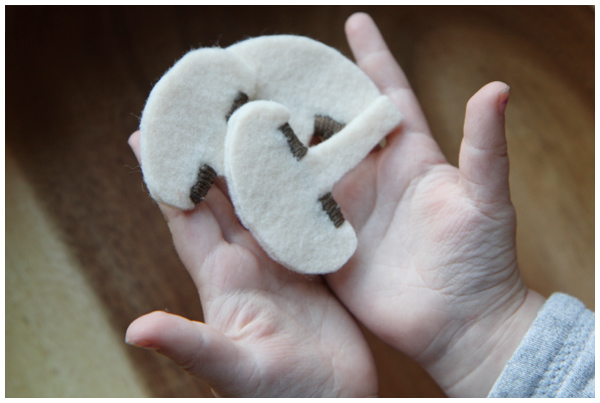
Felt mushrooms to match:

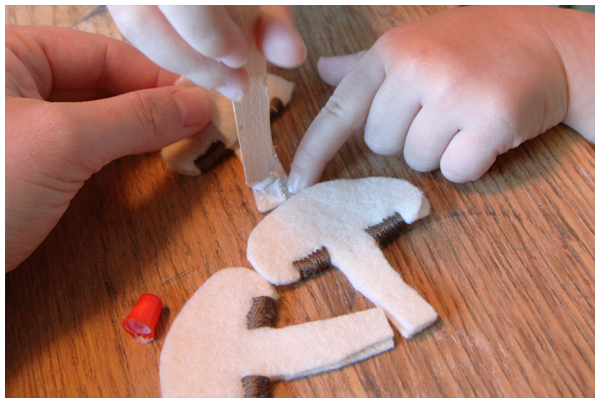
I sewed two pieces of felt together where you see the brown ridges, then we felt glued the rest of the mushroom together.

She may not be that interested in eating a real mixed greens salad yet, but she’s playing with her felt salad every day.

I figure we’re one step closer to the enjoying real thing and, for now, I’ll take it!