Nerdy ABC Poster

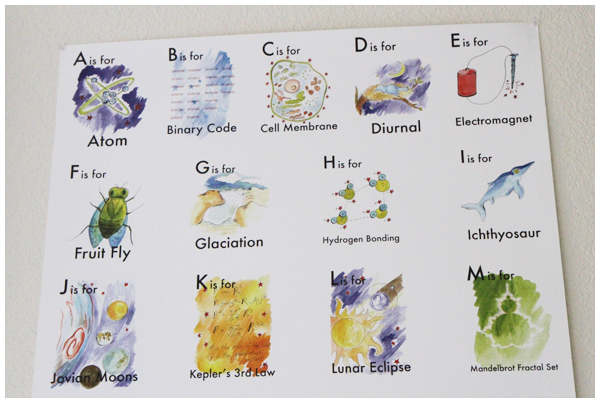
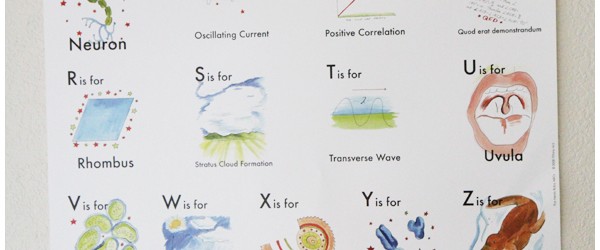
When I ordered this clever alphabet poster from Nerdy Babies I took a risk. The site didn’t list its dimensions and I rather foolishly thought, “how big can it be? I’ll just order it and it will be fine. I don’t have time to email the artist and wait for a response right now.”
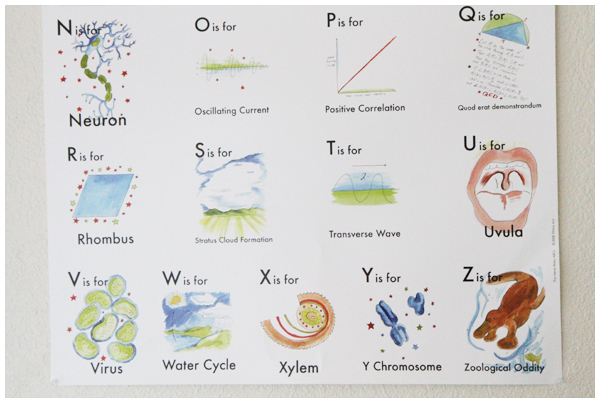
Two days later it arrived. Enter the worlds largest poster that my daughter ADORES and won’t let me return.

It’s clever, creative, nerdy… and gigantic!
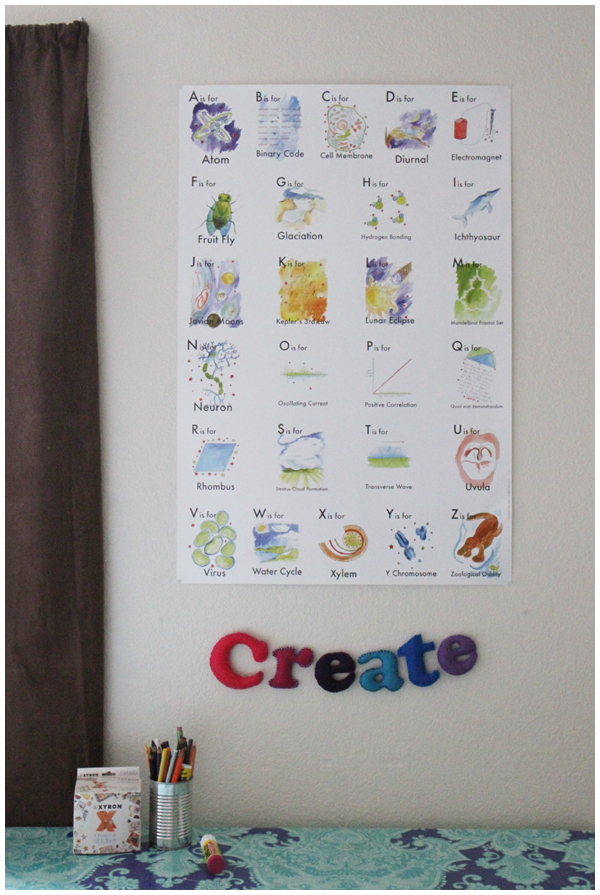
The space where I had originally planned to hang it (above the photo banner over the bed) was too small, so we decided to hang it above her desk instead.

She LOVES it!

I think I would love it more if it were smaller and framed, but she’s three years old and that clearly doesn’t matter to her, so I’m letting it go. We’re enjoying both its beauty and brilliance. Besides, it’s the perfect size for this space. The end.
The Reading Nook

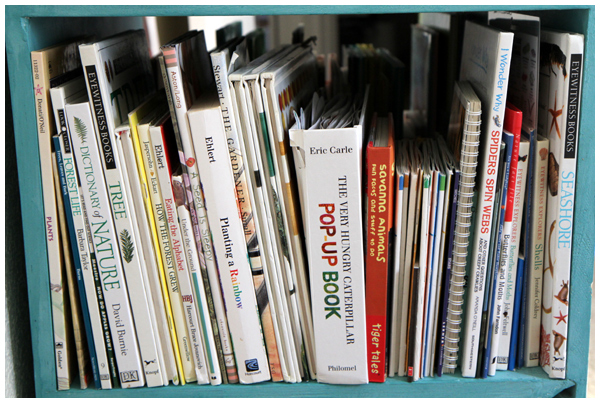
David built this sturdy, double-sided bookcase for our daughter. For the past two years it’s been in our living room overflowing with books (the following photo might as well be the “before” shot from 2009 back when we had only that many books).

After boxing up and putting away many of our beloved board books, we moved it upstairs to our daughter’s new bedroom.

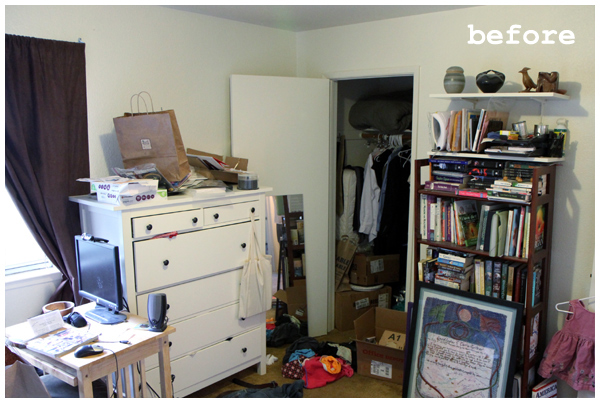
Here’s the shot from before we started the transformation from spare bedroom/office/junk closet to big girl bedroom:

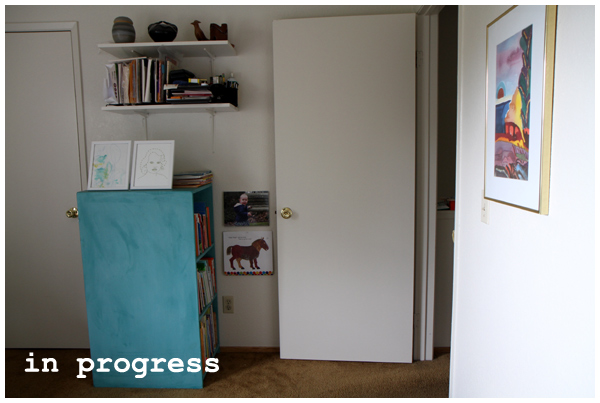
Wow, does it look less cluttered now, though we have more work to do:

Remember this video of our daughter reciting her version of Eric Carle’s classic, The Very Hungry Caterpillar, from last week?

She’s reading in front of the bookcase in her new room!

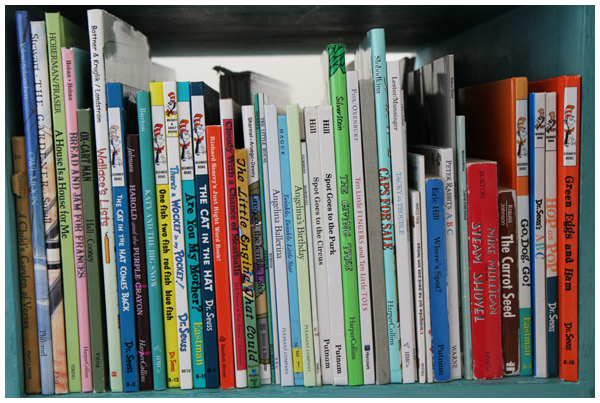
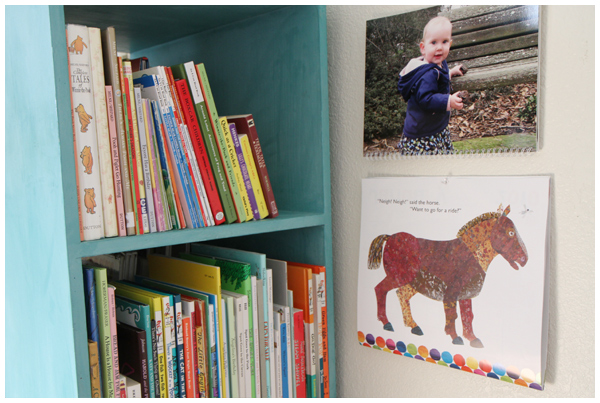
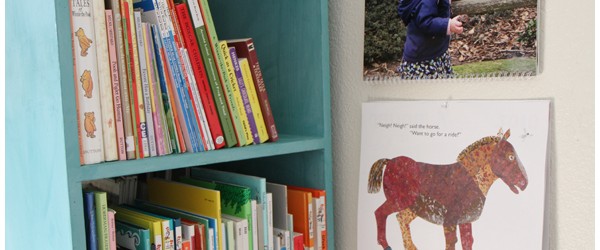
One side of the bookcase has our before bedtime books and some picture book fiction,

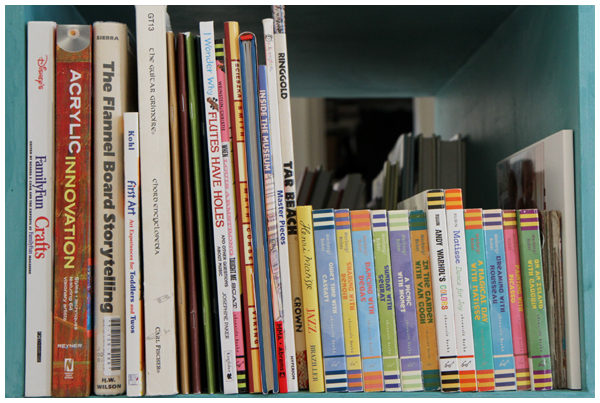
the other side contains (mostly) a nonfiction collection:


I’m in the process of framing art from beloved children’s books to hang next to the bookcase, but in the meantime our daughter asked us to hang pictures from two of last years family calenders (one with pictures of her and the other featuring Eric Carle illustrations).

All that’s missing is a comfy cushion to snuggle up on and I have plans for that.

Embroidered Portrait Fun

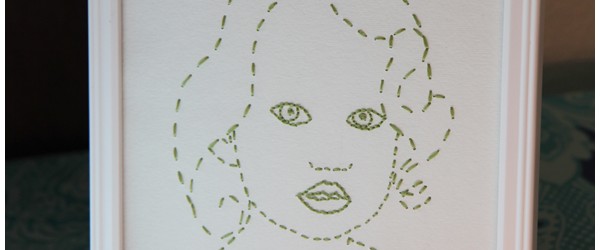
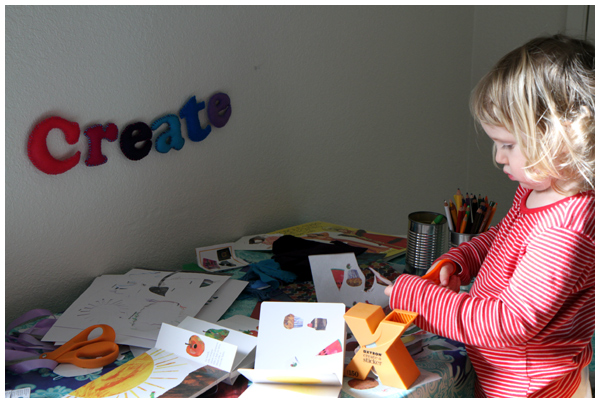
I wanted to embroider something special to hang with the “create” felt banner I made for above the desk in our daughter’s new big girl room (similar to the “sweet dreams” felt banner above her bed).

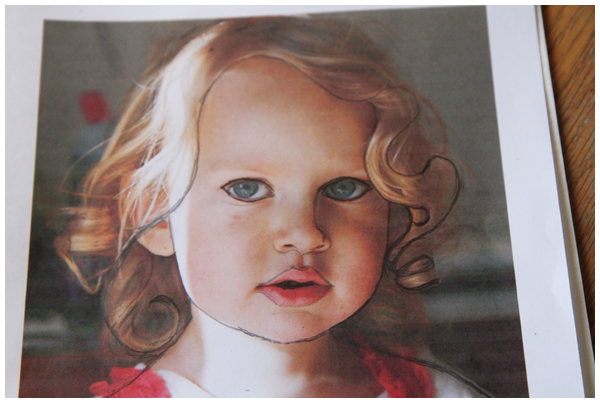
I read about a portrait embroidery project in Country Living Magazine and couldn’t wait to try it. After printing out the photo that I would use as a template, I drew in pencil on the photo where I planned to embroider. I’m glad I used pencil because I drew and redrew the lines until I felt confident with the outline placement.

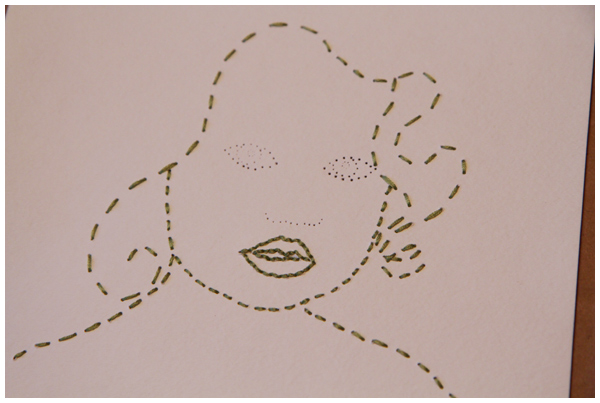
Then I taped the photo template to watercolor paper with scotch tape, placed it on top of some thick cardboard and used a thumb tack to punch holes into the watercolor paper to embroider. (See the Country Magazine link above for the complete directions).


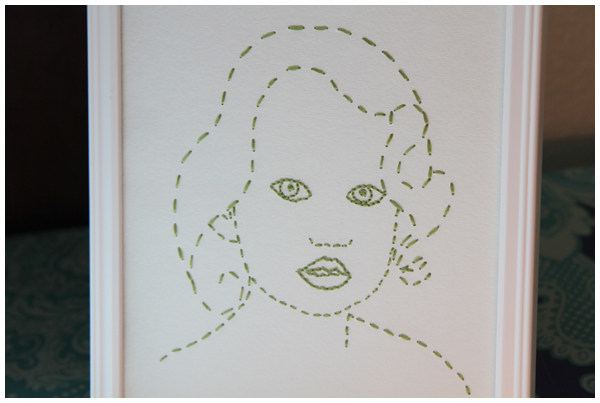
Framed and ready to hang above her desk

I was nervous that the picture wouldn’t look like her, but I’m quite pleased with the final result. In fact, I like her embroidered portrait so much that I’m toying with the idea of making a family portrait for our bedroom.

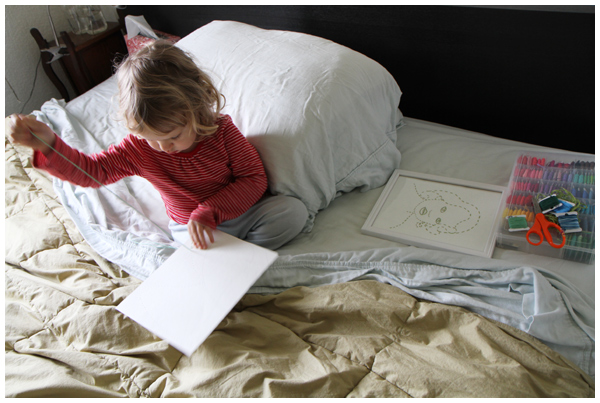
Meanwhile, our daughter is busy embroidering a picture of her own design. I love it when inspiration hits!

Working in Bed

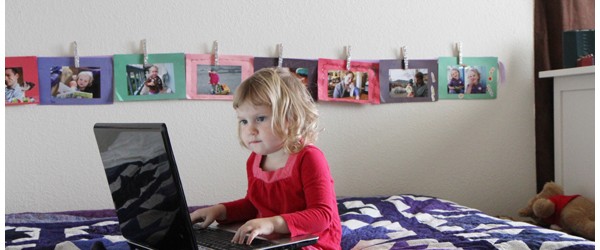
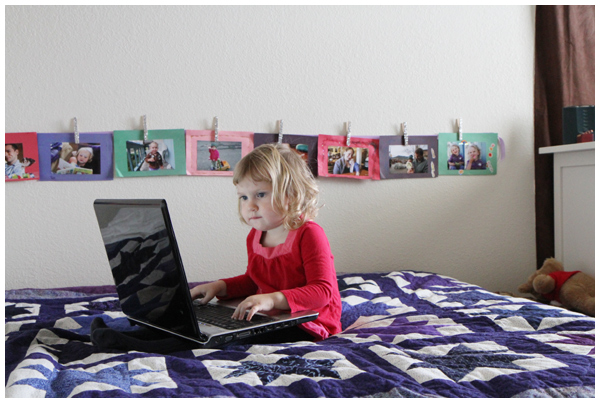
Typing her letters (with the computer on her lap!) and looking like she’s three years old going on thirteen… Kids these days!

She loves her new room. What might have been a difficult transition turned out to incredibly smooth and easy because she directed (asked for!) this change. She’s sleeping in her own bed entirely by herself (from 6pm to 5am last night!).

The only shakeup has been the bedtime routine, which has been throwing mama for a loop this week. Settling down and being calm before bed has become impossible. I have high hopes that as her room becomes more familiar (and, dare I say, boring!) we’ll return to our easy, relaxed bedtime routine.

I keep telling myself that next week will be better. And, if not next week, then definitely the week after that. Ah, eternal optimism.

Glittery Clothespins

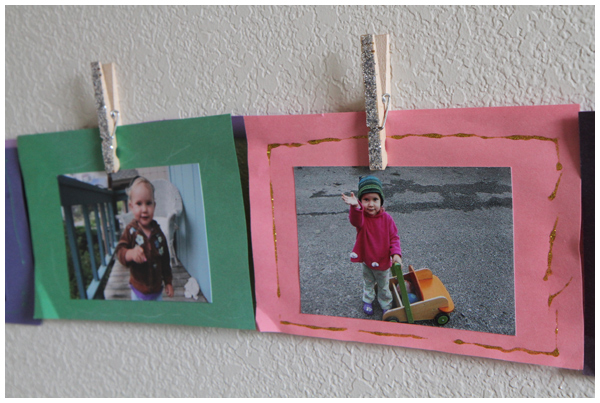
Remember the colorful photo banner we made for our daughter’s birthday?

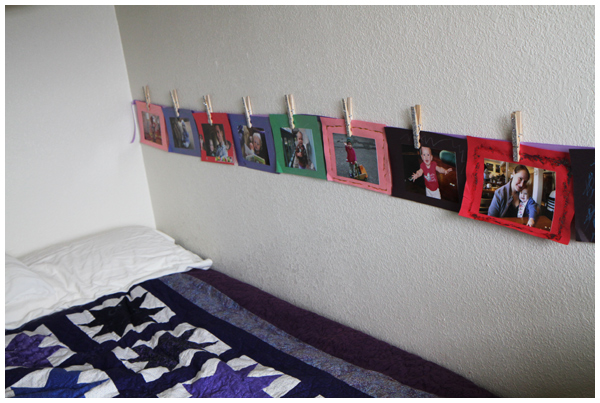
Instead of taking it down and putting it away, we decided to move it upstairs into her room to hang along her bed so she could continue to enjoy the photo memories.

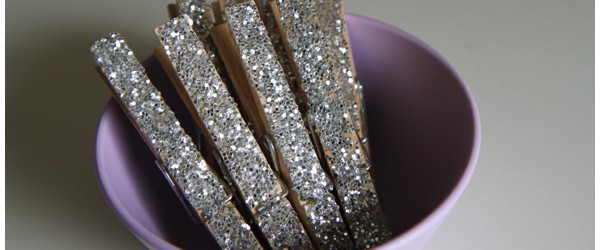
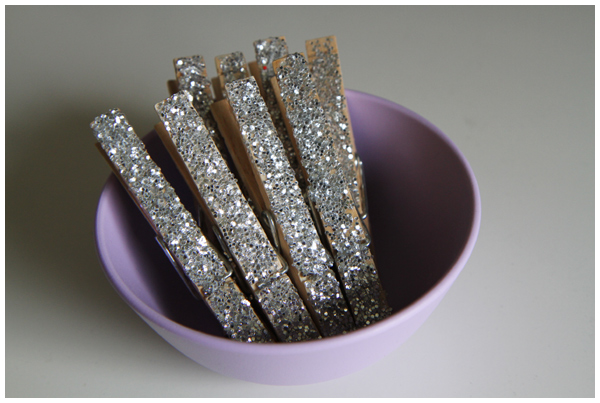
To add a little sparkle to the project, we decided to decorate the clothespins with silver glitter. (Similar to these gorgeous ones for sale on Etsy.)

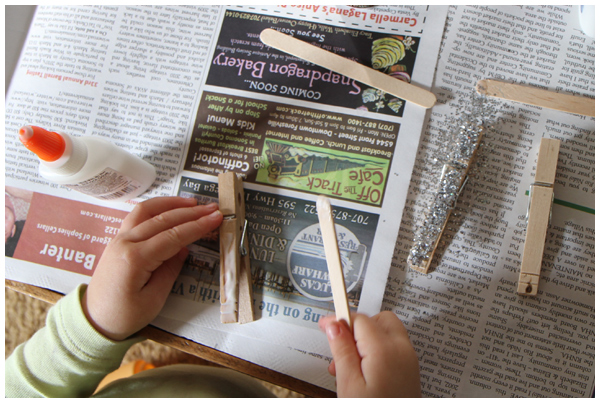
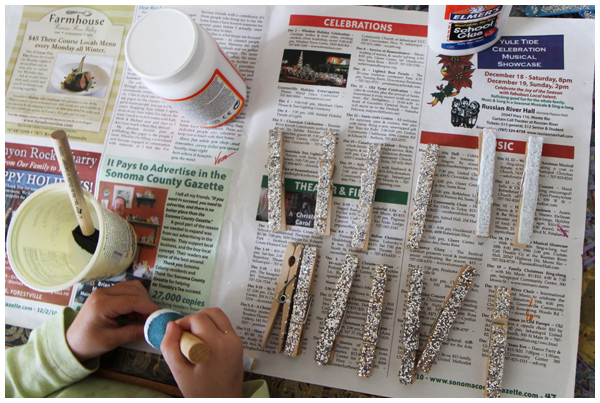
First we covered one side of the clothespins with plain glue, then we placed silver glitter on top.

We let the clothespins dry for a few hours before covering them with glossy mod podge so that the glitter would stay on the clothespins instead of making a big mess in her clean bed. (At least that’s the theory. We shall see how it works out.)

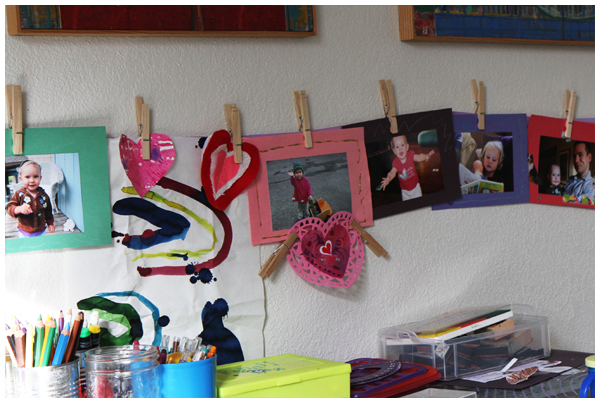
Once they were dry, we brought them upstairs and re-hung the photo wall.

Super easy, cheap, and so sparkly and fun.

As our daughter would say, “Ta da!” Little girls can be so cute and dramatic.