The Bed Canopy

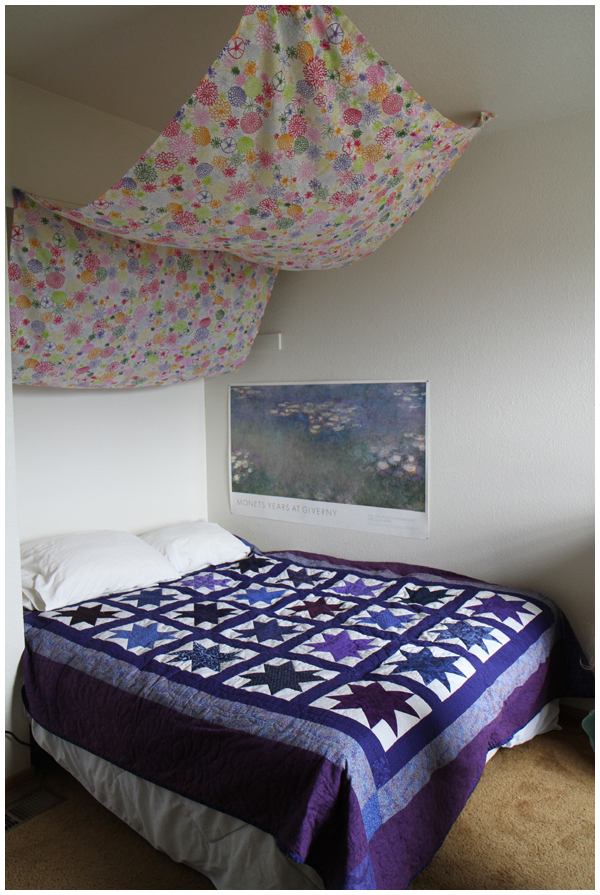
First of all, I imagine you’re all thinking, “A queen sized bed for a toddler?! Why?!” We believe 1) we have this great organic queen sized bed laying around that’s begging to be used, 2) we may have guests come to visit in which case we need a place for them to crash, and 3) I’m sure David and I will be taking turns sleeping next to the kid-o during this transition time. In fact, he slept there for two hours this morning with the toddler (who ALMOST made it through the night entirely on her own), so it’s already working out great for us, thank you very much!
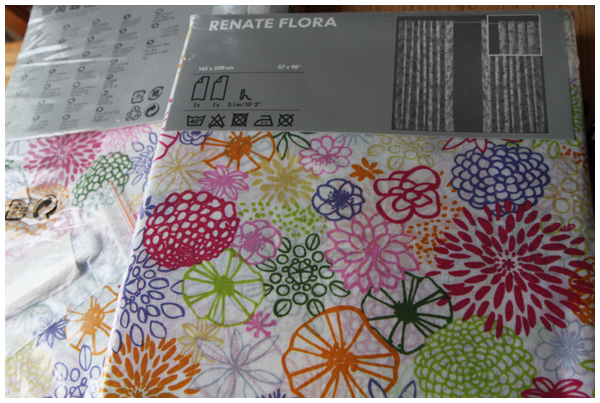
We created the canopy above the bed using a sheer IKEA curtain (a hand me down from friends).
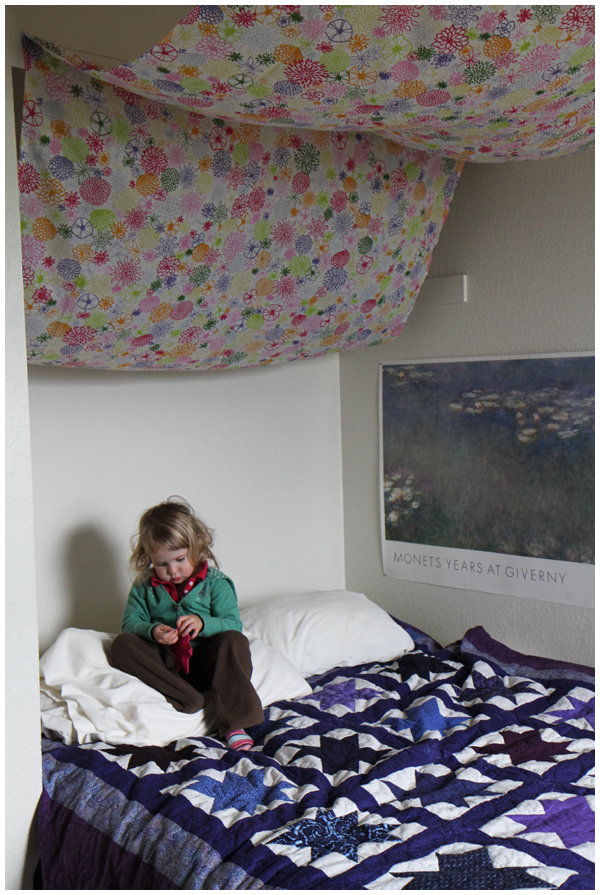
We received the handmade quilt on the bed as a wedding present from my godfather. Our daughter made it VERY clear that she wanted to use this quilt in her new room and we are thrilled to see her cherish it as we do.
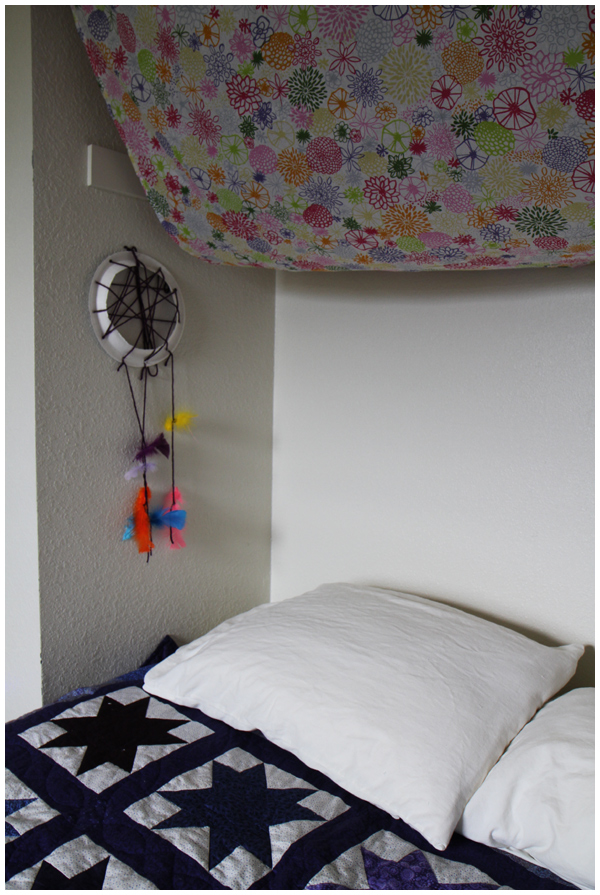
Our daughter made the dream-catcher, above, in her yoga class. That was one project she made very clear that we NEEDED to keep and that it MUST hang by the bed. My original location on the wall in the living room was shot down. Clearly, I should have known better. It’s perfect here.
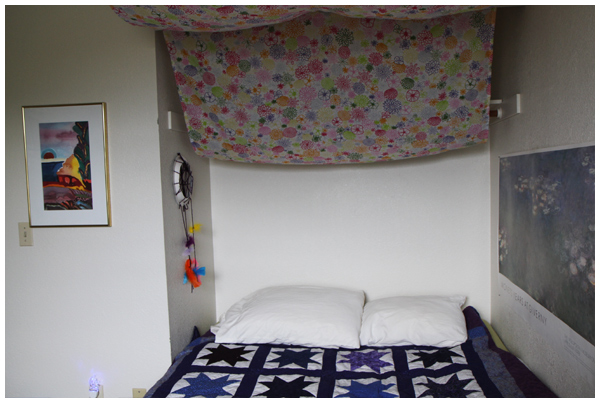
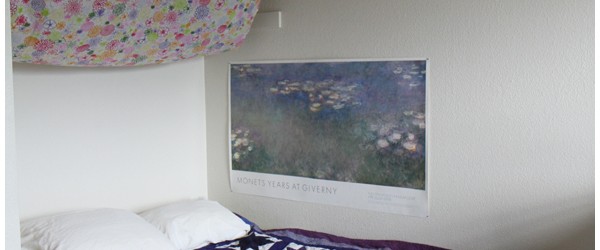
The watercolor painting to the left of the bed was done by my step-grandmother. She let me choose one of her paintings to keep as a graduation present and it’s never had a better-fitting location in our house. I love how the bright colors match the canopy!

We have so many treasured handmade gifts by her bed, but just you wait! We’re hard at work on an art project for above the bed. I think you’ll like it. Stay tuned…
Birthday Party Photo Banner

Our blog countdown to the three-year old’s birthday party continues!

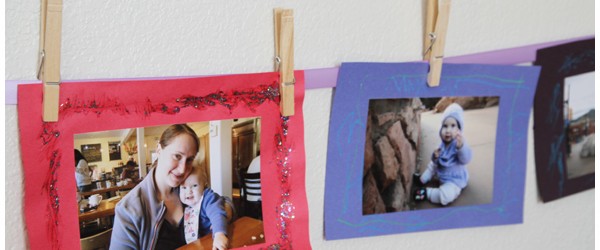
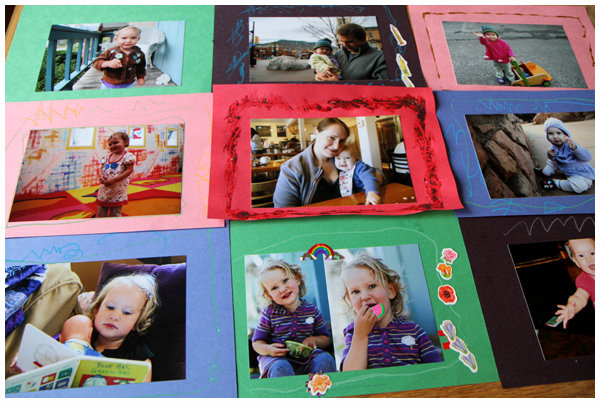
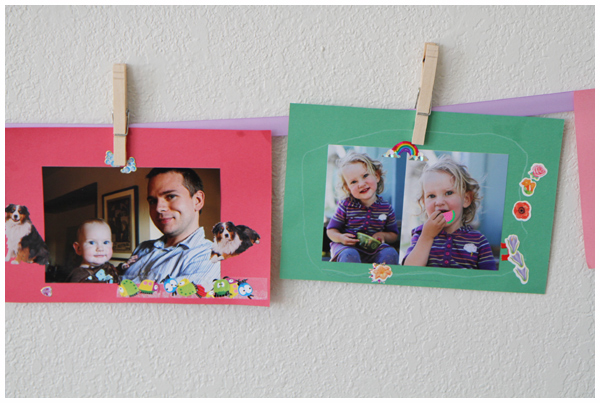
First we gathered photos of the birthday girl taken over the past three years, then we glued our favorites on colored construction paper and decorated the frames using glitter paint pens, gel markers, and stickers:

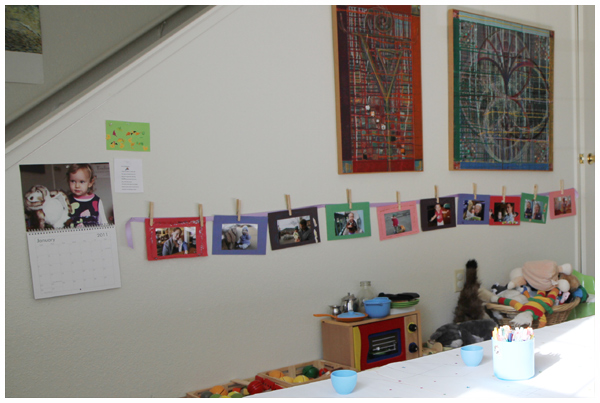
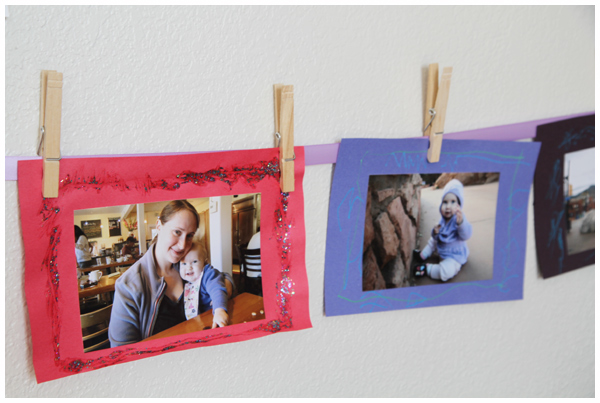
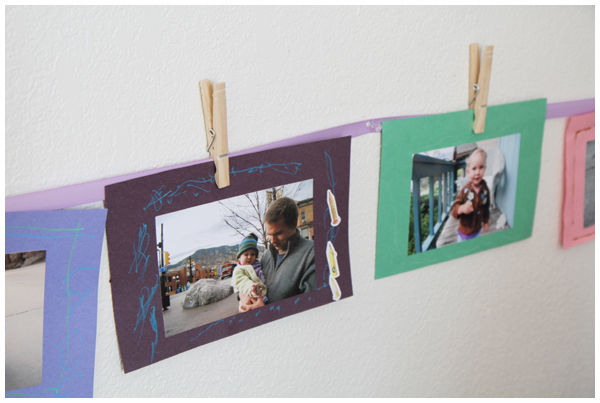
Then we hung a purple ribbon on the wall (using push pins) and clipped the photos to the ribbon with clothespins:

A simple, sentimental, and colorful birthday party decoration that we will definitely be recreating each year. Such a hit!


(Thank you to my friends Alissa and Dorothee for inspiring me with their own ribbon/wire art walls.)

Christmas Eve

What a month we’ve had full of holiday celebrations.

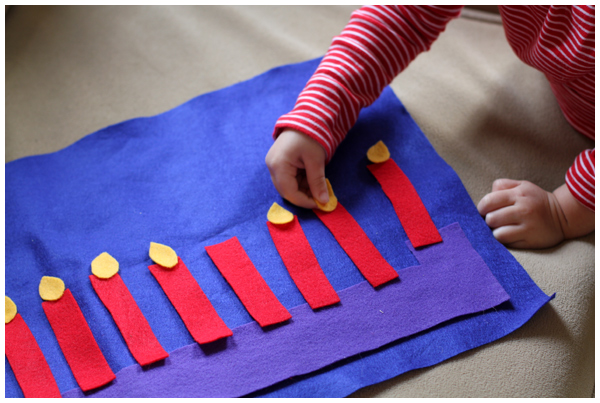
First we celebrated Hanukkah:

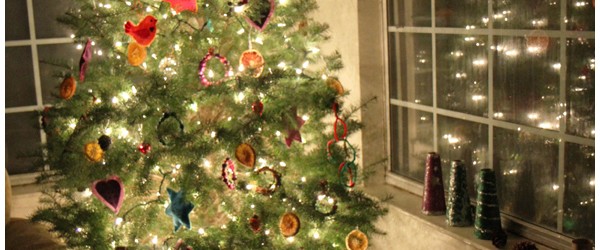
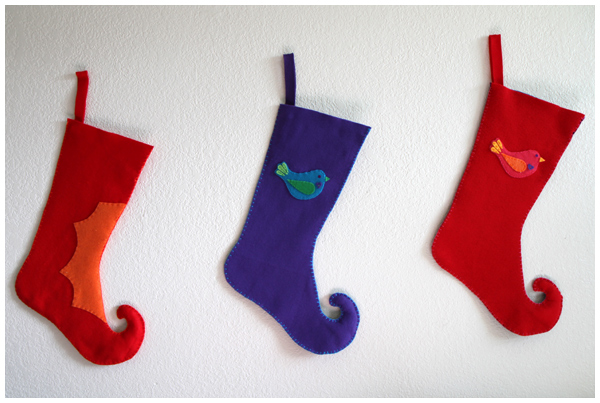
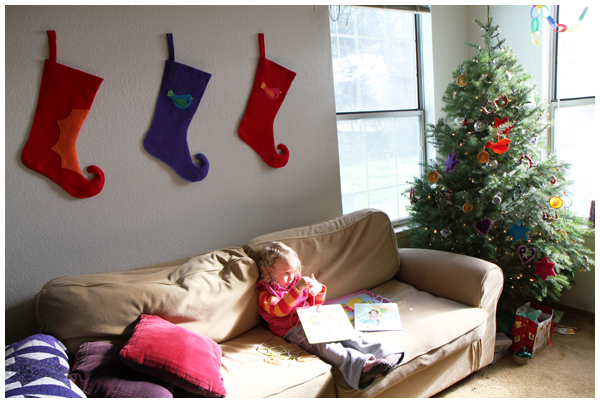
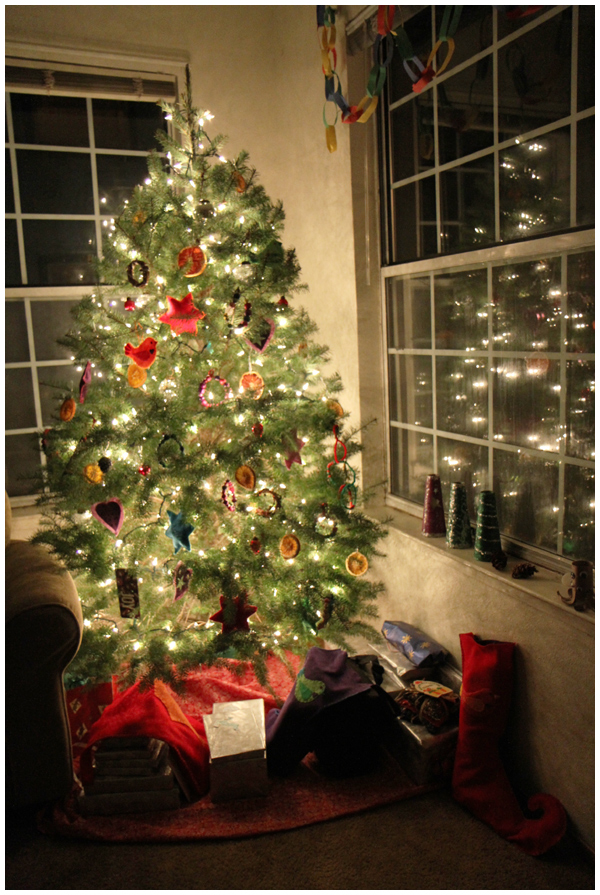
Then we counted down to Christmas, making handmade ornaments for our first full-sized tree and wreaths to decorate our entryway, sewing elf stockings for our family, and baking gluten-free treats:


Tonight I wrapped the presents and stuffed the stockings while David cleaned the kitchen, and voila! We’re all ready for Christmas Day:

After all this creative fun, we need a breather…

We’re going to blog lightly over the next few weeks, still posting daily photos Monday through Friday, but relying on less text, as we take a mini-blog vacation to recover from the whirlwind of the past few weeks and gear up to celebrate Carrie’s grandmother’s 80th birthday in January.

Hope you have a lovely holiday and enjoy your New Year celebration. May you find the comfort of warmth and light in this season of darkness. The solstice is past us, we’re heading towards Spring!

We’ll see you in 2011!

Holiday Card Wreath Update

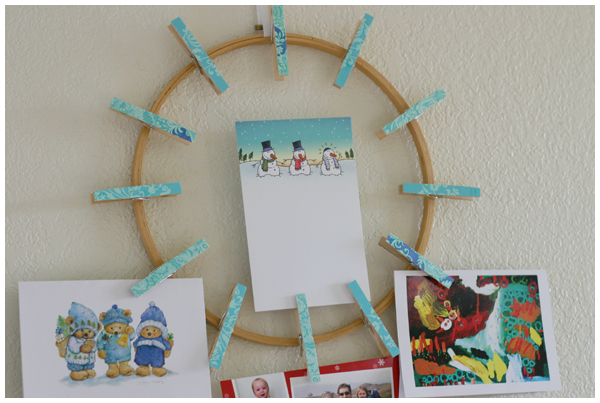
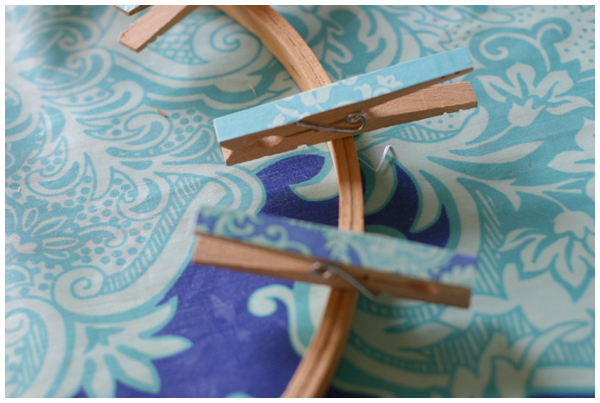
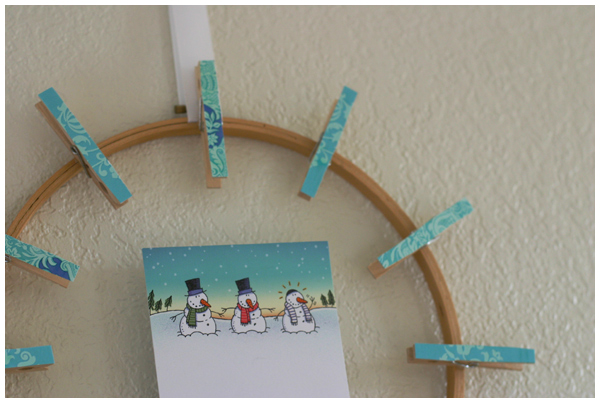
Remember that beautiful holiday wreath made out of an embroidery hoop and clothespins? I finally made it.

Simple, easy, fun! I used pictures of our Amy Butler designed, non-toxic laminated cotton tablecloth to glue on the clothespins (so we could use the wreath year round to hold pictures and cards).

The toddler helped with the gluing of the paper to the clothespins. I hot glued them on to the hoop. We hung it with a push pin.

The whole thing cost about $3.50 since most of the supplies came from our local craft resale shop (in brand new condition). I’d like to think that you’d never guess that by looking at it. It certainly doesn’t look expensive, but I hope it doesn’t look that cheap either. Besides, it was made with love!

The project couldn’t have been easier and I love the look of it. Thanks to Kathleen for the inspiration and tutorial. Now it’s your turn to try it!