Labeling Juice Boxes

Our blog countdown to the three-year old’s birthday party continues!

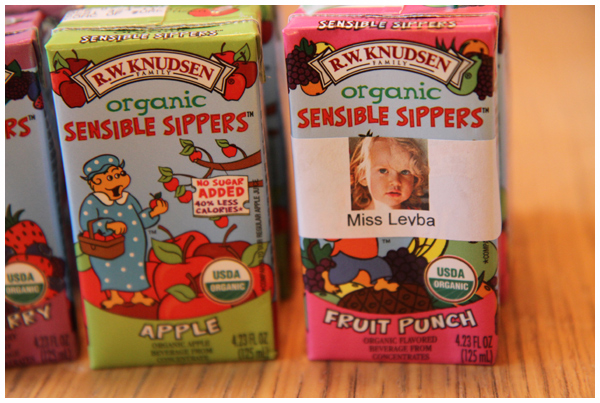
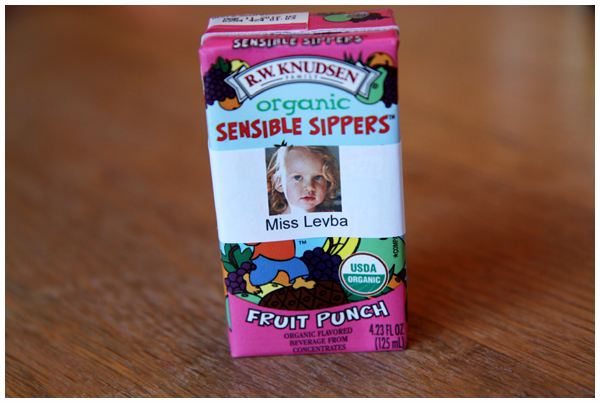
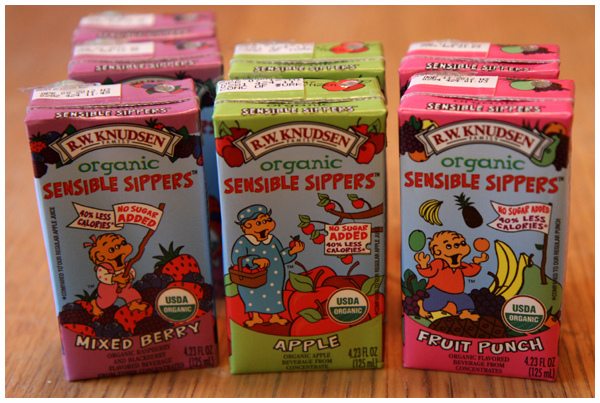
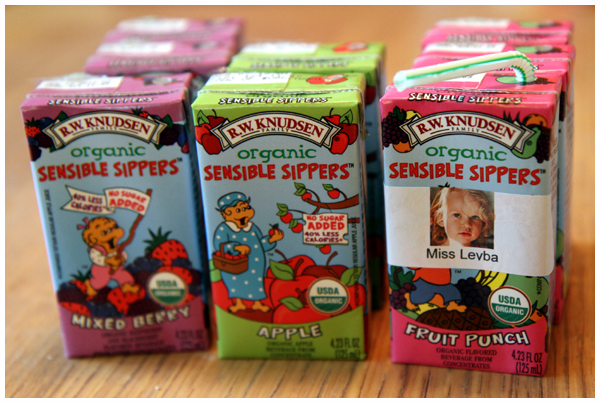
When faced with the conundrum of how to keep nine kids worth of juice boxes straight, I set out to create labels with their names to adhere to the juice boxes.

Then I paused upon realizing that the kids, aged 2-4 years old, don’t know how to read yet.

Clearly some pictures were going to be involved.

I picked out favorite photos of each of the kids from my hard-drive and made 100 by 100 pixel sized avatars, if you will, for each of our party guests. Then I opened up a label template in Microsoft Word, copied and pasted each kids photo in, and wrote their names underneath. I then printed out several labels for each guest in case they wanted more than one juice box.

Easy! And SO worth it!

Birthday Party Letter Art Banner

Our blog countdown to the three-year old’s birthday party continues!

Yesterday we talked about our photo banner:

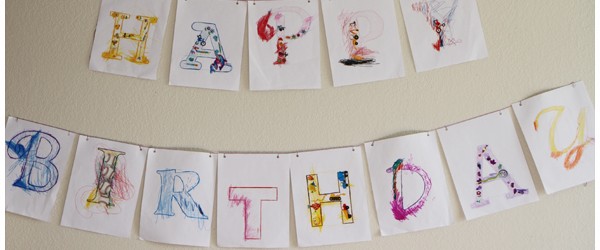
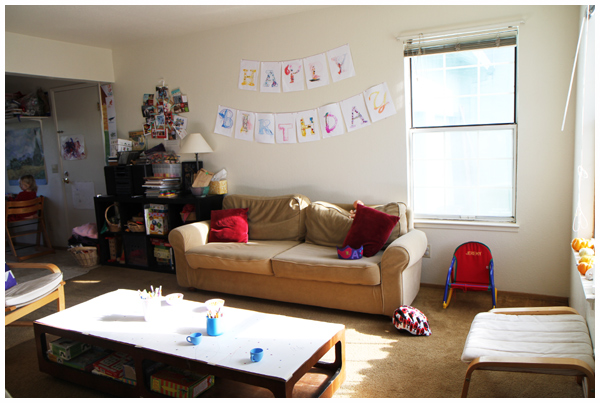
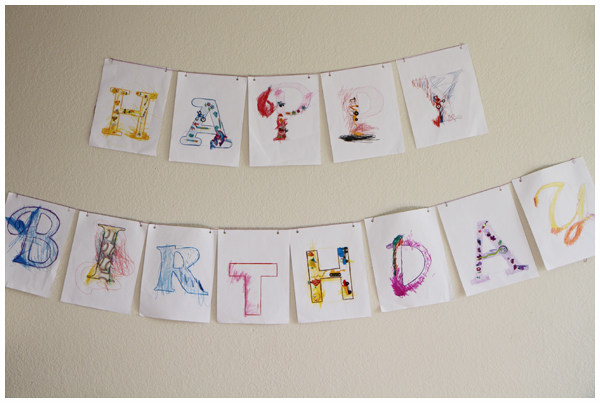
Today I want to share with you our Happy Birthday letter art banner that we’ve hung on the opposite wall of our living room:

I typed “Happy Birthday” using different fonts for each letter on our computer and set up the letters to be outline only. After printing the series out, we then decorated the letters with stickers, twistables crayons and colored pencils.

The project took us several days to complete and we talked about the different letters and colors as we filled in the outlines. For some of the letters, my daughter focused on coloring each outline one (or two) colors and matching stickers of the same color to each letter.

A fun preschool project that’s simple, yet open to endless creative possibilities.

Now, a freebie for you:

Download a PDF of our Happy Birthday letter art banner to print and color in for yourselves!

Birthday Party Photo Banner

Our blog countdown to the three-year old’s birthday party continues!

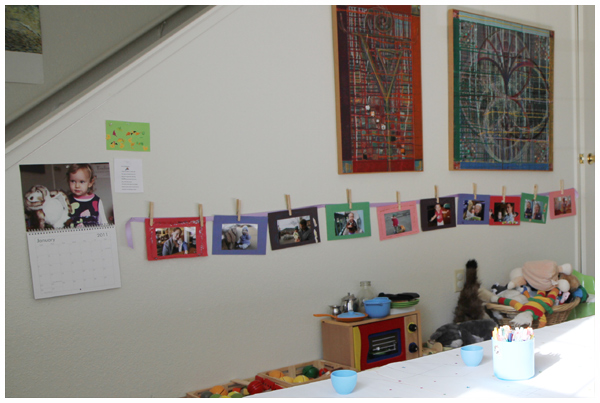
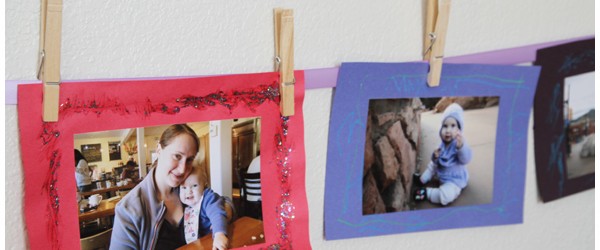
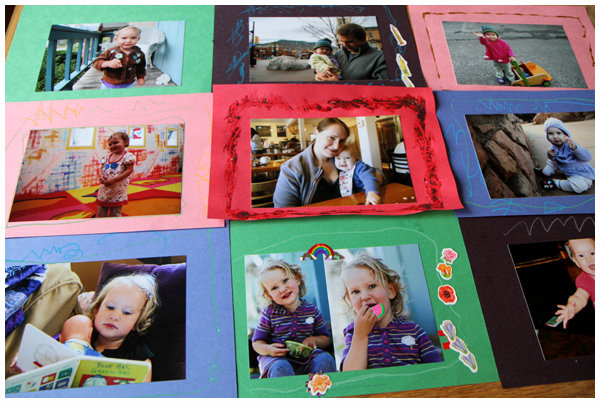
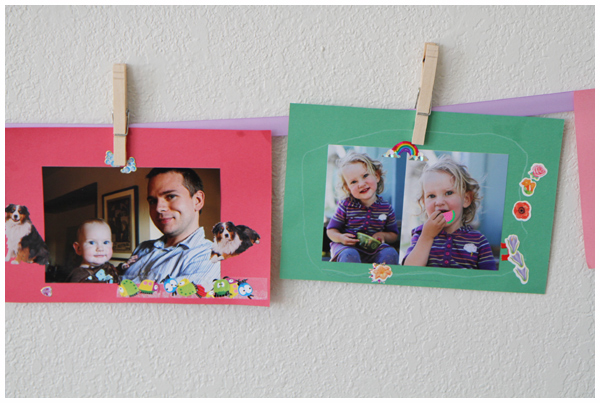
First we gathered photos of the birthday girl taken over the past three years, then we glued our favorites on colored construction paper and decorated the frames using glitter paint pens, gel markers, and stickers:

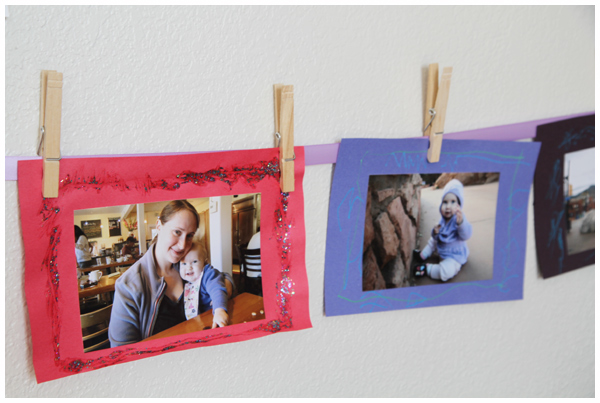
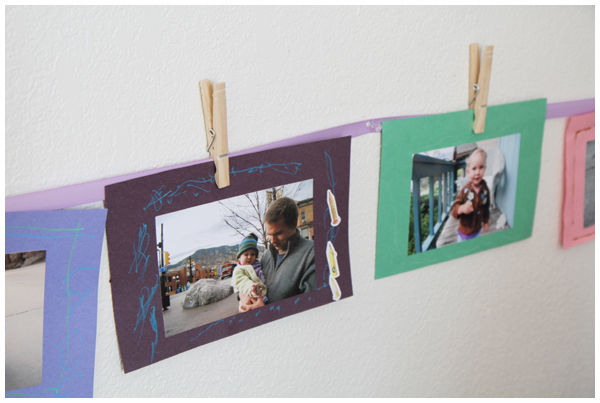
Then we hung a purple ribbon on the wall (using push pins) and clipped the photos to the ribbon with clothespins:

A simple, sentimental, and colorful birthday party decoration that we will definitely be recreating each year. Such a hit!


(Thank you to my friends Alissa and Dorothee for inspiring me with their own ribbon/wire art walls.)

Preserving Lemons

Another post in our First on Friday series where we share a recent, new experience.

I had never heard of preserved lemons until my good friend Alissa offered to teach me how to make them. I didn’t hesitate because I love learning new things, Alissa is so much fun, and what the heck are preserved lemons?!

Well, they are easy, SO EASY, to make and I’ve learned that you can use them in a variety of recipes (usually, though not exclusive to, Greater Middle Eastern cuisine). You can use the rind in salad dressings, fish or chicken dishes, stews, marinades, with pizza toppings, “anywhere you’d normally use lemon zest for a more intense, lemon kick.”

As for how they taste, I don’t know the answer to that yet. You see, you have to let them sit for a month in the fridge before you can use them. I’ll let you know how they taste in another week when they’re ready. :)

(I’ve included a list of links at the bottom of this post with more information about the process of preserved lemons and their many uses.)

Let’s get to the process. Here’s an overview.
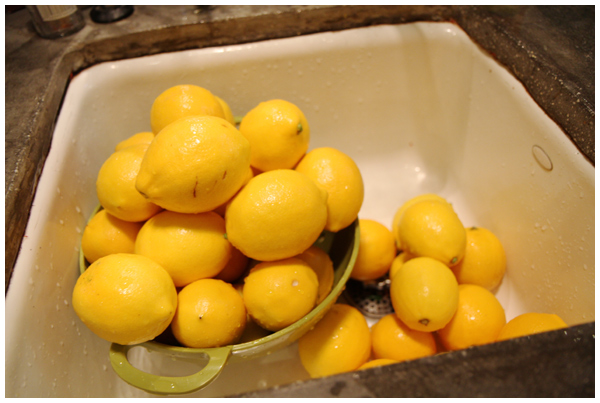

Start with lots and lots of lemons (since you will be eating the peel, be sure to use organic or unsprayed lemons). Scrub them clean.
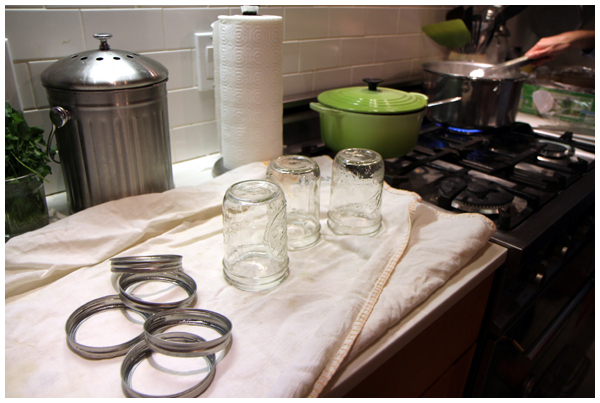
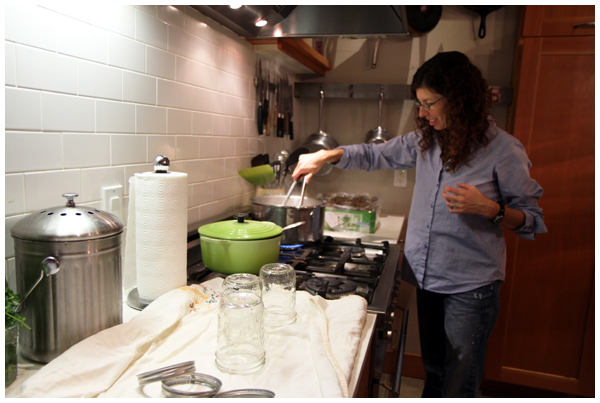

Place canning jars and lids in boiling water for several minutes to sterilize them.
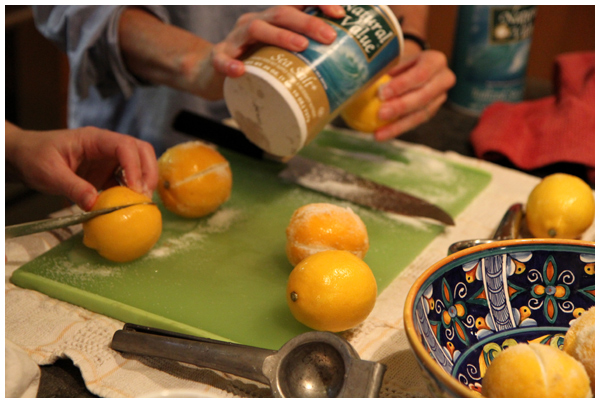

Slice into (but not fully through) the lemons on four or five sides and stuff with salt.
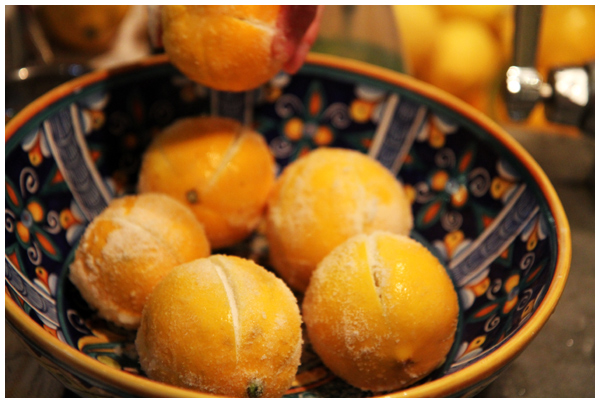

Set these salt-stuffed lemons aside while you juice many, many lemons. (Might I recommend this tool that I use daily and love?)


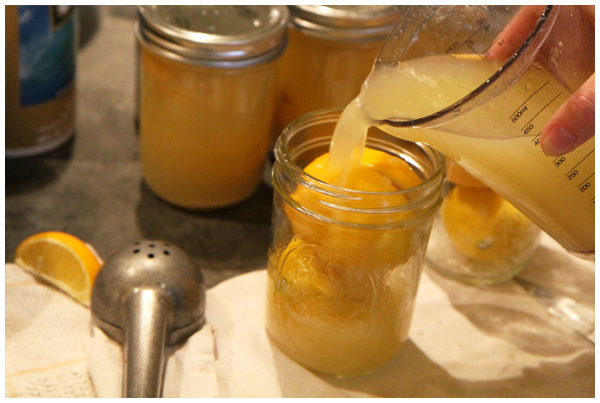
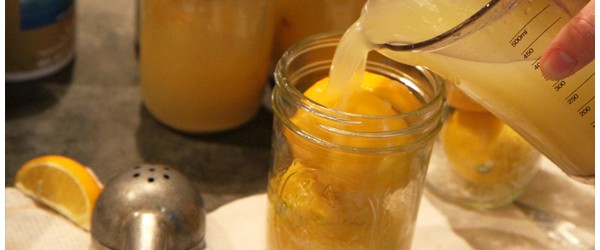
Place two (or more) lemons into the bell jars. Fill with lemon juice.
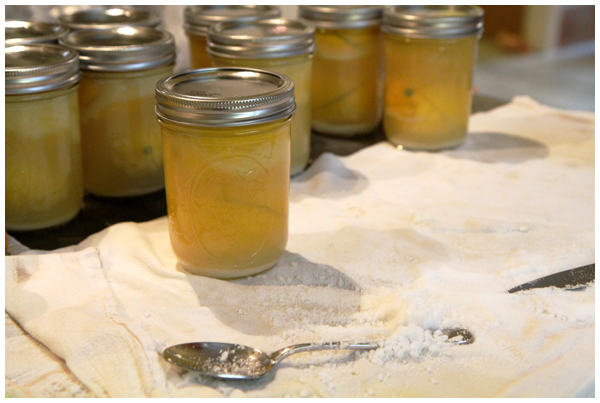

Seal tightly.
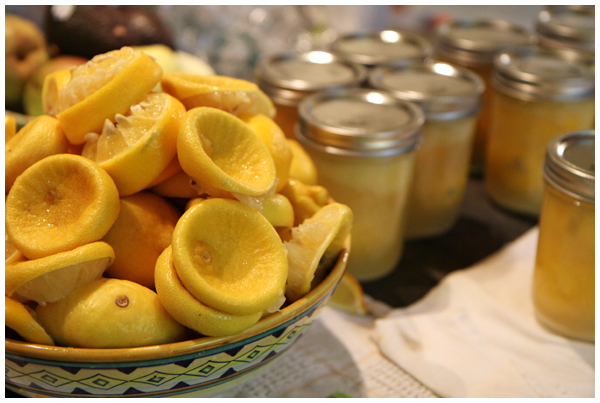

Admire your handiwork and the sheer number of lemons you went through.
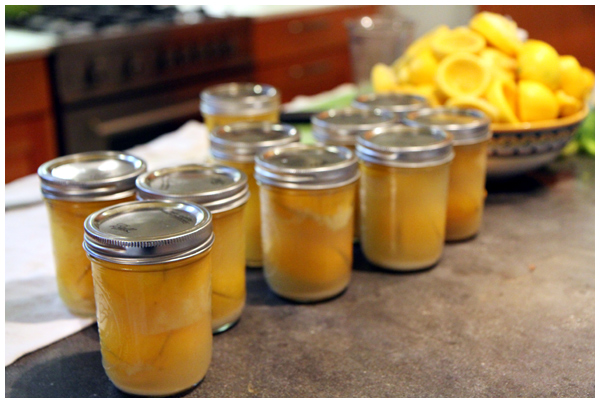

Place them in the fridge for a month and then you can start using them!

Want to learn more about the history of preserved lemons, the many ways to preserve them and find some recipes incorporating them?

Check out:
+ David Lebovitz’s method for preserving lemons (similar to what we did, just taking a few more days).
+ Heidi Swanson’s method as described on her delightful site 101 Cookbooks.
+ The Kitchn’s how to article that parallel’s our method and explains it more fully.
+ This fascinating article on Serious Eats about that “secret ingredient.”
+ A great article about all of the above, plus a demonstration video on Stone Soup.

Recipes incorporating preserved lemons to try:
+ Fettuccine with Preserved Lemon and Roasted Garlic
+ Quinoa with Asparagus and Preserved Lemon Dressing
+ Sauteed String Beans With Garlic and Preserved Lemon
+ Grilled Salmon with Preserved Lemon and Green Olives
+ Sautéed Shrimp with Preserved Lemon
+ Lentils with Spinach and Preserved Lemon (plus another recipe for making, you guessed it, preserved lemons)
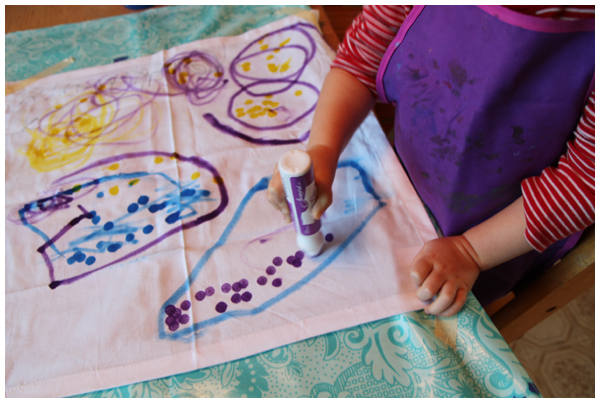
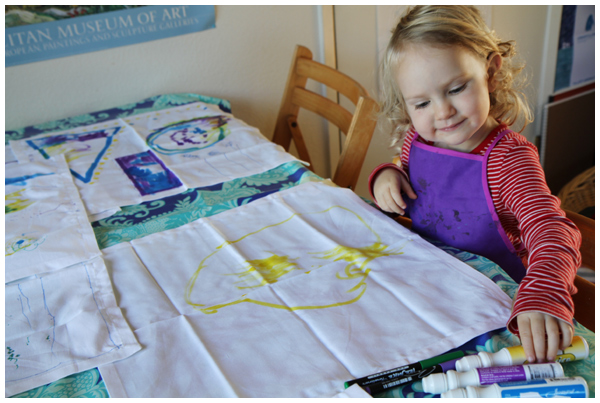
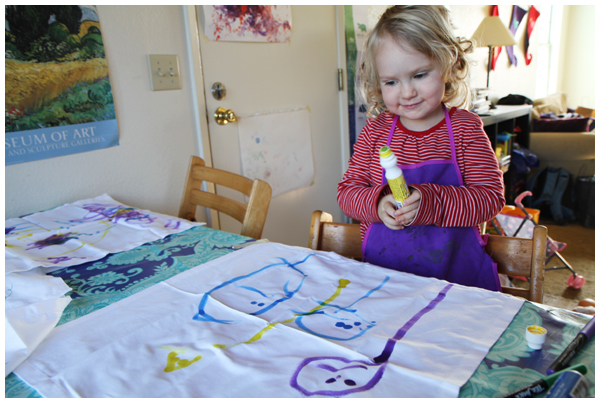
Toddler Art Napkins

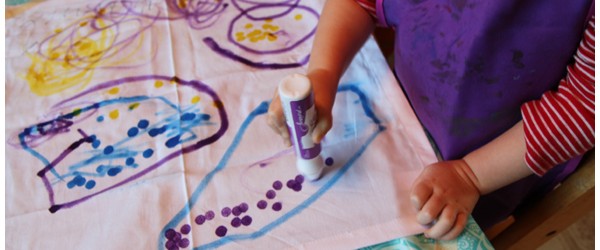
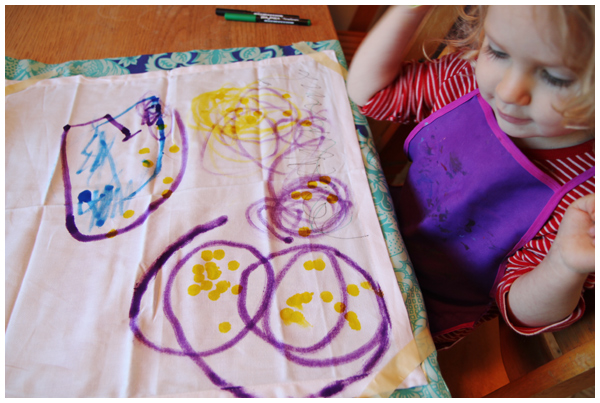
I love the idea of turning everyday items into something more special and meaningful, such as transforming plain white napkins into unique artwork with a toddler and fabric markers!

These napkins are perfect for family meals, cheap and easy to make, and how empowering for little ones to enjoy eating with something they made.

I know it makes my meal more special.

(Project inspired by similar toddler creations at my friend Alissa’s house! Thanks, Alissa!)