Handmade Ornaments Preview

In the eight years that David and I have been together, we’ve never had our own full-grown Christmas tree. Now that our daughter is almost three, we decided that this would be the year. We want to start laying the foundation for more Spritzer Leyba family holiday traditions, starting with this one.

I have this idea in my head that all of the ornaments on our tree will be handmade. It seemed like such an innocent idea: a handmade holiday focusing on the process and tradition rather than the commercialization of the holidays.

Then I did a mental calculation as to how many ornaments we’d need and, while I may in fact be over my head, I am completely positive and excited about this project. Giddy, even. We’re having such fun working on our ornaments.

Some of the ornaments will be quite easy: dried orange slices (shown here on our mini tree last year), paper chains, and popcorn garlands.

Other decorations are more labor intensive.
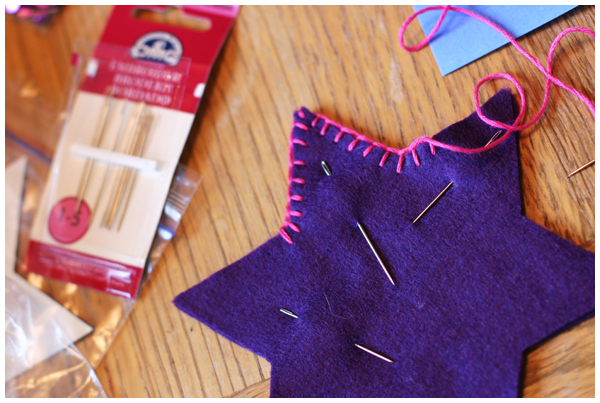
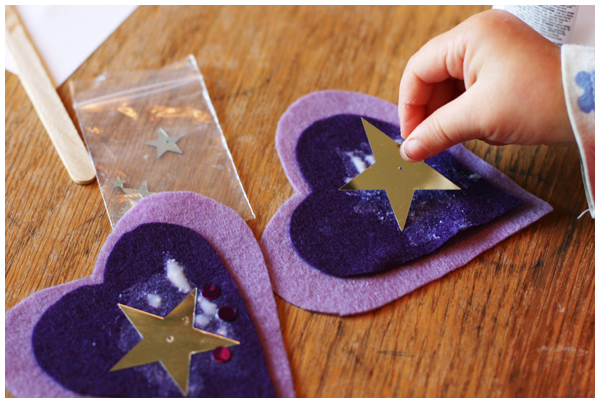
We’ve been hard at work cutting, sewing, gluing, painting, coloring, sequent and glittering ornaments.
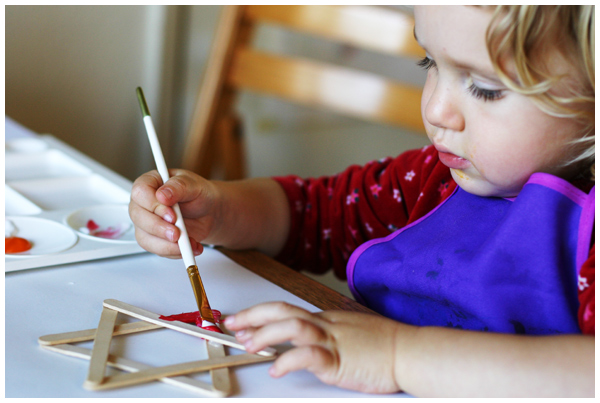
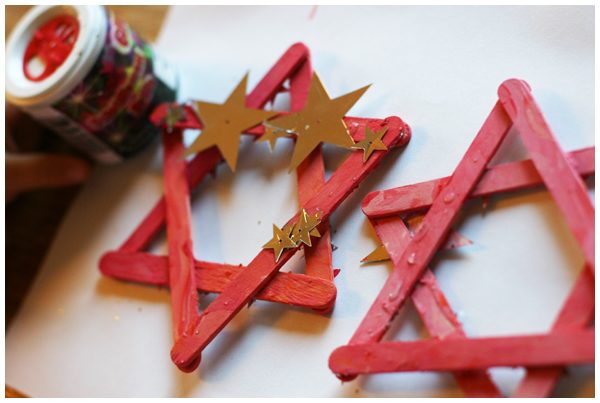
Several are done and many, many more are on the way!
Printable Holiday Gift Cards

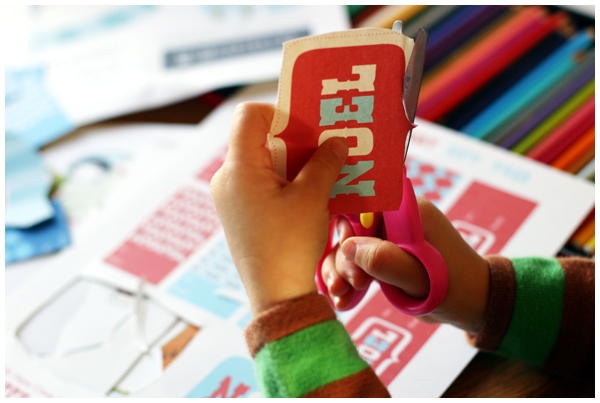
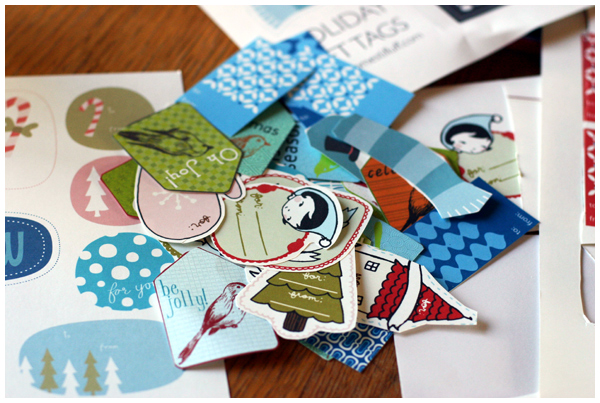
With Hannukah and Christmas fast approaching, we’ve been busy printing out and cutting holiday gift tags. (A perfect task for an almost three year old who loves practicing with her scissors!)

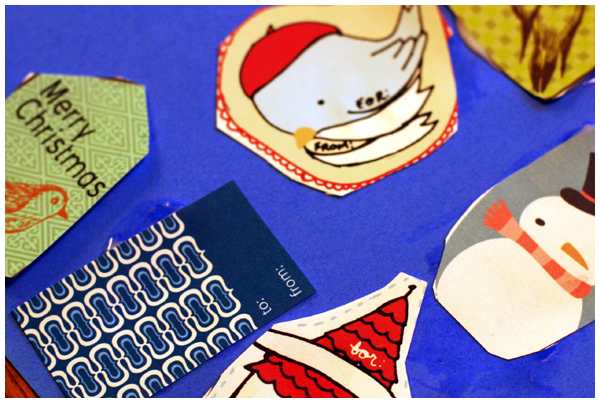
Here are some of the holiday tags that we’re using this year that you can download for free, print and use too!

Free Printable Wintry Holiday Gift Tags
Paper Crave Printable Holiday Gift Tags
Tagged and Ready for Giving
Holiday Bird Tags (other designs here)

Not only do they make excellent gift tags, but Miss Leyba enjoyed incorporating them into collages too!

Yarn Cone Holiday Trees Craft Project

No surprise that our craft projects have been taking a holiday spin lately. Today we’ll share a simple kids holiday tree project.

Note that this a messy project (lots of glitter!) and takes several days to complete (because of all the layers that need to dry)… You have been forewarned!

We started with these free empty yarn cones, picked up at a local craft resale shop (that benefits our town’s senior center).

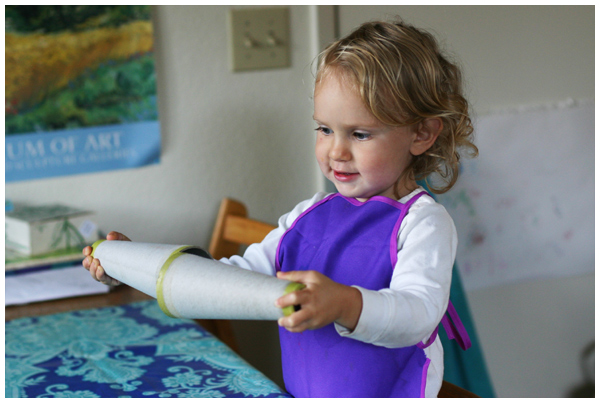
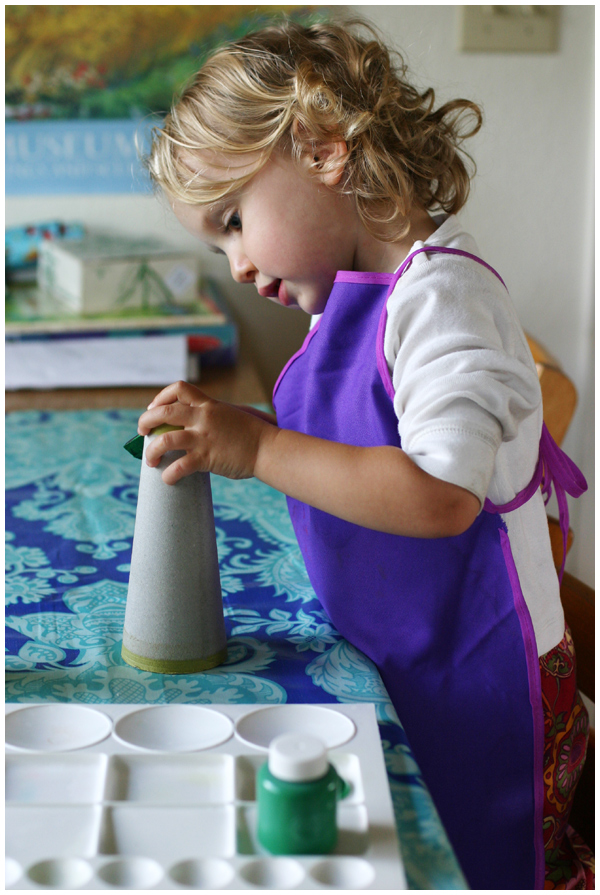
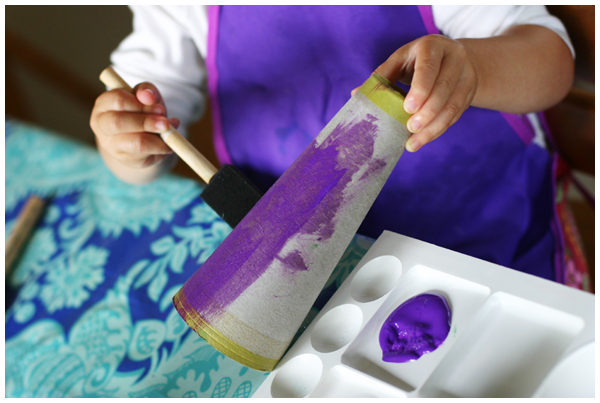
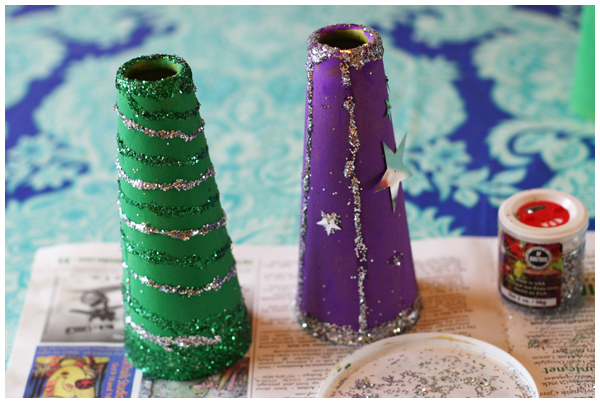
We painted the yarn cones with crayola washable paint in green and purple. (Because doesn’t purple just scream holidays?! Miss Leyba thinks so and I quite agree with her.) Please learn from my experience and don’t use washable paint. We used it simply because cause a toddler was involved, but the paint was somewhat thin.

I only got a second coat on half of the cones (impatient toddler and who has time for second coats these days anyhow?!), so you can tell from the photos which ones received just one coat of paint. Regardless I think they turned out just fine. We’re all about the process versus the product here in Spritzer Leyba Land.

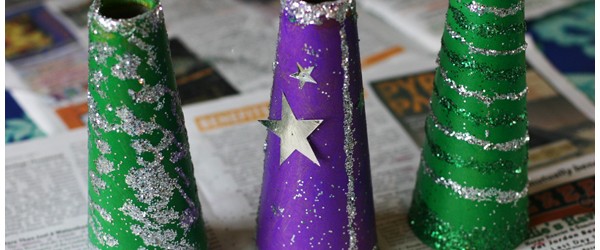
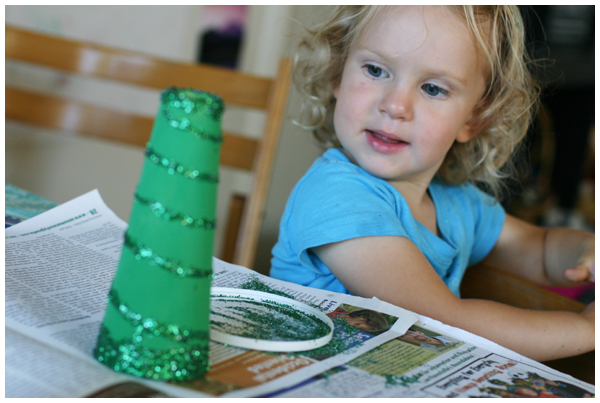
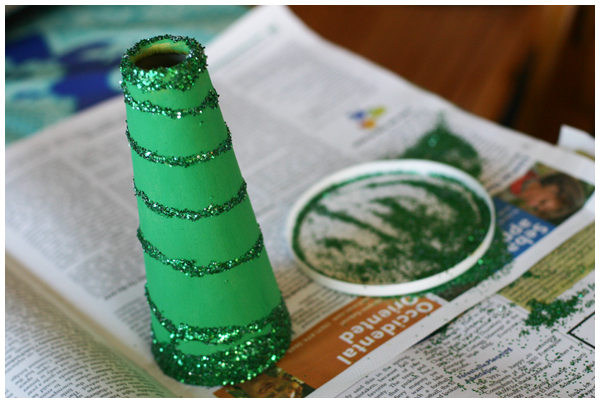
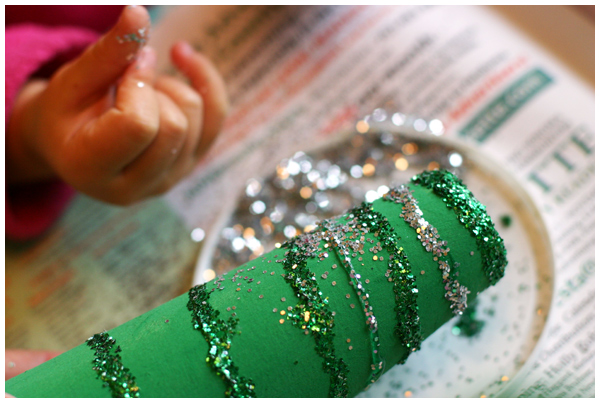
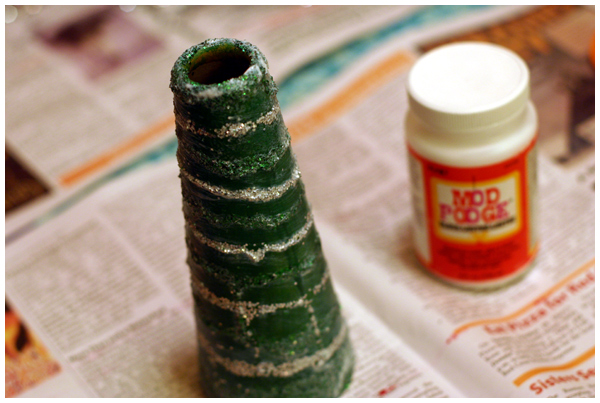
After letting the cones thoroughly dry, we used craft glue to made patterns on the trees and then covered them with glitter. For our first coat, we used green glitter (also from the craft reuse shop).

We then added patterns with glue and silver glitter, after the layer of green glitter thoroughly dried.

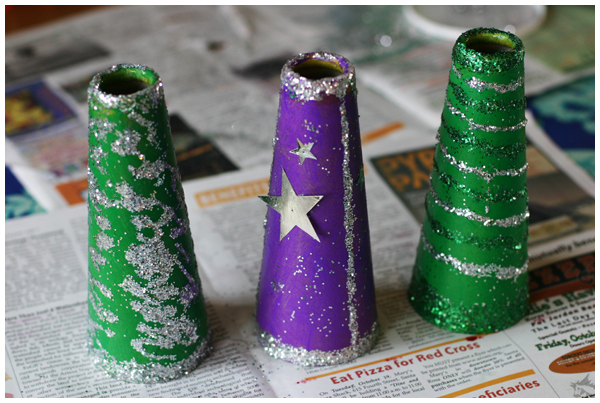
We glued on embellishments. We used silver stars, but you could easily use buttons, mirrors, felt pieces, dried flowers or leaves (and turn it into a fall craft, rather than a winter holiday craft).

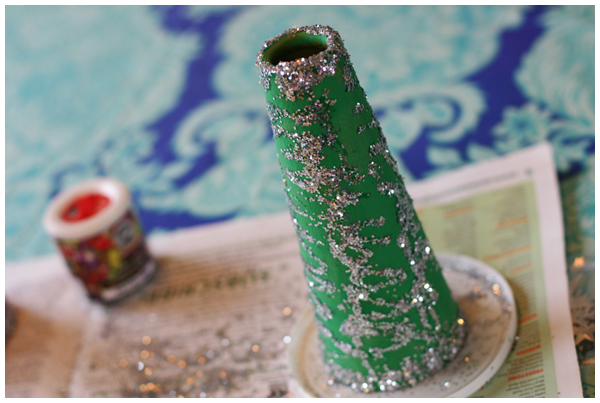
I zig-zagged glue and then rolled a cone, shown below, in the glitter on our newspaper for a more tree-boughs-covered-in-snow sort of look. (Who knows if I was successful but it was fun!)

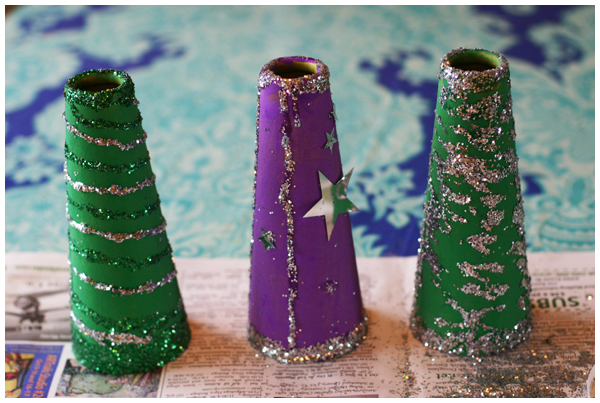
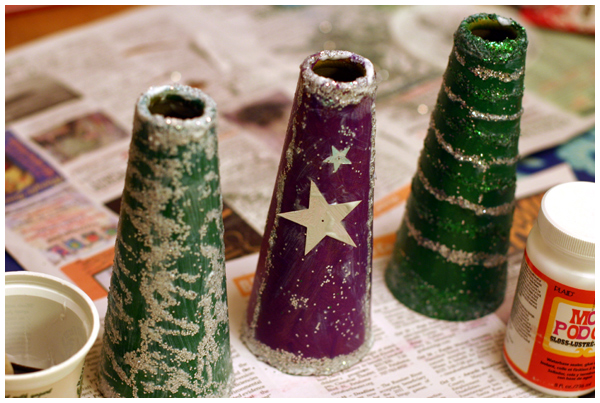
Here are our three trees drying:

We then covered them with mod podge to seal the glitter on and to add a gloss finish to the trees.

Here’s when I thought I messed up and that the trees would be snow covered if the mod podge stayed white and didn’t dry clear (pardon the harsh lighting):


Imagine my relief when I found them the next morning, all glossy and dry, with no hints of white left over.

Phew!

Now to store them in a safe spot until December…

Swallowtail Butterfly Bank Checks for Kids

When I created credit cards and play money for my daughter, I showed you a process to inspire and guide you in making your own play money for kids.

This time, I wanted to focus on a project that you could instantly download, print and share with the kids in your life.

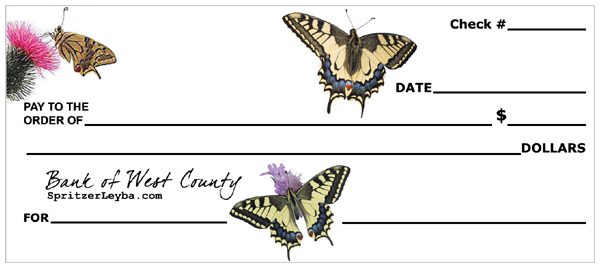
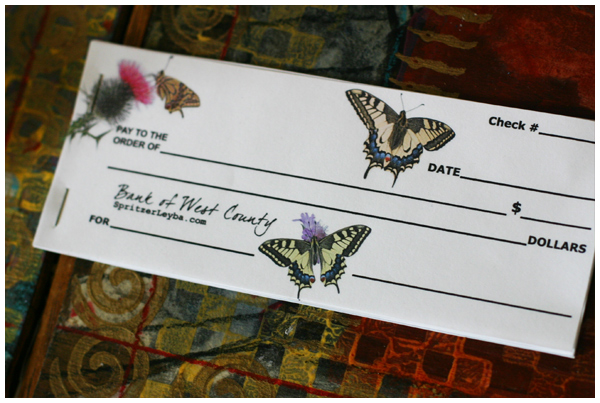
Enter this fun Swallowtail Butterfly Bank Checks for Kids project!

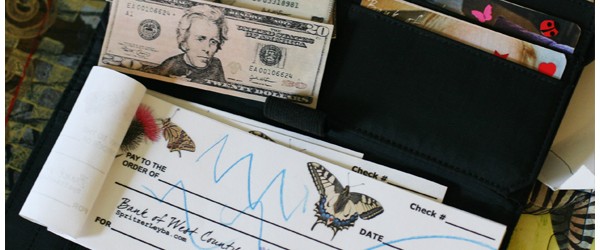
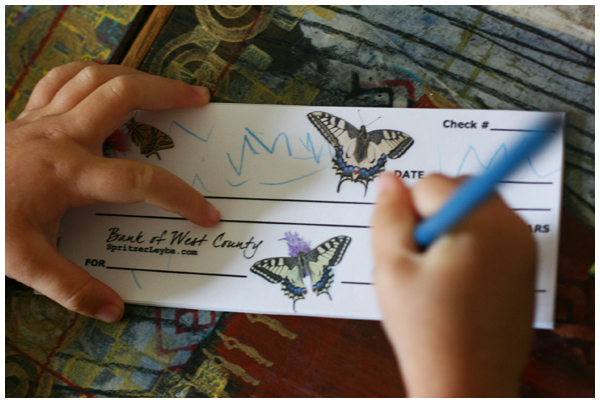
After several weeks of Miss Leyba insisting that she should be allowed to write in mama’s checkbook (yes, I’m old fashioned like that and still use one!), I decided she needed a checkbook of her own.

I created these checks with a Swallowtail Butterfly theme and printed out several pages worth (each page has three checks on it). Then I cut the individual checks down to size and stapled the left hand side together to form a book of sorts for her to write her checks in. Easy!

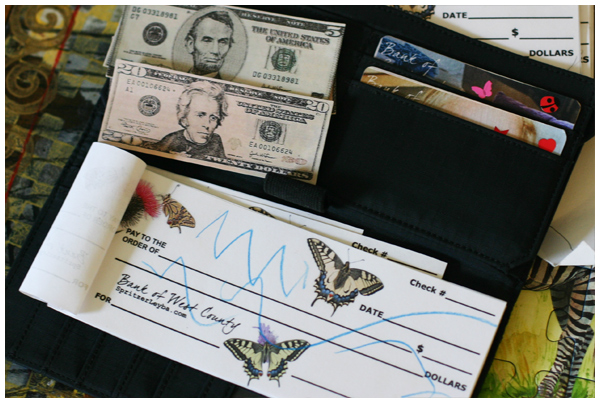
Now my daughter has play money, credit cards, and these bank checks in her own wallet.

Download Swallowtail Butterfly Checks here!

Wondering about the “Bank of West County” and butterfly theme?

We live in Western Sonoma County, more commonly known as West County, and we have lots of Pipevine Swallowtail butterflies. (The actual butterfly images on the checks are of a different Swallowtail and come from DK Clip-Art.) The West County theme seemed fitting and a tad bit educational. (We’re all about Everyday Learning in our house!) What kids aren’t into insects?

Enjoy.

The Organized Pantry

Also known as the ONLY organized space in our house!

To learn more about this project, please read our postsĀ Organizing the Pantry (gearing up for the project) andĀ Pantry Organizing Supplies (including more info about those awesome liquid chalk pens we used to label everything).

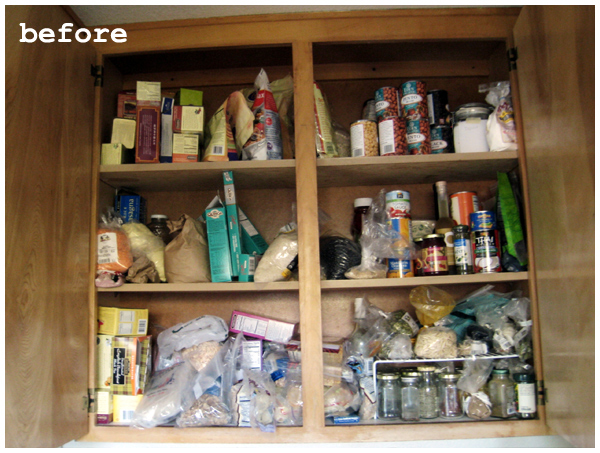
To refresh your memory, here’s what our pantry looked like before:

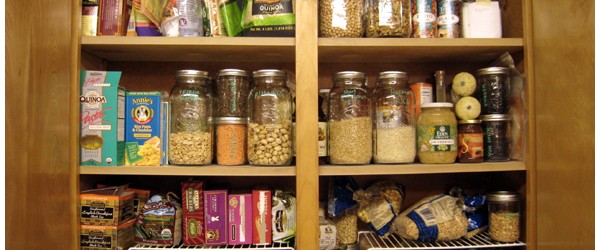
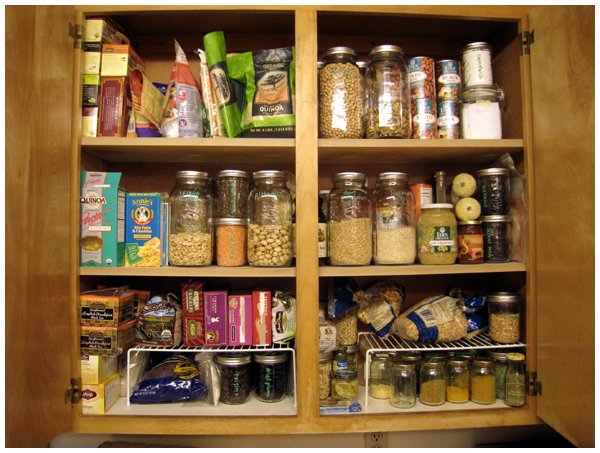
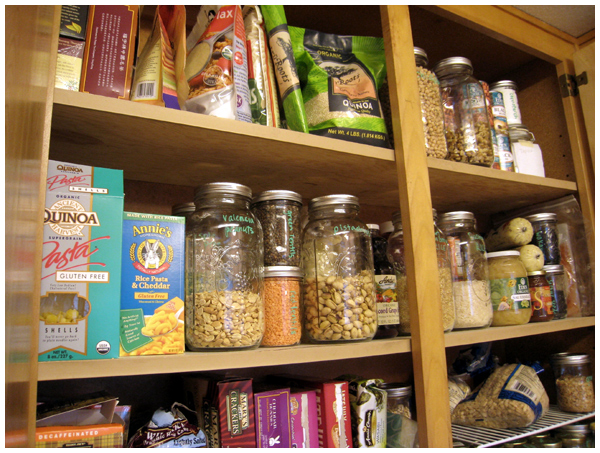
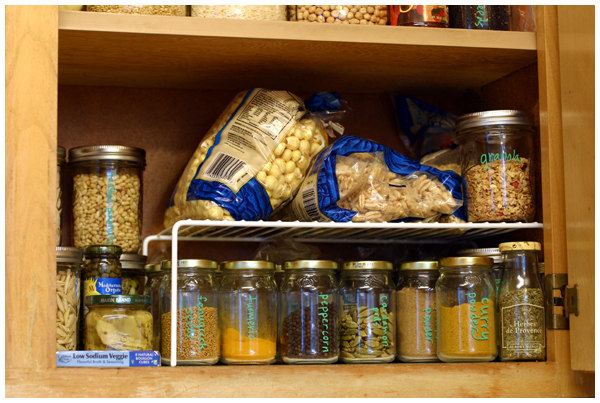
Here’s what it looks like now:

Top row: teas for guests, ground flax seeds for smoothies, gluten-free flour, bulk raisins and quinoa, dried beans (garbonzo, black) and canned beans for when we’re in a pinch (pinto, black), tapioca flour and cornstarch for art projects.


Middle row: quinoa/corn pasta and Miss Leyba’s stash of mac and cheese, peanuts, split peas, lentils, corn meal, pistachios, grape juice, millet, brown and white basmati rice, sauerkraut, ketchup, apple cider vinegar, canned pumpkin, polenta, jam, wakame, sesame seeds, rice wrappers, balsamic vinegar.


Bottom row: every day teas, rice cakes, flax seed crackers, cheddar bunnies, chocolate graham crackers, bite sized peanut butter sandwich crackers, seasweed snacks, blue corn chips, raisins, dried plums, nori, pine nuts, pumpkin seeds, slivered and sliced almonds, shredded coconut, capers, artichoke hearts, bouillon cubes, puffed cereals, granola, and spices.

Wow, what a difference! And, wow, do we have a lot of food in the house!

Now the challenge: keeping it this way! I may have to post monthly photos of our pantry just so I have incentive to keep it neat and tidy… you all will be watching! ;-)