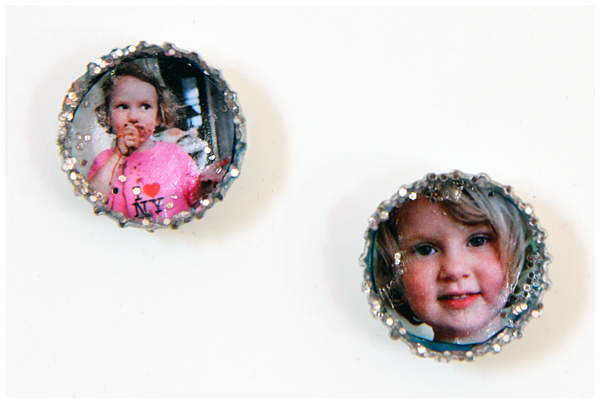
Picture Bottle-Cap Magnets

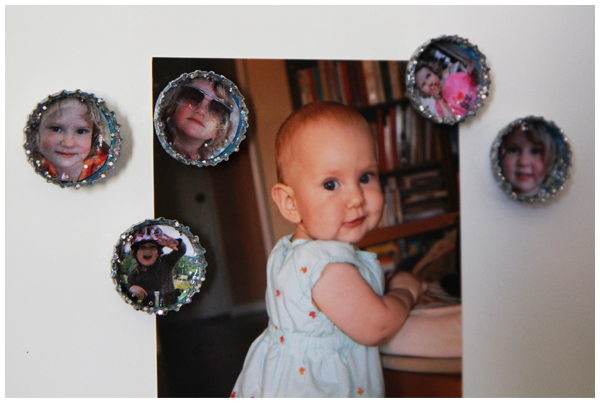
Making these bottle-cap magnets turned out to be one of the most fun and rewarding projects that my daughter and I have done together — right up there with our felt salad, toddler art napkins, and favorite book character magnets that we use every day!

Picture Bottle-Cap Magnets Tutorial

The idea for making glittered bottle-cap magnets came from Anna Getty’s book, I’m Dreaming of a Green Christmas: Gifts, Decorations, and Recipes that Use Less and Mean More. By adding our daughter’s photo to the magnets, we’ve made a great holiday present for family. (Boy did I blow the surprise by posting this!)

Note: this project involves several layers of paint and glue, so you’ll need to allow several days to complete in order for each layer to fully dry between steps.

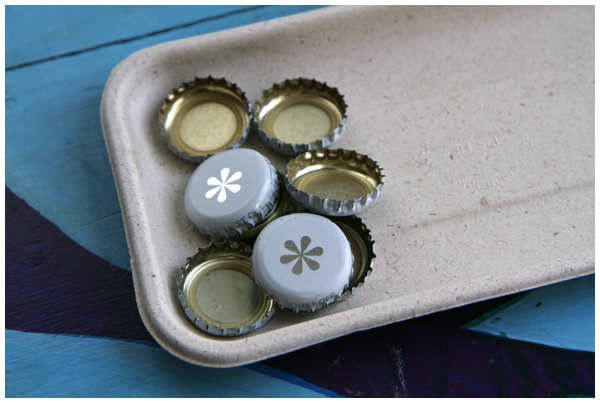
We started by gathering twist-off bottle caps. Since we rarely drink anything but water, milk or coconut water it took us several months to gather this meager collection of seven twist-off bottle tops:

Picture Bottle-Cap Magnets Tutorial

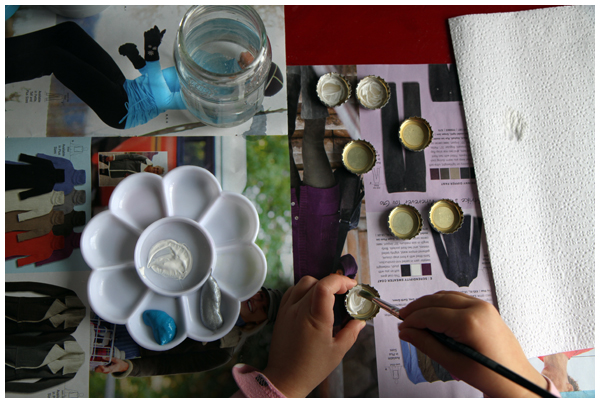
We painted the bottle caps with white, blue and silver paint and let them fully dry:

Picture Bottle-Cap Magnets Tutorial

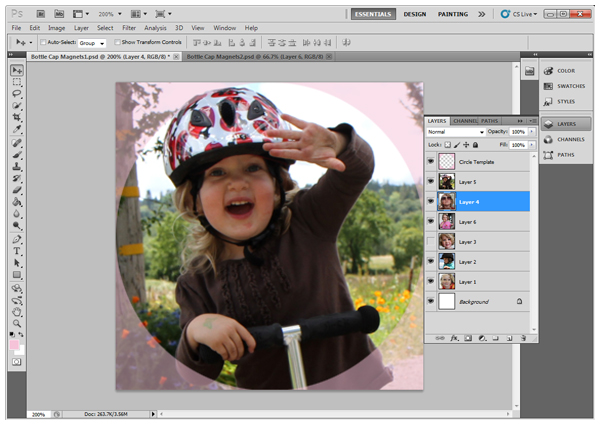
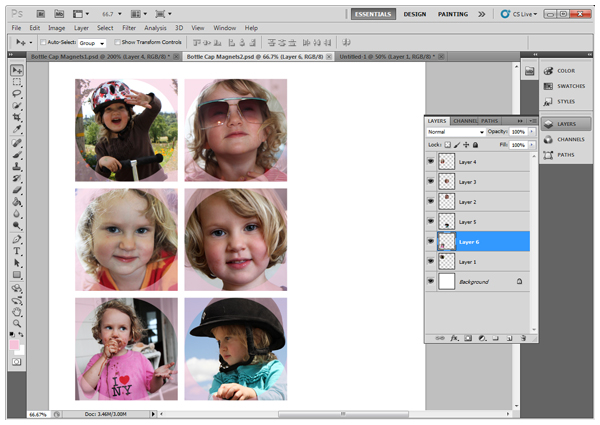
After selecting favorite photos of our daughter, we used Photoshop to make photos with a 1 inch diameter circle around her face:

Picture Bottle-Cap Magnets Tutorial

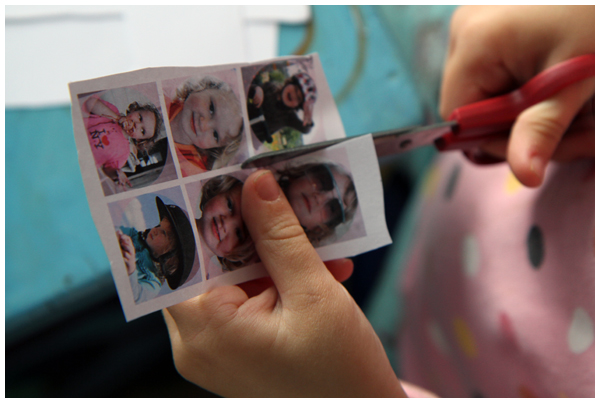
We printed the photos and cut them out to fit in the bottle caps:

Picture Bottle-Cap Magnets Tutorial

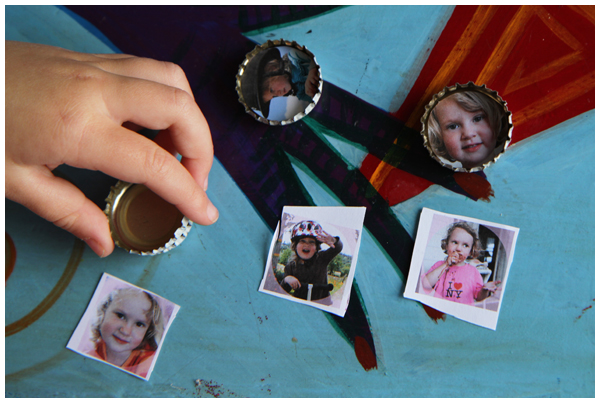
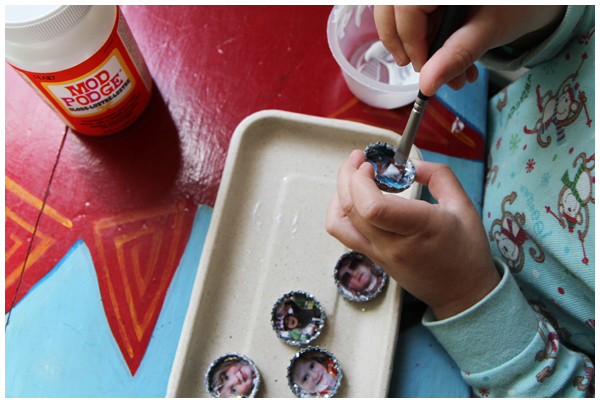
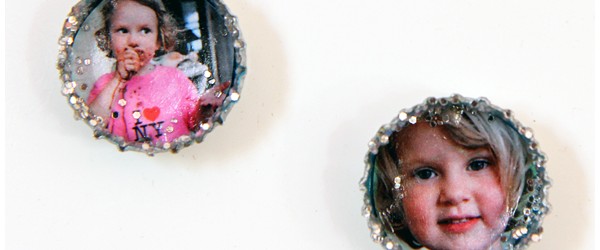
Then we mod podged the circular photos to the inside of bottle caps. After they dried, we sealed the photos by painting another layer of mod podge on top:

Picture Bottle-Cap Magnets Tutorial

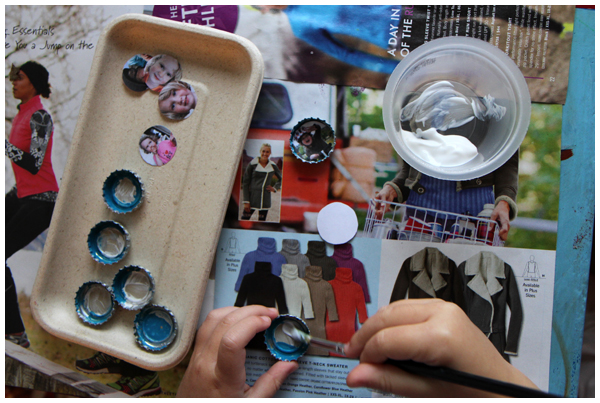
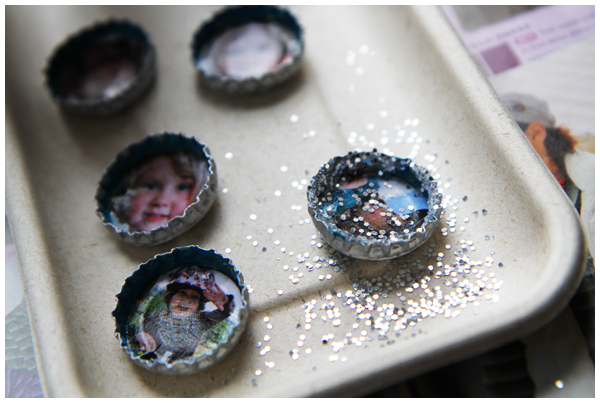
We put glue around the inside lip of the caps (just barely touching the photos inside) and sprinkled silver glitter over the top:

Picture Bottle-Cap Magnets Tutorial

After the glue dried, we shook off the extra glitter and painted one final coat of mod podge to seal the glitter on:

Picture Bottle-Cap Magnets Tutorial

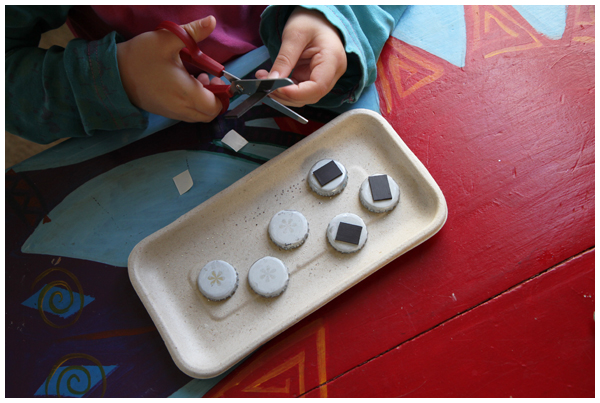
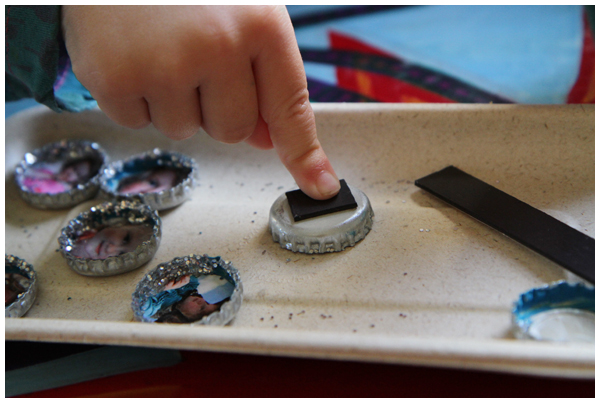
We cut small magnets (from magnetic strips) and adhered them to the back of the bottle caps:

Picture Bottle-Cap Magnets Tutorial

Ready to use! (Or send off to the relatives.)

Picture Bottle-Cap Magnets Tutorial

I’m not gonna lie. We did save two for ourselves. They were entirely too cute to give away.

Now to save up bottle-caps so we can make some more…

Updated 1/13: Click here for more tips and helpful ideas in making these magnets!
Pinned: Inspired Wreath Crafts

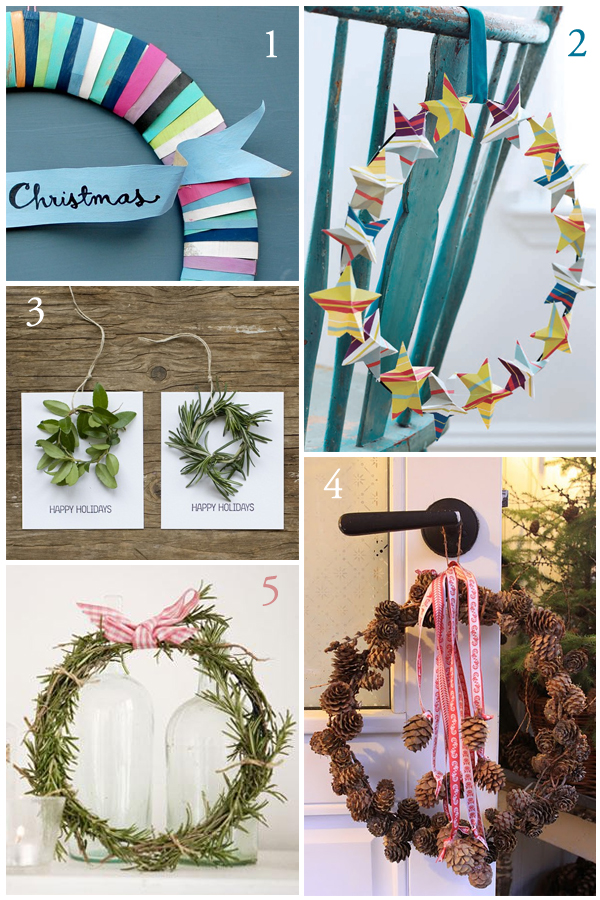
I love these outside-of-the-box, do-it-yourself wreath ideas:


Featured above:
1. DIY Paper Bag Wreath
2. DIY Paper Star Wreath
3. Mini Wreath Holiday Cards
4. Pine Cone Wreath
5. Simple Rosemary Wreath

View these and many more winter holiday inspired pins on my winter Pinterest board.

(images obtained via Pinterest)

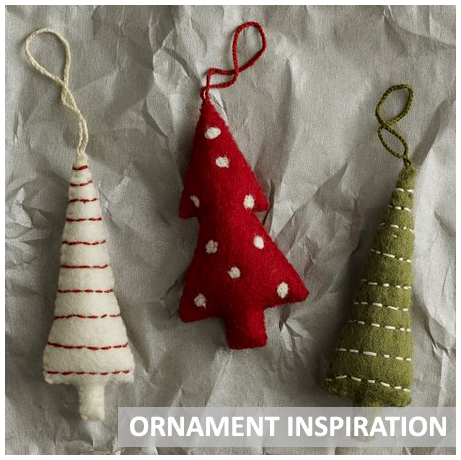
DIY Felt Tree Ornaments

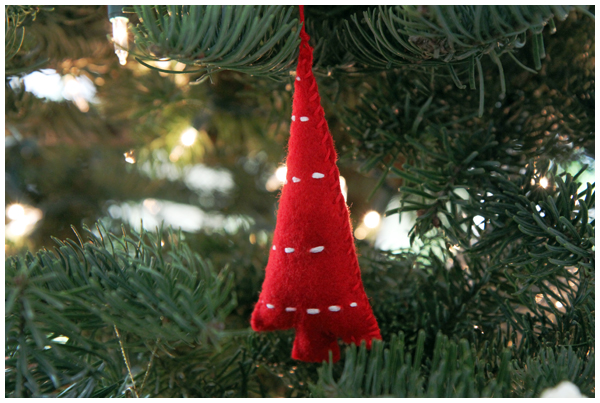
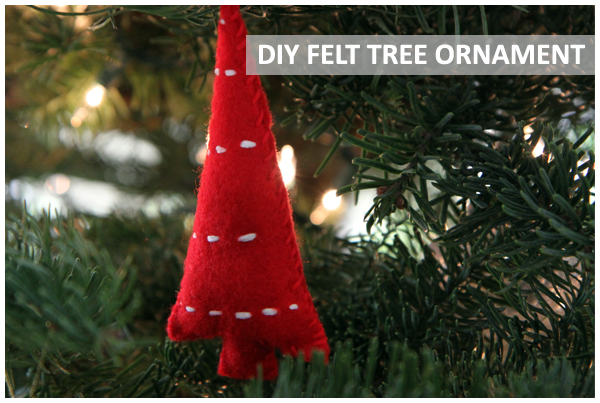
I spotted these adorable felt tree ornaments and immediately set about sewing our own.

DIY Felt Tree Ornaments

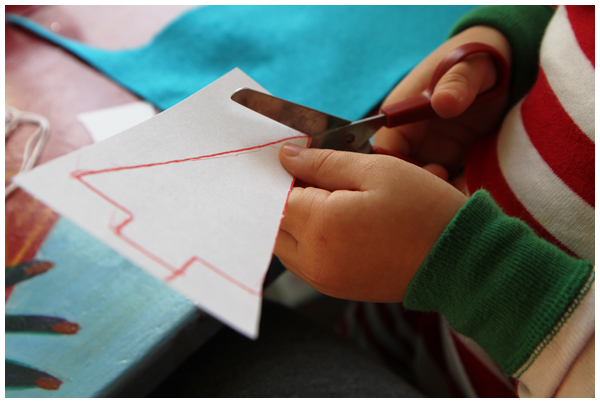
First we drew and cut out a tree template on thick paper:

DIY Felt Tree Ornaments

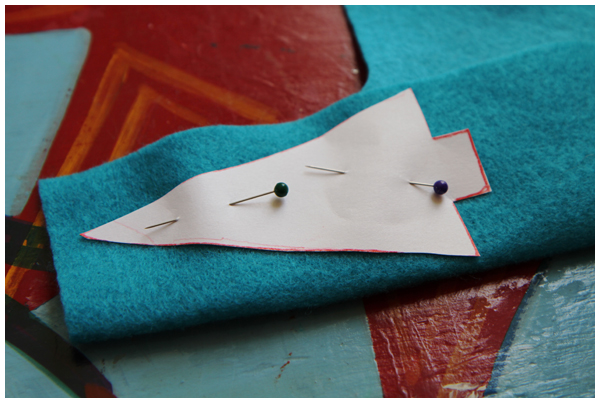
We then pinned the tree template to two layers of felt and cut around the template:

DIY Felt Tree Ornaments

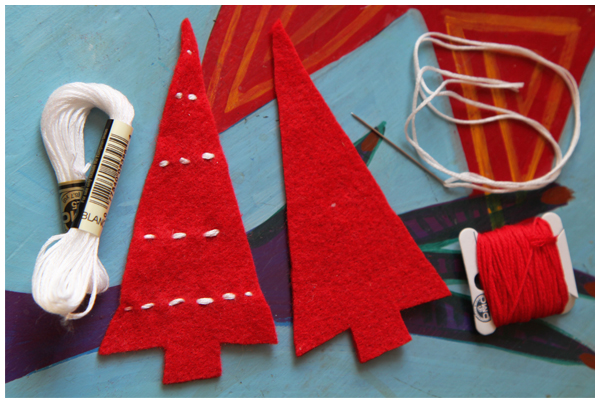
We embroidered a design along one side of one of the felt trees:

DIY Felt Tree Ornaments

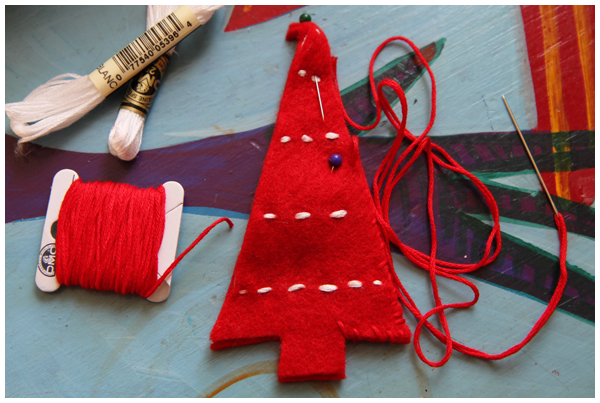
We pinned the two trees together and whip stitched them together, sewing along the outline of the tree, stuffing it up as we made our way around:

DIY Felt Tree Ornaments

After sewing up the tree ornament, we made a loop at the top before tying off the embroidery thread:

DIY Felt Tree Ornaments

Beautiful!

DIY Felt Tree Ornaments

Our simple, stylish felt tree ornaments feel more special to our family because we made them ourselves.

Don’t have time to sew this ornament? Buy them online at West Elm.

DIY Sparkly Holiday Card Wreath with Glittered Clothespins

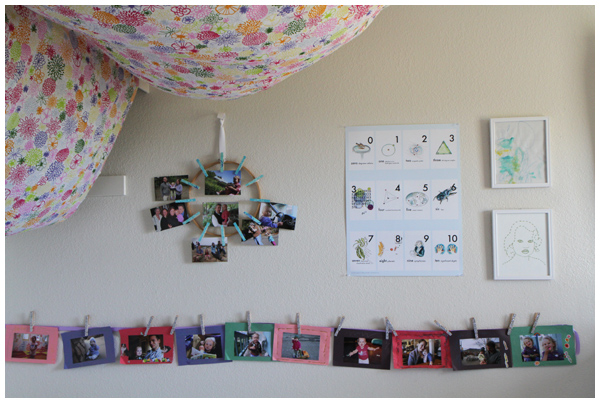
Remember last years holiday card wreath that’s been hanging in our daughter’s room all year holding family photos?

Photo wreath in our daughter's room

Well, it sure is pretty, but the Amy Butler fabric clothespins don’t scream “Holiday Sparkle.” This year we decided to make a more festive and glittery card wreath. Plus, we love an excuse to repeat (and build upon!) a favorite craft project.

DIYGlittery Clothespin Wreath

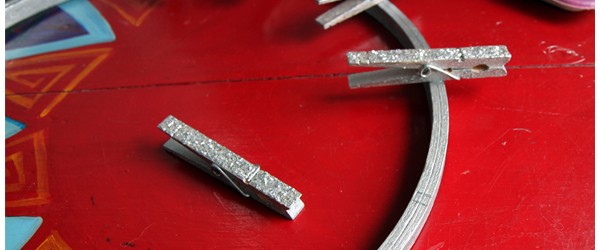
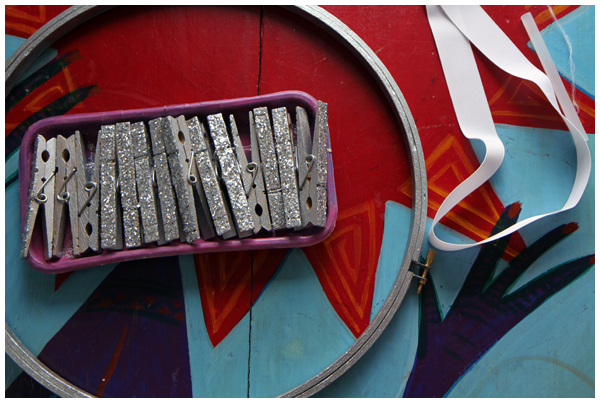
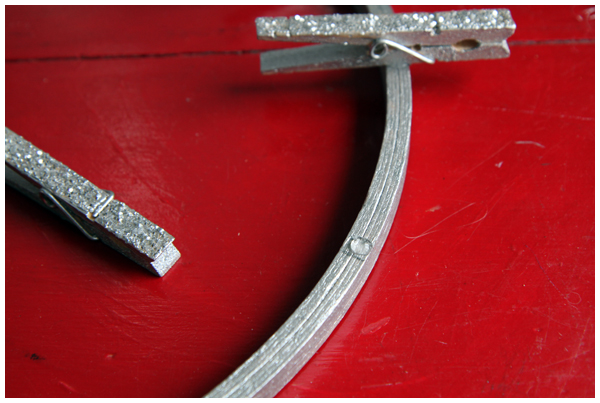
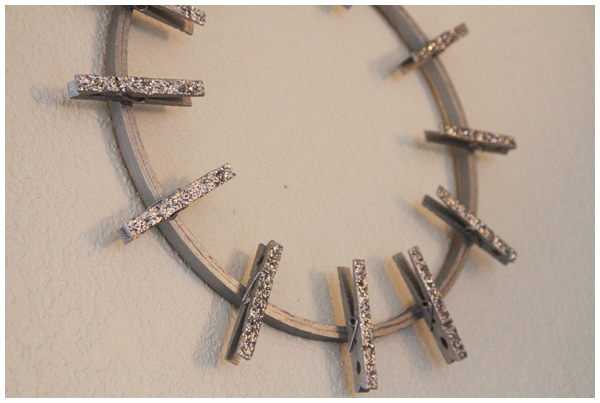
We painted a large embroidery hoop (that we scored at the thrift store for 50 cents!) with silver tempera paint. You can use acrylic paint or spray paint instead (that would be much faster and smoother!). But we were looking for a child-friendly art project, so we used the non-toxic tempera paint we had lying around.

DIYGlittery Clothespin Wreath

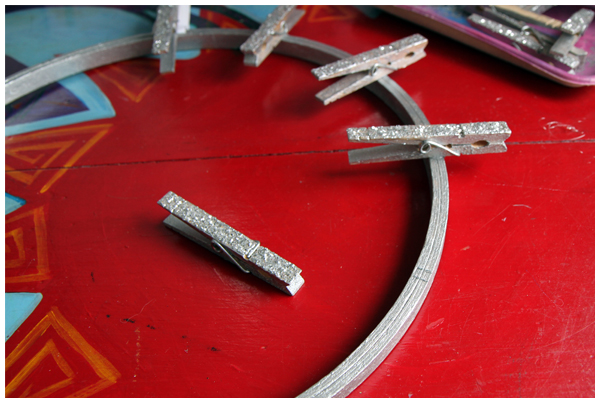
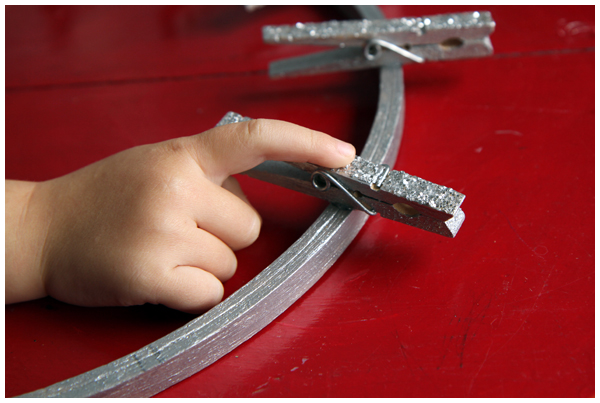
After we applied several coats (allowing the hoop to dry fully in between), we added a white ribbon in between the hoops from which to hang the card wreath, and then adhered our sparkly glittered clothespins (more on making them here and here) with a hot glue gun.

DIYGlittery Clothespin Wreath

Last year we alternated the clothespins facing in and out. This year we only had two clothespins open inwards, the rest faced out. You can only fit so many cards inside after all!

DIYGlittery Clothespin Wreath

We hung the card wreath and now we’re ready for the holiday cards to arrive!

Fabric Procured, Sewing to Be Done

We’re restoring a family heirloom, the dollhouse made for my husband’s grandmother when she was a little girl. Click here to see all the posts about our Dollhouse Redux Project.

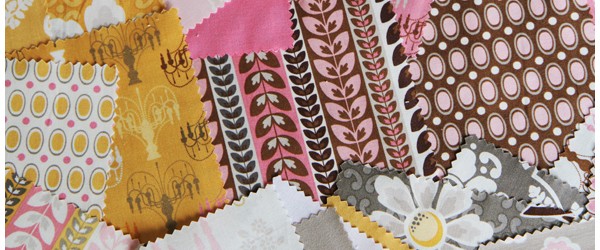
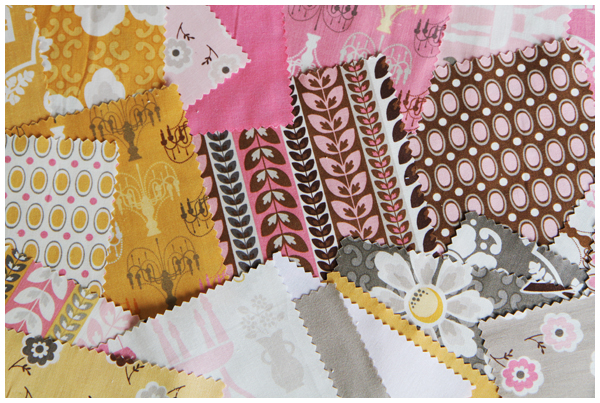
On a whim I ordered two Daisy Cottage 5″ Stackers designed by Lori Holt of Bee in My Bonnet. I really love the combination of pink, gray and yellow; three colors I don’t typically think of going well together. In this case, boy do they!

Fabric to use in the dollhouse

Now I have the following sewing projects to complete begin:
– curtains,
– bedspread,
– pillows for the bed and living room chairs, and
– I’m hoping to sew a mini cushion or pouf.

After all, you never know when our dollhouse family might want to curl up on the floor with a good book. That certainly sounds appealing to me.