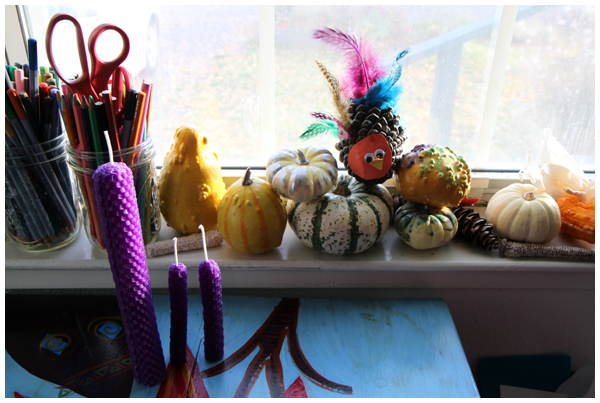
As the days grow shorter, and in anticipation of the approaching holidays, we decided to make our own rolled beeswax candles.
We bought beeswax sheets in a honeycomb design from our local honey and beekeeping supplies store. (Don’t have a beekeeping store near you? You can buy a candle rolling kit here.) We also bought non-toxic pre-waxed wicks that are free of zinc and lead.
(To test for lead or zinc in a wick, press the wick into a piece of paper and drag it while pressing with your finger. If it leaves a mark on the paper, it probably contains things you wouldn’t want to breath.)
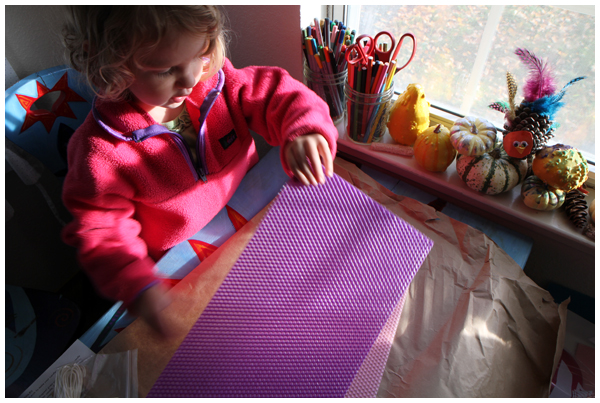
After cutting the wax sheets to size, we measuring wicks for each candle allowing for an extra 3/4″ to extend beyond the candle. We then used a hair dryer (set on low) to warm the sheet for 30-60 seconds, until it became more flexible, less prone to breaking, and easier to roll.
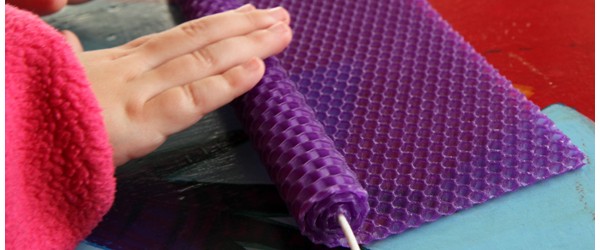
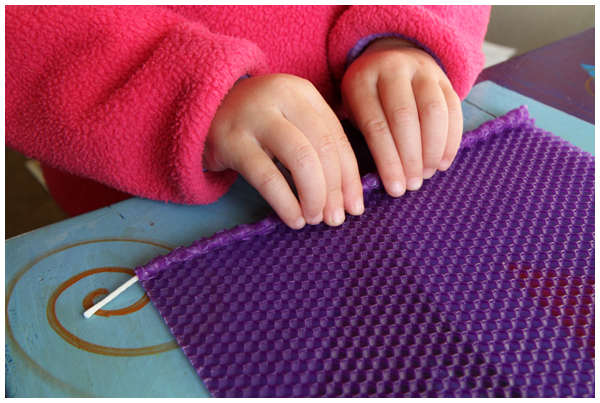
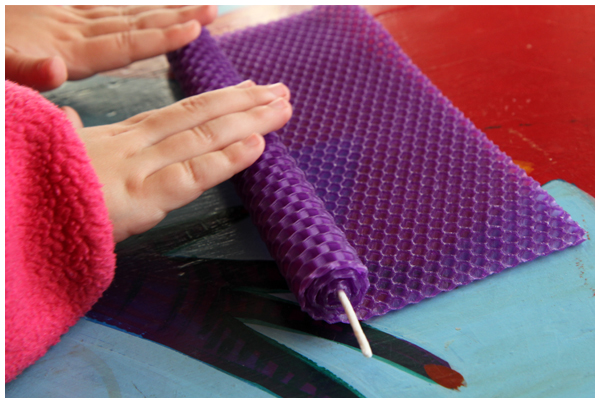
We laid the wick along the edge of the sheet (making sure to leave the extra length hanging over one side) and then rolled the wick tightly into the wax. We then rolled the rest of the sheet lightly, ensuring that our candle didn’t take on an oval shape that occurs when you press or roll too hard. We slowly rolled up the candle, making sure the edges stay straight so that the candle has a level base on the bottom edge.
Once fully rolled, we pressed and smoothed the top in towards the wick, and pressed the bottom against the table to flatten the base. We trimmed the wick 1/2″ from the top and placed it into a candle holder, ready for use!
Whether you decide to dress them up (using colorful wax or glitter) or keep them plain (as we did), handmade candles are meant to be used — not just displayed!
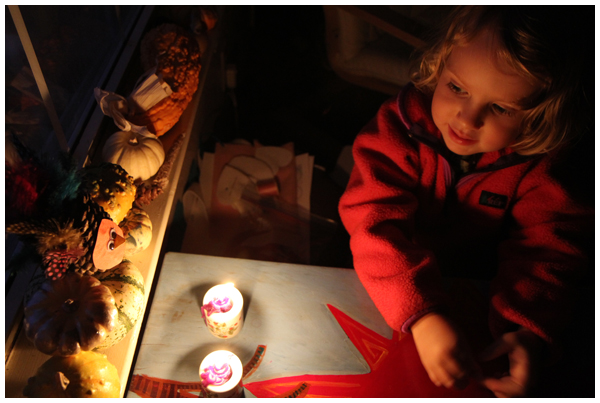
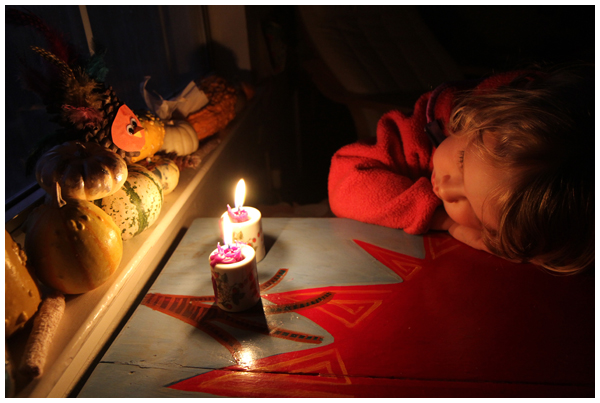
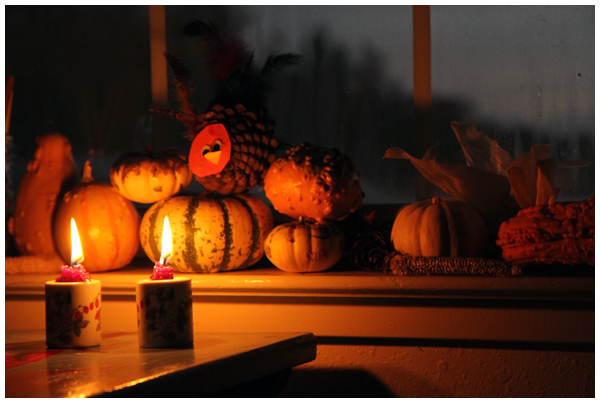
We’ve so enjoyed lighting ours.
Homemade candles feel so much more special than store bought ones. For us, it’s as though we are bringing a bit of homemade light into our house as we head into this dark, winter season!
