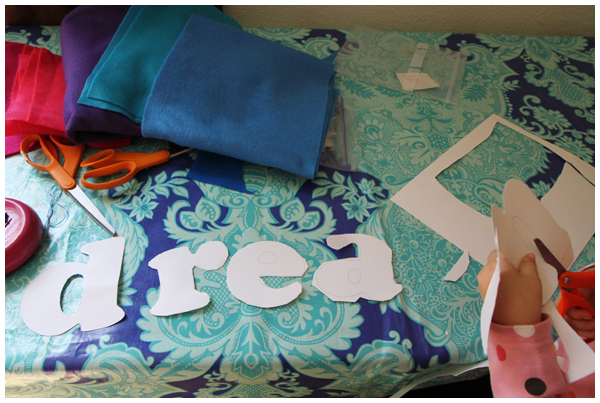
Sweet Dreams Felt Banner

I wanted to personalize our daughter’s room with all different types of artwork, not strictly the photos and paintings typically found in bedrooms. From the beginning I knew that some sort of 3D felt embroidery projects would be involved, as at the moment that is my favorite creative medium.
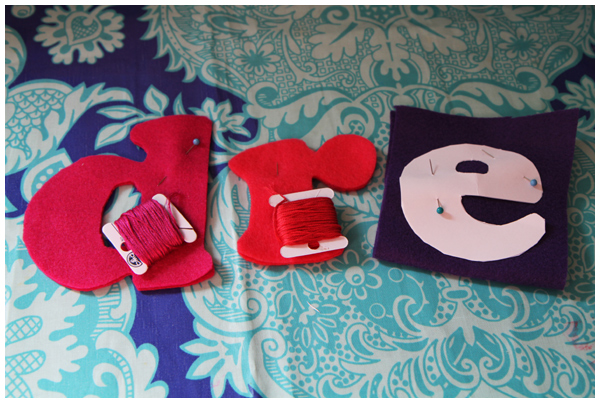
When I saw these fantastic felt letters last fall I knew I had found the perfect special project.
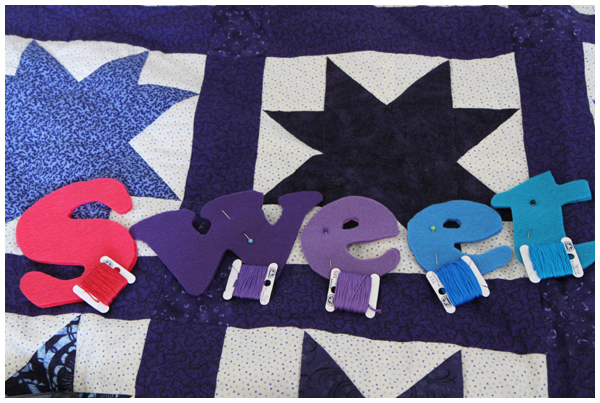
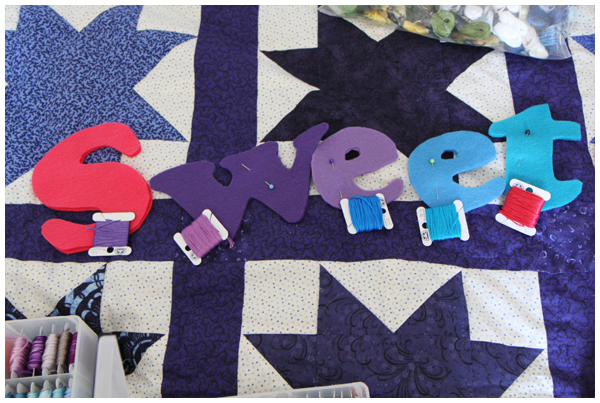
Being the rebel that I am I couldn’t do our daughter’s name. Instead I wanted to do something to create or inspire. I first made a “create” sign for over her desk (you’ll see a photo of that soon) and then set about making “dream” for over the bed.
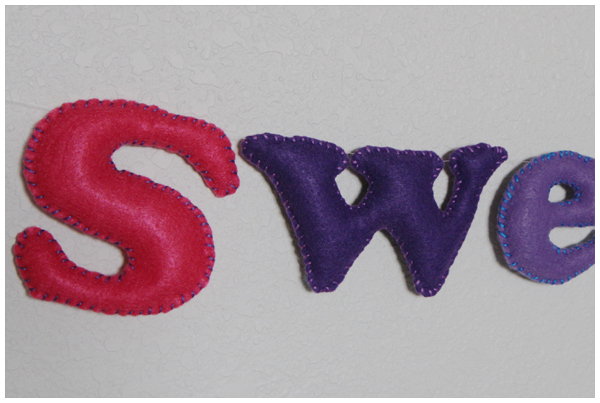
When I finished “dream” I realized that it was WAY too small for such a large space as over her bed. So “dream” quickly became “sweet dreams” and I couldn’t be more pleased with the outcome.
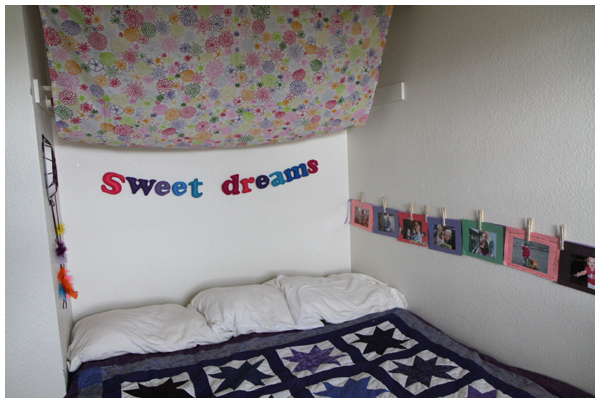
If you too want to do this project, read Made By Rae’s Felt Letter’s post for directions.

Here are my deviations from her project directions, plus some additional helpful tips:

1) I used a 500 pt font (instead of the 400 pt that Rae used) for our letters; next time I may go even bigger.

2) When I printed out the letters I formatted them as “outline only” so as not to waste lots of printer ink (thanks to my friend Alissa for this great tip!). I also used heavy-weight card-stock instead of regular printer paper.

3) I then cut out each letter, pinned each letter outline on top of two layers of felt (to cut both the front and back sides of each letter at once), then cut out around the paper outline. (This way I skipped the time-consuming letter tracing step before cutting out the felt letters.)

4) I used embroidery floss instead of plain thread in bright, often contrasting colors (first I matched the embroidery floss colors to that of the felt, then I mixed up which letter got which color). I like the chunky look for the whipstich that resulted.

5) Be forewarned that this project is time consuming. Each letter took me between 30-45 minutes. Granted I was chatting with friends while I worked, so it may have been much faster had I just focused on the task at hand. I personally prefer having company while working on craft projects. Makes the time go so much faster, don’t you think?!

Have fun and good luck!
Glittery Clothespins

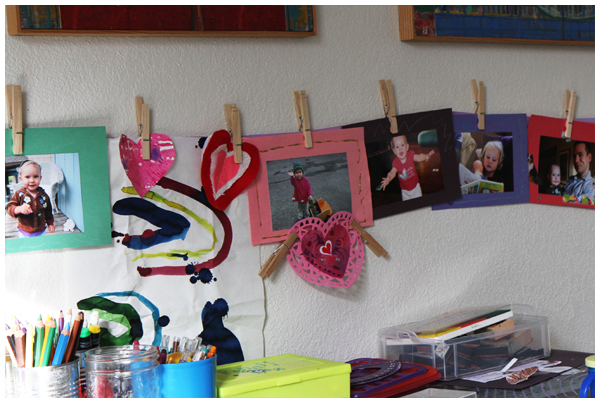
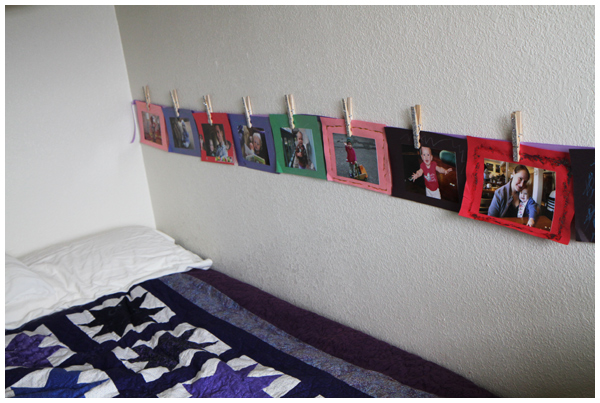
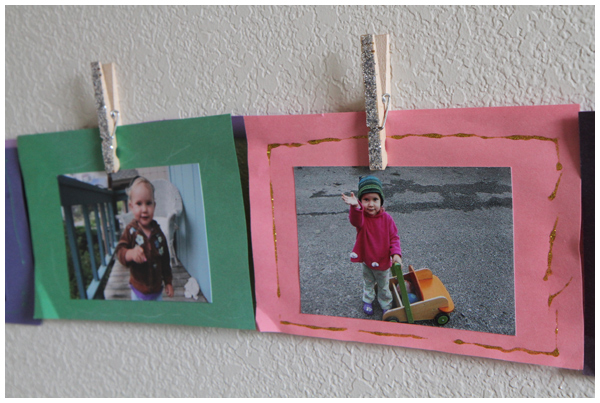
Remember the colorful photo banner we made for our daughter’s birthday?

Instead of taking it down and putting it away, we decided to move it upstairs into her room to hang along her bed so she could continue to enjoy the photo memories.

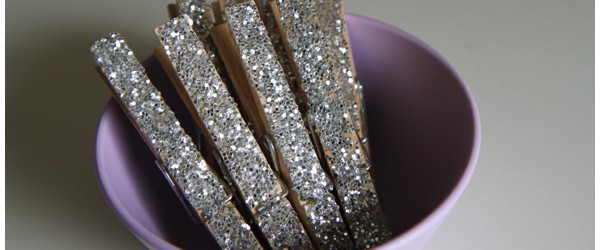
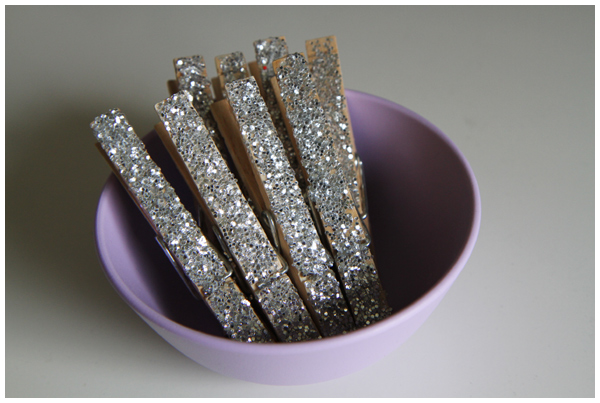
To add a little sparkle to the project, we decided to decorate the clothespins with silver glitter. (Similar to these gorgeous ones for sale on Etsy.)

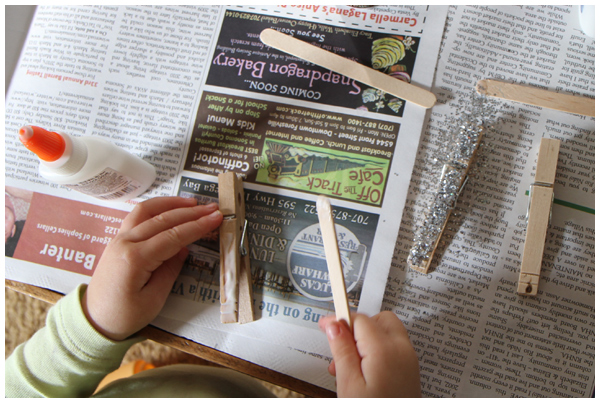
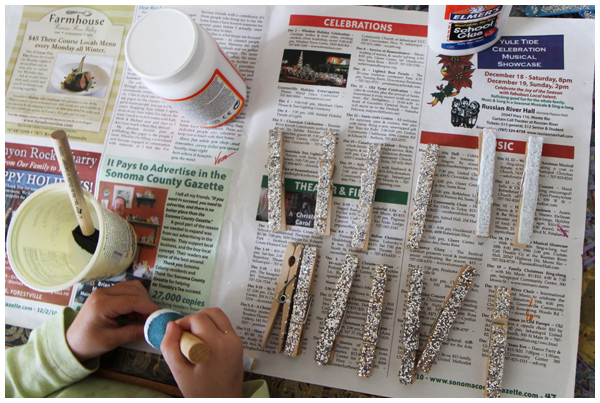
First we covered one side of the clothespins with plain glue, then we placed silver glitter on top.

We let the clothespins dry for a few hours before covering them with glossy mod podge so that the glitter would stay on the clothespins instead of making a big mess in her clean bed. (At least that’s the theory. We shall see how it works out.)

Once they were dry, we brought them upstairs and re-hung the photo wall.

Super easy, cheap, and so sparkly and fun.

As our daughter would say, “Ta da!” Little girls can be so cute and dramatic.

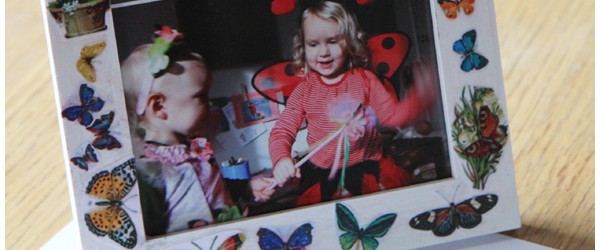
Butterfly Girls in a Butterfly (Decoupage) Picture Frame

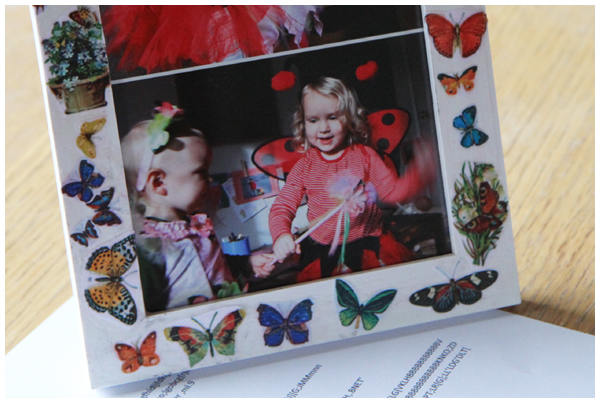
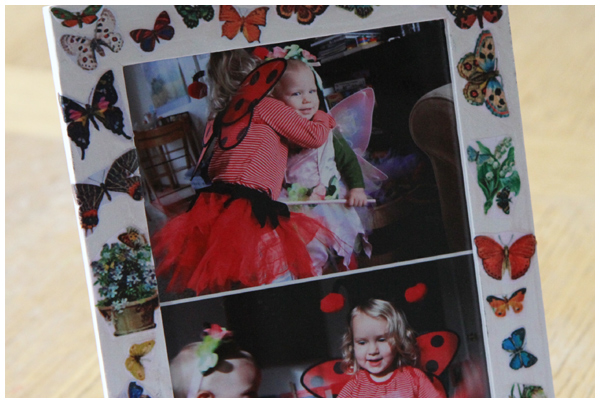
Two good friends, playing dressing up, captured in these darling photos and displayed in our homemade butterfly decoupage picture frame (a great rainy day project!).

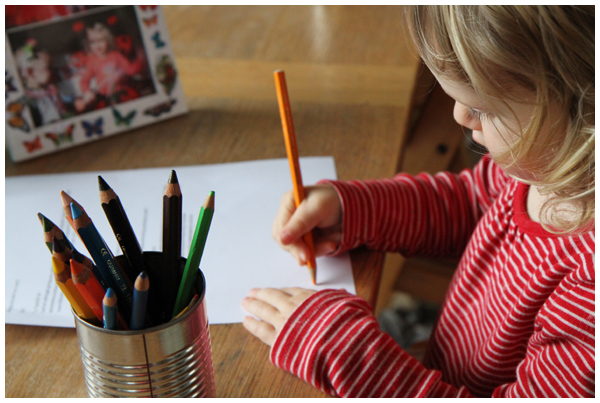
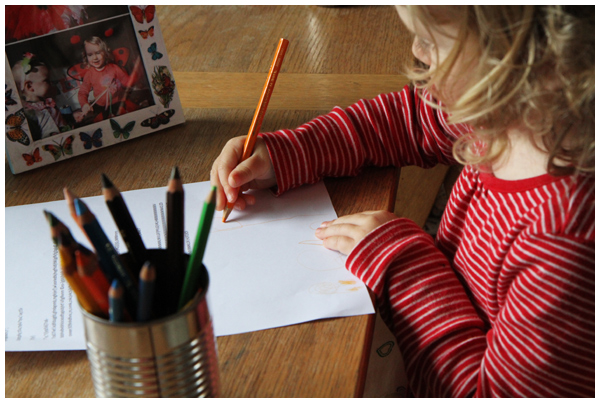
We wrapped it up with a typed and handwritten note written and decorated by our three-year old.

A sweet present from one little girl to another, made with love.

For more information about how to decoupage picture frames, see our Picture Frame Decoupage post.

Make Your Own Stickers

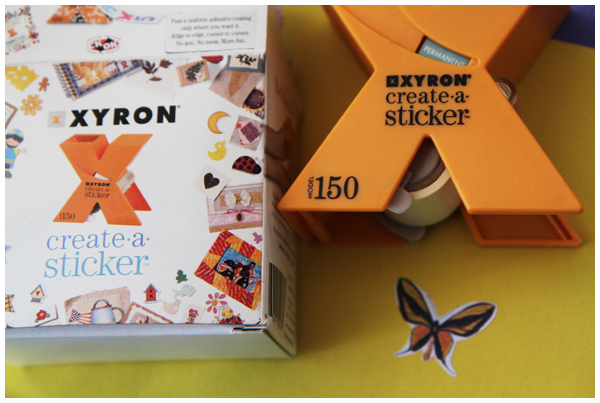
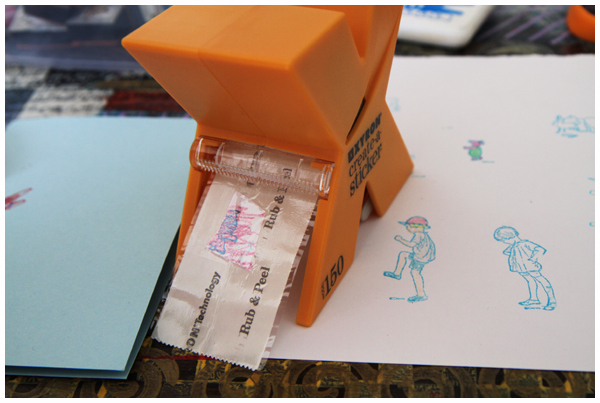
We picked up a Xyron Create a Sticker Machine at our local craft resale shop, along with a refill cartridge for just a couple bucks. Thrift store score!

The sticker maker machine is actually incredibly affordable (i.e. under $6!), so if this project appeals to you at all, I recommend picking one up! We’ve been using ours every day since we bought it.

Here’s how we made our own stickers:

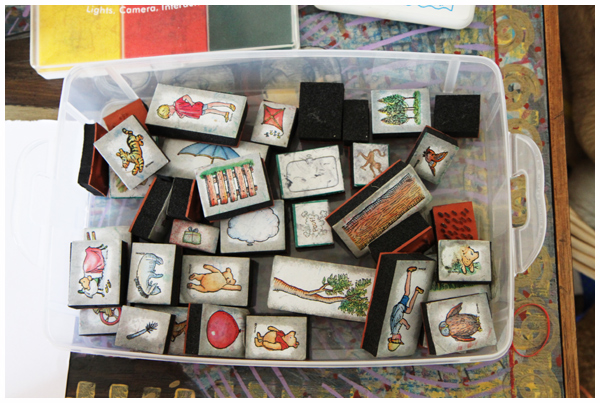
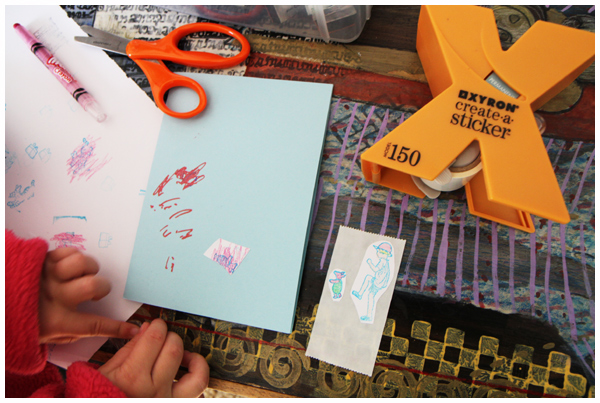
We used plain construction paper, colored pencils and our Winnie the Pooh stamps, also scored from a thrift store. These stamps may look old and well-loved, but I’m thrilled we found them as I have been unable to find similar ones anywhere.

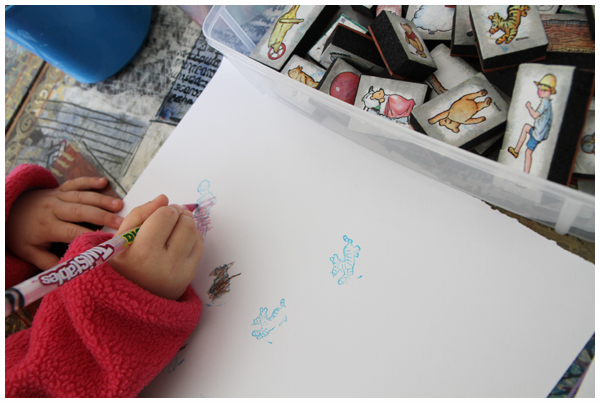
We stamped different Hundred Acre Wood characters onto plain paper, then filled in (over!) the outlines with colored pencils.

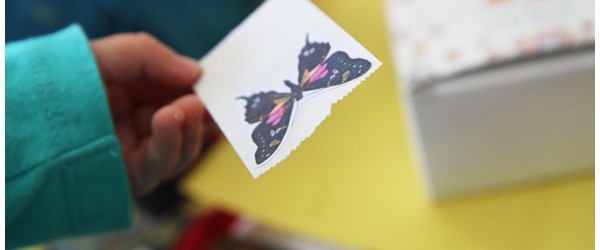
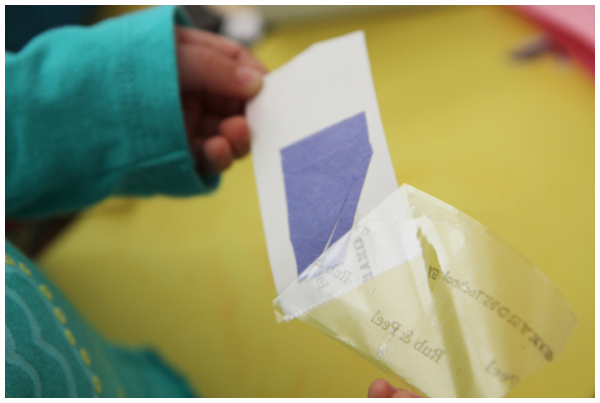
After cutting out the stamp shapes, we fed them through the sticker maker, peeled off the front and back of the tape, and voilĂ ! We have a personalized Piglet sticker! Our little girl was thrilled.

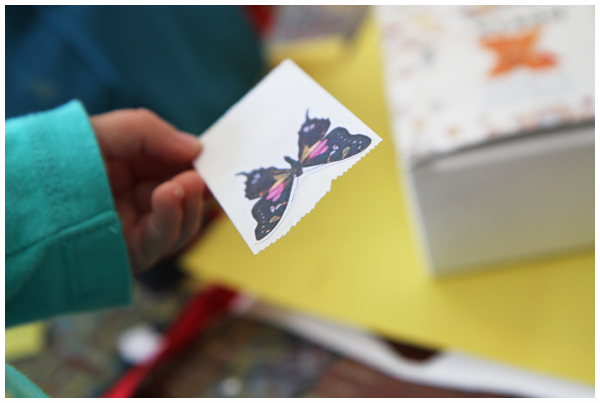
We’ve also made butterfly clip art and colored shape stickers cut from construction paper.


The possibilities with this sticker maker are endless!

We used these beautiful handmade stickers on some of the thank you notes from our birthday festivities. A handmade-touch to the cards and a super fun project!

Picture Frame Decoupage Project

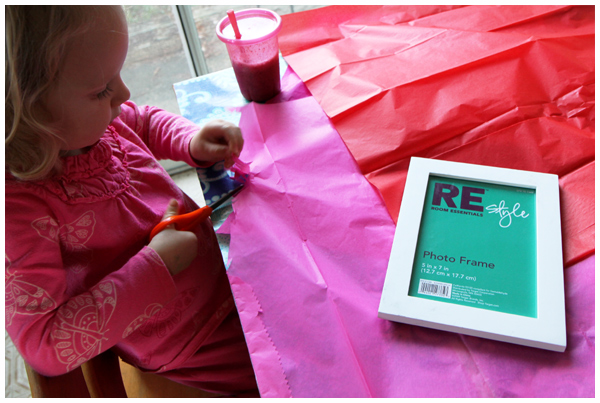
We spotted these inexpensive picture frames on clearance and felt they just screamed “PROJECT!” I wasn’t sure if we would spray paint them a fun color (turquoise! lime green! hot pink!) or do an arts and craft project. The project won out and what fun we had!

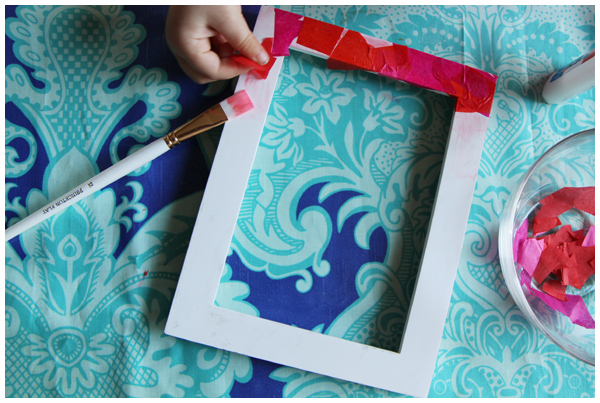
First my daughter cut up small pieces of pink, red, and purple tissue paper.

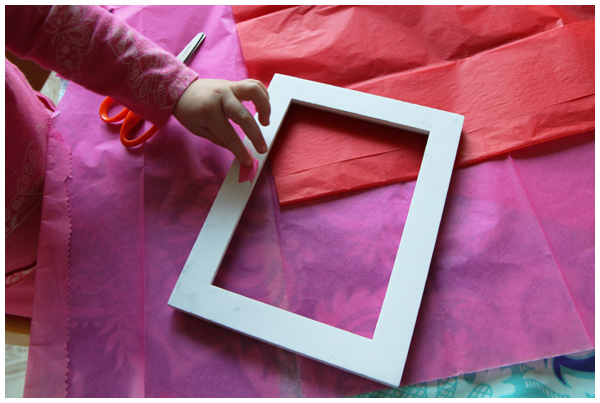
While she did this, I removed the glass from the frame.

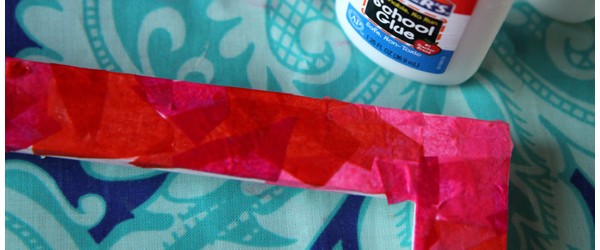
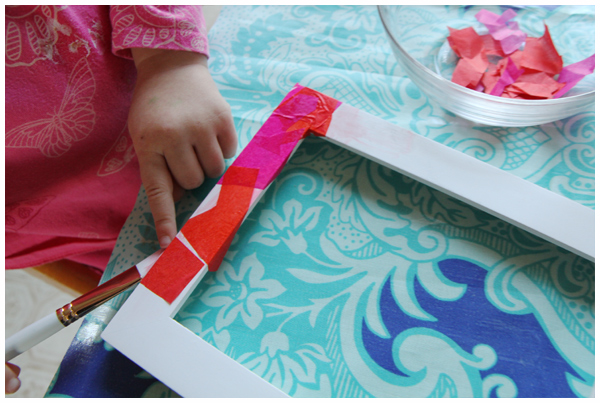
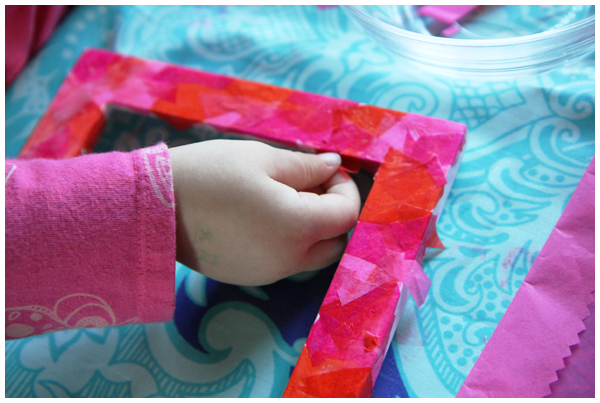
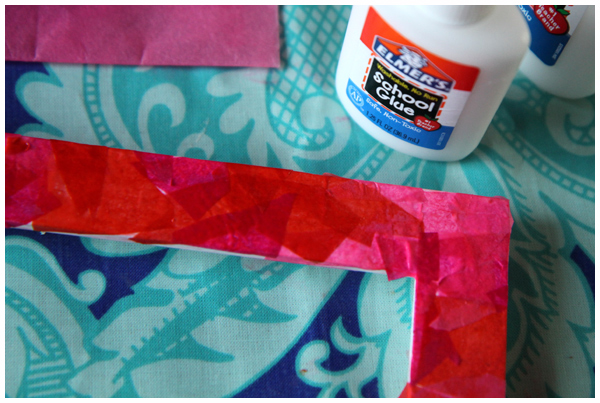
Then we glued the tissue paper pieces onto the frame using elmer’s glue. We then brushed glue over the paper to seal the paper on. (The decoupage part of the project!)

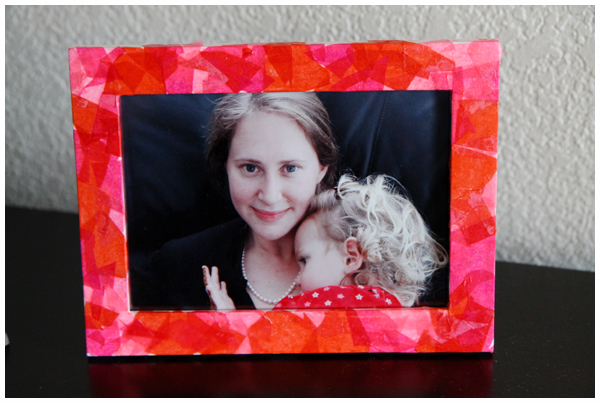
After the glue dried, we applied a coat of mod podge to really seal the paper on to the frame and add a glossy sheen.


What an easy, quick project with a lovely handmade feel! Not to mention a perfect Valentine’s Day gift for a certain daddy who needs a more recent photo of his loves for the office.

Adorable!