Dying Eggs Naturally

The winter rains have finally arrived to Sonoma County, yet the former East Coaster in me can’t help but feel that Spring is really here each time we don our rain gear and head out into the March rains. Our garden is in heaven!

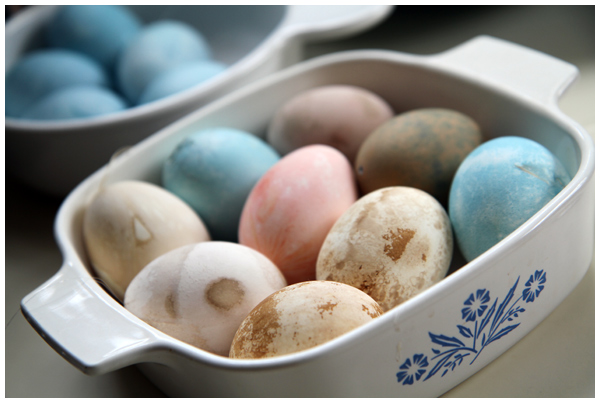
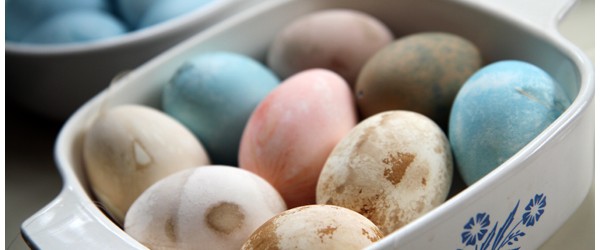
This past week we’ve been busy with Spring crafts, blowing out eggs, and dying them with ingredients found in our kitchen. We’ve found natural-egg dying to be incredibly easy and fun, thanks in large part to this excellent list of all-natural Easter egg dye recipes from Better Homes and Gardens (pinned here on Pinterest).

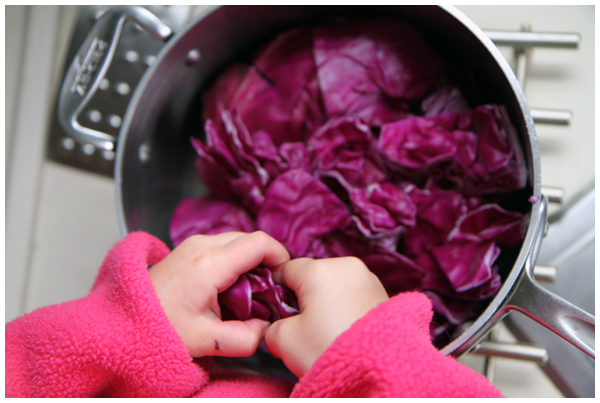
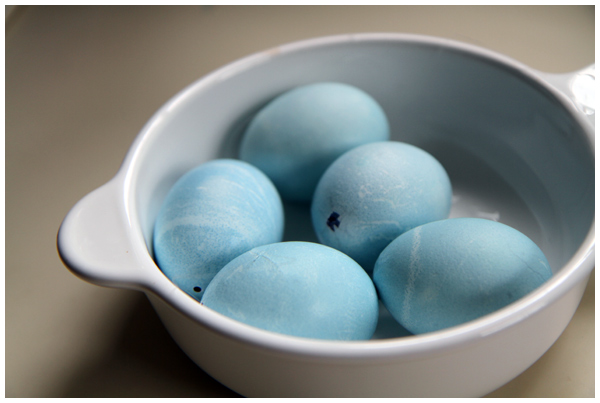
Our favorite and most vivid dye so far? Cabbage!

Preparing cabbage Easter egg dye
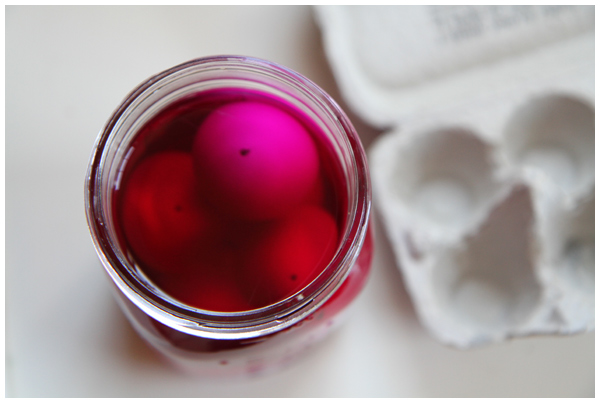
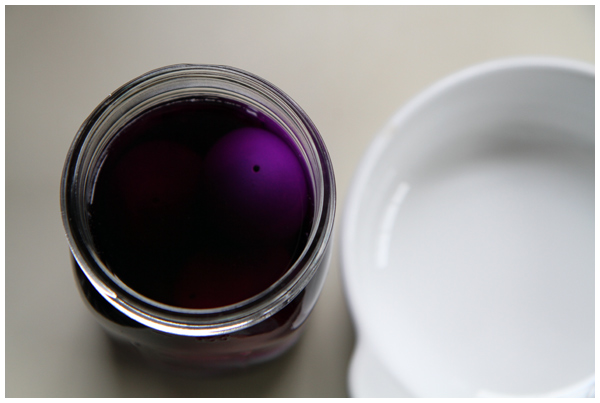
Dying eggs naturally with ingredients from your kitchen

From the color of the dye you might expect bright red or purple colored eggs, yet red cabbage makes for the most beautiful light blue eggs instead. (Such a fun Everyday Learning project for the kids! We’re all about science in the kitchen.)

While the eggs dyed with cabbage and saffron were vivid, the other ones we tried (tea, beets, and paprika) were less successful:

Dying eggs naturally with ingredients from your kitchen

I’m still hoping to try yellow and red onion skins (for orange and jade green eggs, respectively), and grape juice to make some lavender colored ones.

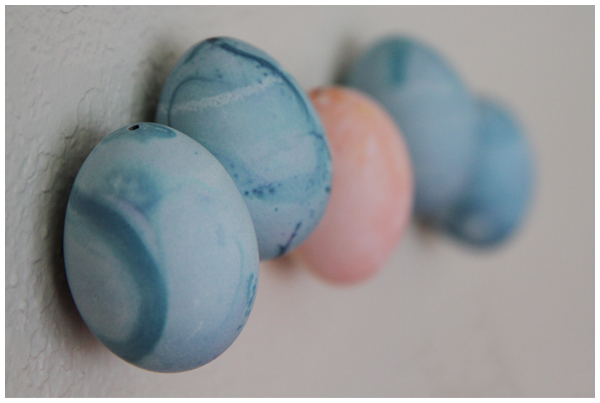
In the mean time, look at this fine little row of eggs:

Dying eggs naturally with ingredients from your kitchen

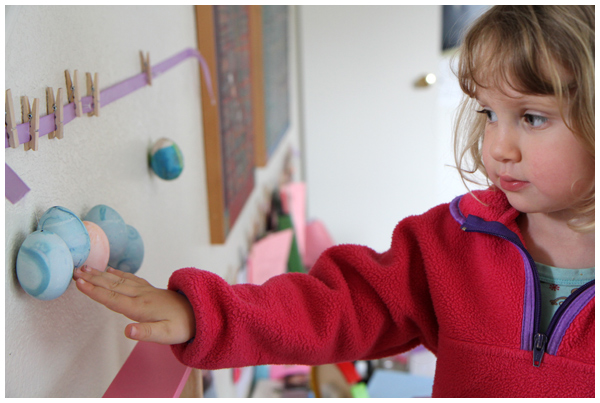
Hands on learning is such fun!

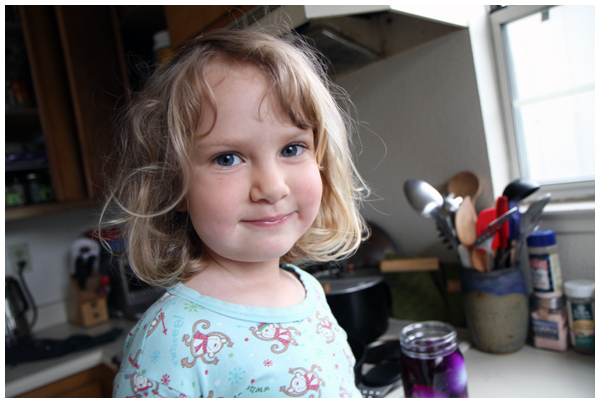
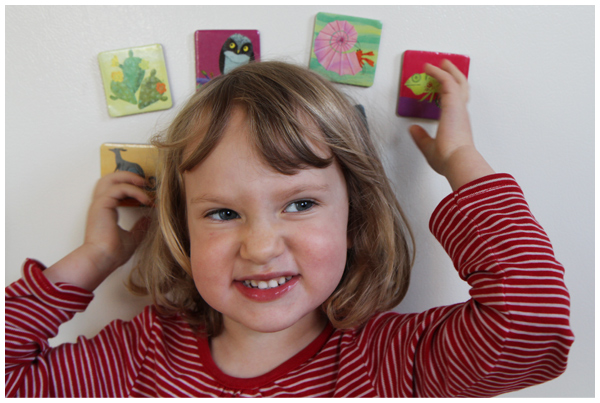
Happy girl -- dying eggs is fun!

Especially when we get to spend a rainy day at home in our pajamas doing art projects in the kitchen.

Happy Spring!
A Quick and Easy Way to Blow Out Eggs

With the Spring Equinox upon us, we’ve been busy preparing for the plethora of Spring Holidays!

Blowing out Easter eggs

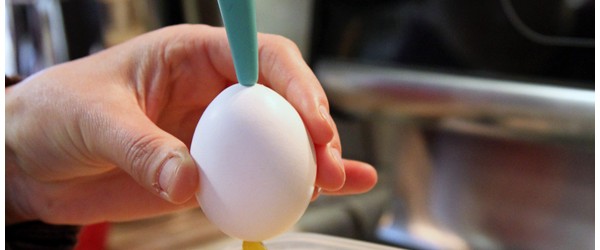
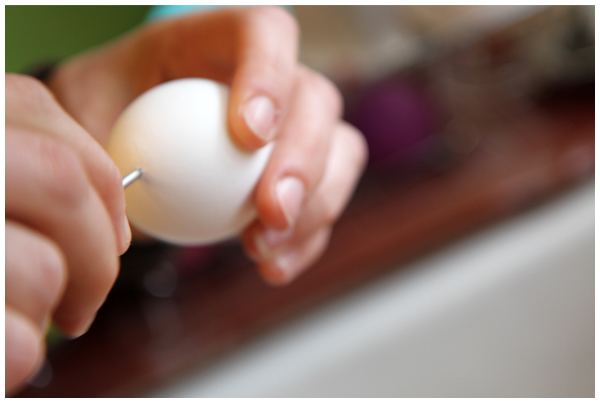
My friend Dorothee (who owns the wonderful German kids accessories shop, Sofee and Lenee!) showed us an easy way to blow out Easter eggs using an unexpected tool that most parents have in the house: a bulb syringe (or nasal) aspirator.

To blow out eggs, Dorothee first pricked the egg on the top and bottom (she used a tool from Germany, similar to this egg piercer, but I’ve heard you can do this with a needle, metal skewer or push-pin). Dorothee enlarged each hole using a metal skewer, making one of the holes particularly large so that the yolk could smoothly pass through.

Blowing out Easter eggs

She then grabbed the aspirator (left over from when her girls were babies!) and pressed it firmly against the uppermost (smaller) hole and gently blew air into the egg. The egg contents then dropped through the larger hole at the bottom into a bowl below. After several squeezes the egg was empty and could be washed out and dried.

Blowing out Easter eggs

I particularly love this tip because most families have an aspirator lying around, gathering dust once the babies grow up. Instead of taking up valuable space in the medicine cabinet, we can use our aspirator for perpetuity in blowing out eggs. (Once used in the kitchen, I have a feeling it needs to stay in the kitchen).

After you’ve blown out eggs, color them using all-natural dyes! (More on THAT later in the week!) Such a perfect activity for Spring.

A Quick Botany Lesson

Did you know that pollen grains come in different colors?!

Valentine's Day Tulips

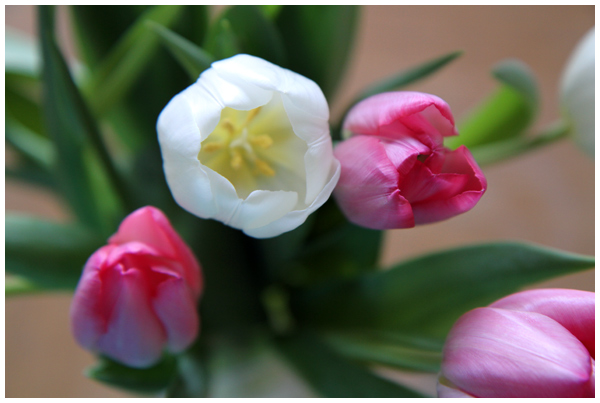
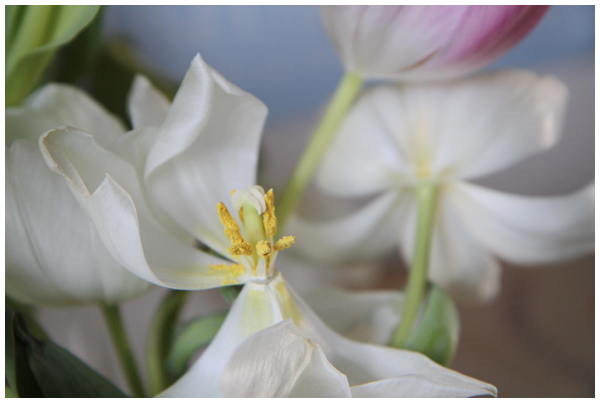
I think of pollen as shades of yellow, but that isn’t always the case, as we found out with our Valentine’s Day tulips last month.

The white tulips contained yellow pollen grains:

Tulip pollen

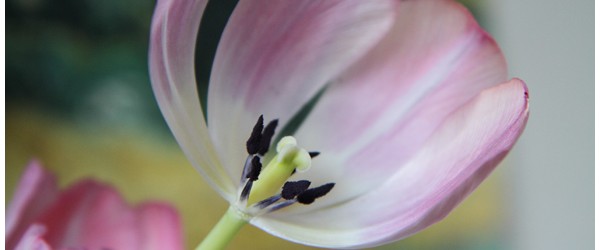
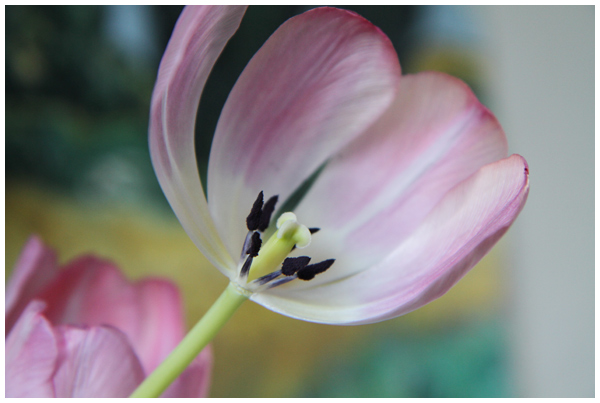
These pink tulips, however, have PURPLE pollen grains:

Tulip pollen

How cool is that?! Homeschooling 101 around here.

Curious about other pollen colors? This nifty chart on Wikipedia lists a wide variety of pollen colors, as does the beautiful pollen guide by the Bristol Beekeepers.

So much for thinking that pollen was only yellow! My college botany professor would be so disappointed in me.

DIY Life on Earth Memory Game Magnets

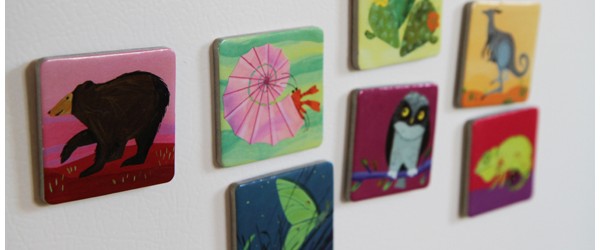
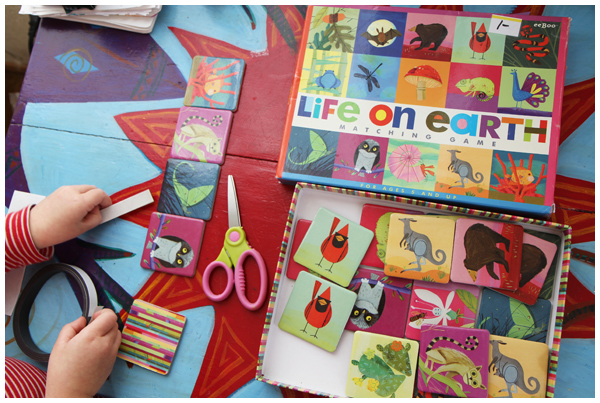
We love the Eeboo Life on Earth Matching Game. When I spotted another copy of the exact same game at the thrift store for $1, I bought it right away. Instead of having two identical memory games, I thought it would be fun to turn this set into attractive magnets for the fridge.

Life on Earth Memory Game Magnets

I love the images on the cards, which are paintings by one of our favorite children’s book illustrators, artist Melissa Sweet. A perfect reuse project!

Life on Earth Memory Game Magnets

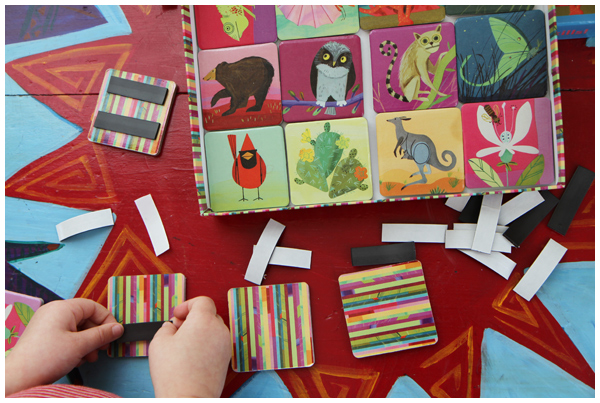
We took each memory game card and stuck two strips of magnet tape to the back of each piece:

Life on Earth Memory Game Magnets

Our magnetic strips came from a craft resale shop (that befits our local hospice), but you can either purchase magnetic tape or reuse any magnets that you have in the house (such as those free ones that come in junk mail).

Life on Earth Memory Game Magnets

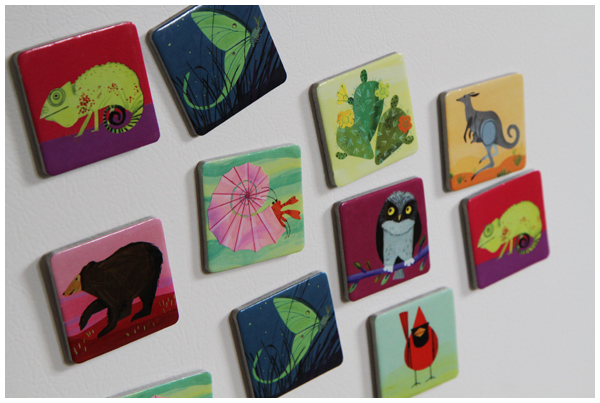
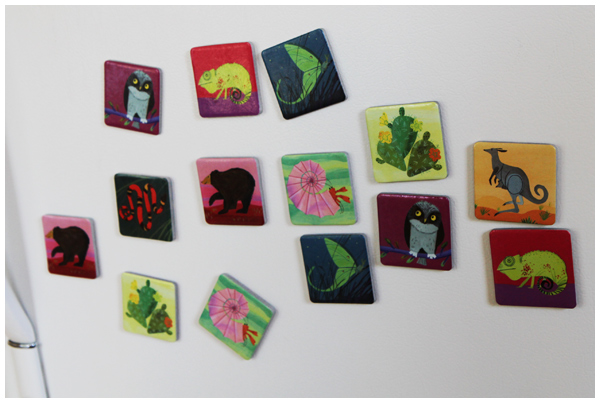
Simple, inexpensive and so attractive — we now own Melissa Sweet magnets!

Life on Earth Memory Game Magnets

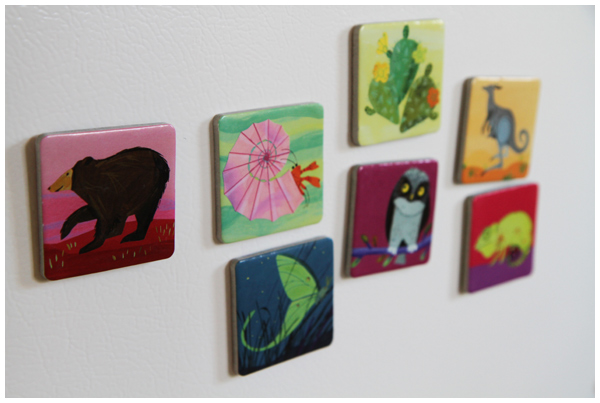
I love the vivid colors and biological themes gracing our fridge!

Life on Earth Memory Game Magnets

I think this project was a hit.

Handmade Watercolor Thank You Notes

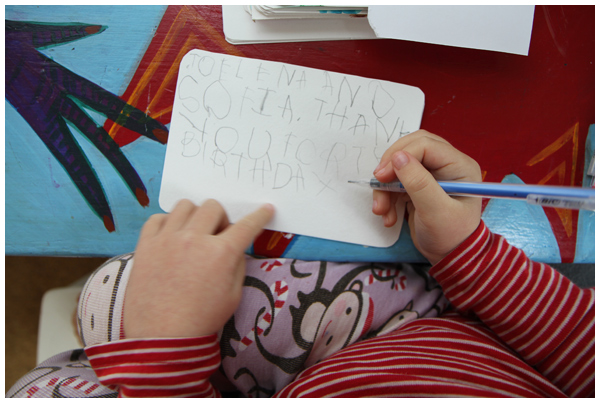
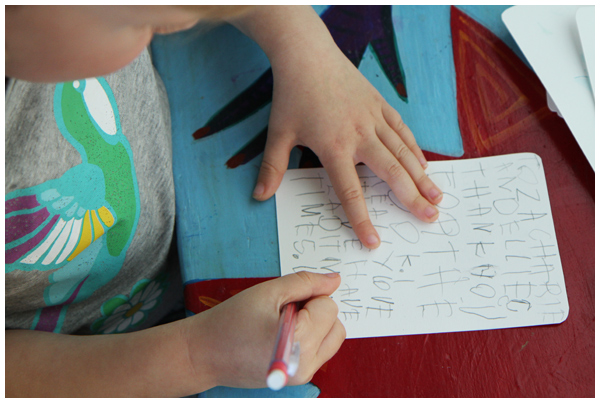
You may be wondering where all of our craft project posts have gone. Well, instead of our typical morning craft project (that we LOVE to share with you here on the blog!), we’ve been writing birthday thank you notes.

Handmade Watercolor Thank You Notes

Many, many birthday thank you notes.

Handmade Watercolor Thank You Notes

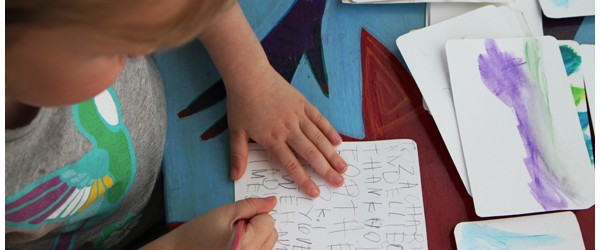
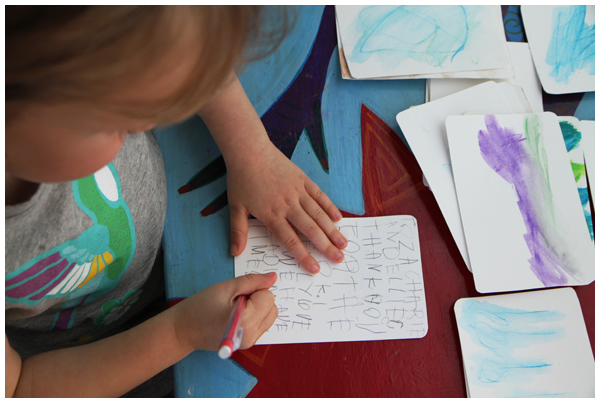
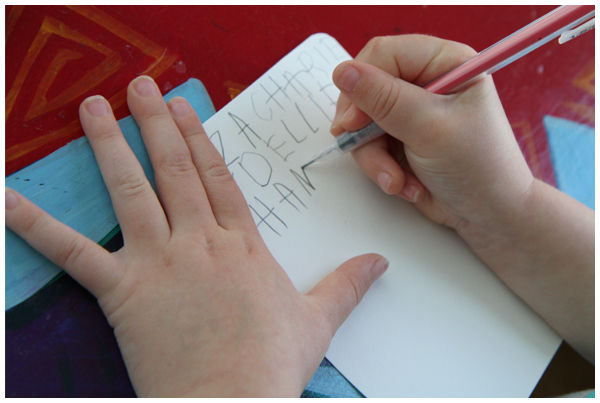
Our daughter surprised us by announcing that she was going to hand-write her thank you notes. She’s doing a beautiful job, but because she’s, well, four years old, it’s taking a rather long time. She can only write about one thank you note a day. Make that, one note every other day. I don’t want to rush her, but that means we haven’t been doing that much else in the sit-still-while-we-do-a-project department.

Handmade Watercolor Thank You Notes

We have many more notes to write. (Thank you all for your generous presents!)

Handmade Watercolor Thank You Notes

Aren’t her notes precious?!

See our budget-friendly watercolor postcards tutorial for instructions on how we made the cards.