Decorated Recycled Tea Box Gift Tags

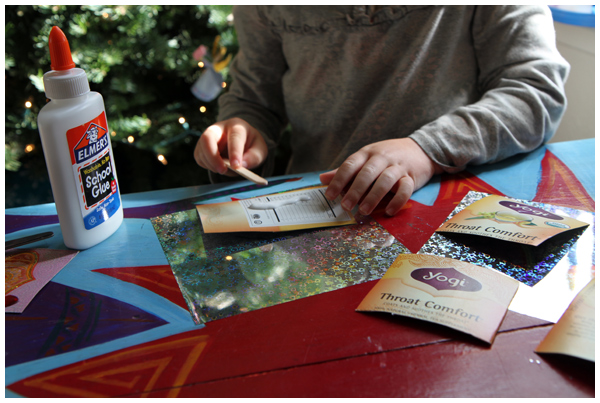
We love creating new things out of items that would typically get thrown in the recycling bin. In this case we made some sparkly, colorful gift tags from a empty tea box.

Decorated Recycled Tea Box Gift Tags

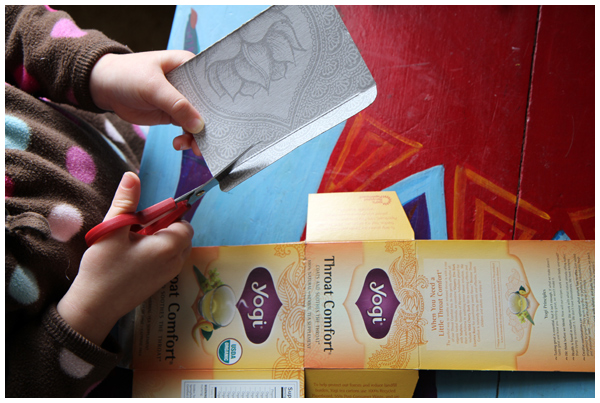
First we cut out the sides of the box:

Decorated Recycled Tea Box Gift Tags

This tea box was a Yogi Tea that decorates the inside of their boxes with detailed patterns. (Have a plain tea box? You could always draw your own designs! Don’t have a tea box? Use a piece of cardboard or card-stock instead!)

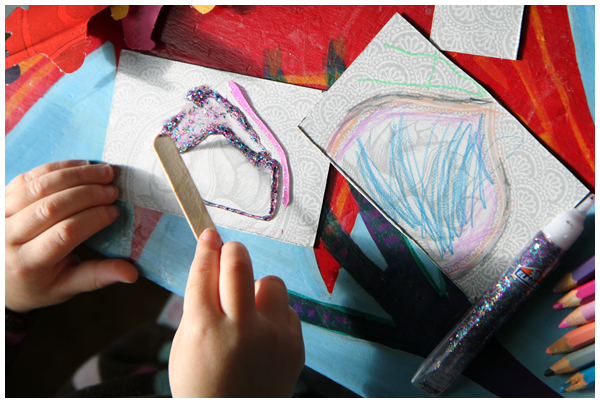
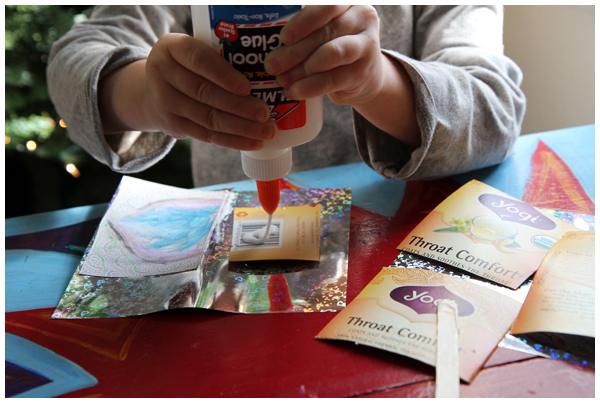
We colored one side of the squares with watercolor pencils and glitter glue:

Decorated Recycled Tea Box Gift Tags

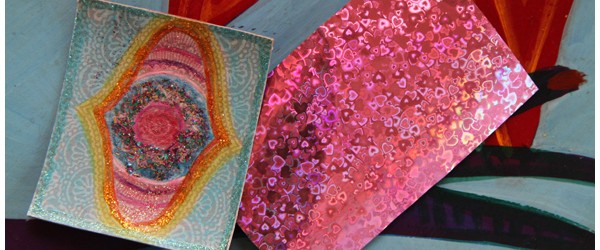
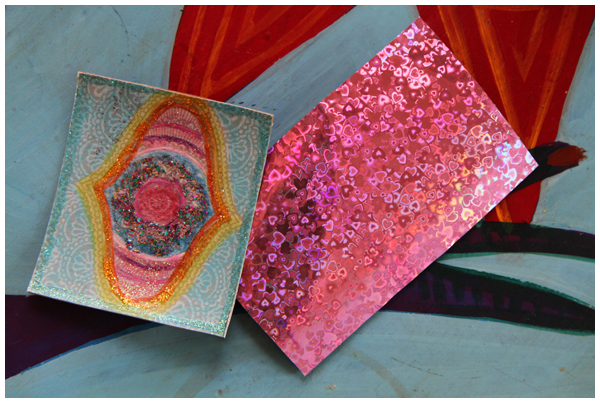
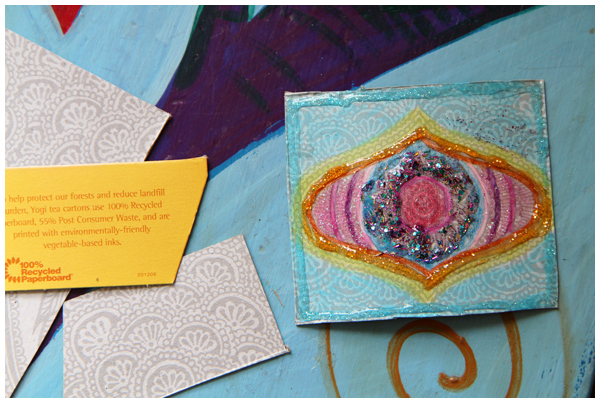
Then we glued the cardboard to sparkly origami paper so that the back side would be pretty too:

Decorated Recycled Tea Box Gift Tags

After the glue dried, we cut out around the tags:

Decorated Recycled Tea Box Gift Tags

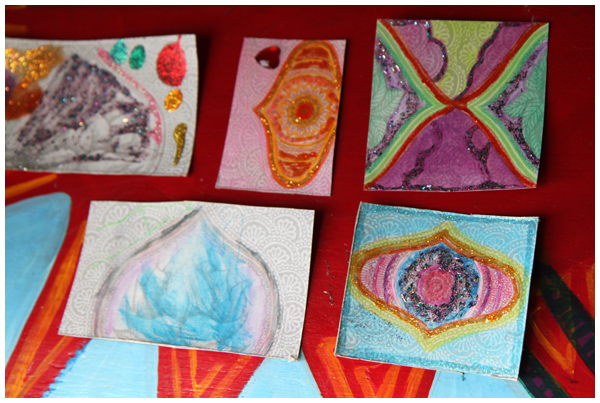
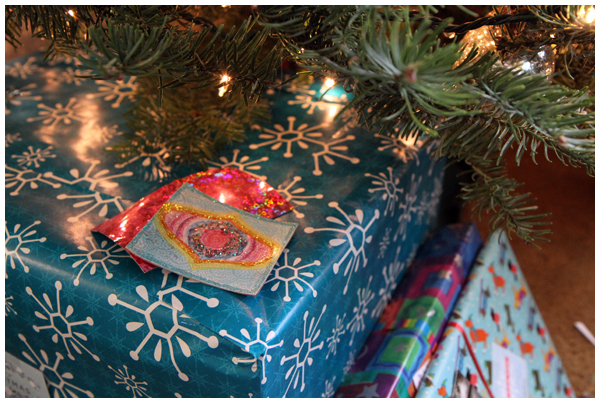
We then wrote recipient names (people from our immediate family) and placed each tag on a present under the tree:

Decorated Recycled Tea Box Gift Tags

We may end up mod podging the tags to preserve them so we can use them next year too. I love the idea of a recycled project that we will be able to reuse for years to come!

Hanukkah Crafts and Activities

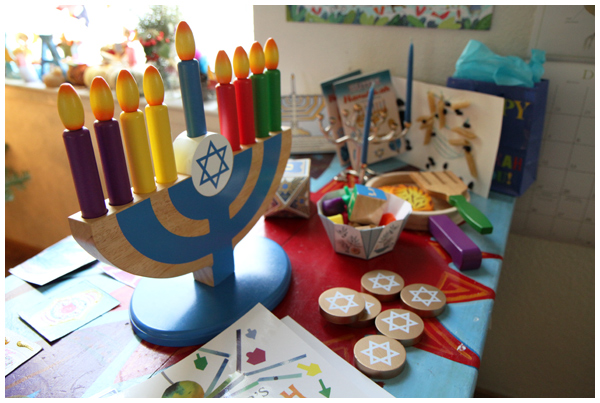
We’ve been getting ready for Hanukkah that begins tonight at sundown. Earlier in the month we shared some Hanukkah themed crafts we found on Pinterest. Here are some other fun crafts and activities we’ve been enjoying at our house.

Hanukkah Activities and Crafts

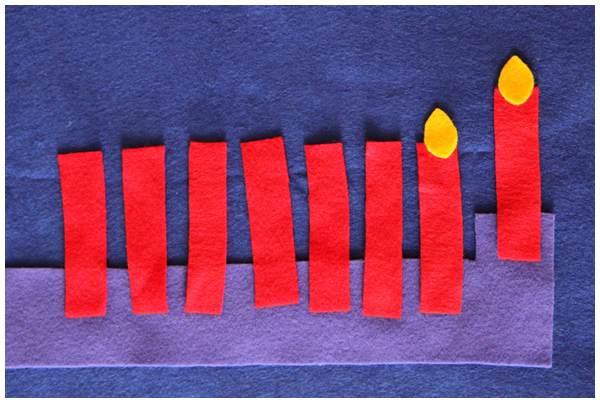
We’ve been playing with the felt menorah that we made last year:

Hanukkah Activities and Crafts

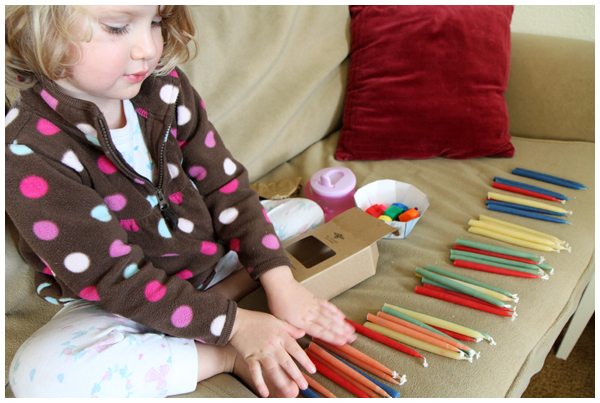
calculating how many candles we’ll be lighting this week:

Hanukkah Activities and Crafts

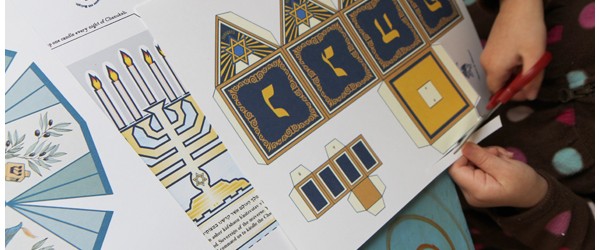
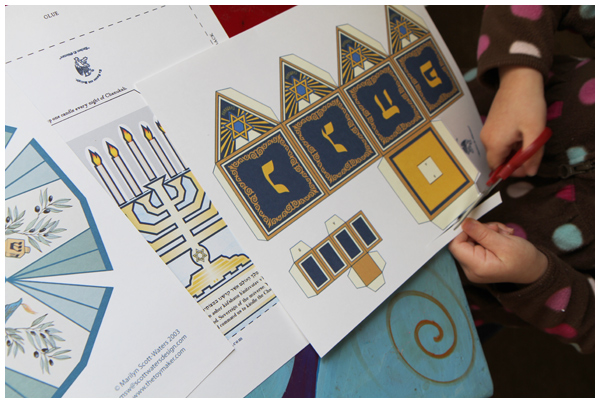
assembling a paper menorah, dreidel and bowl from The Toymaker’s website:

Hanukkah Activities and Crafts

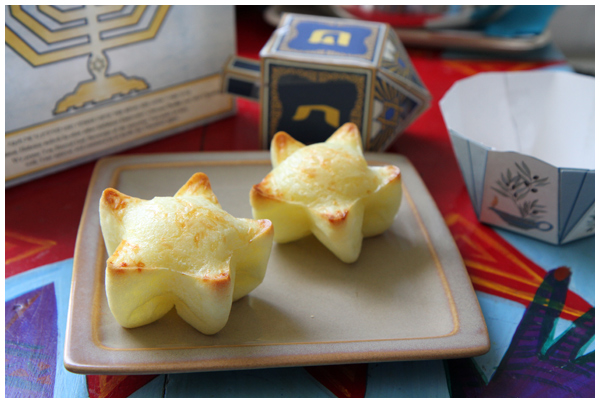
baking star shaped gluten-free Brazilian cheese bread:

Hanukkah Activities and Crafts

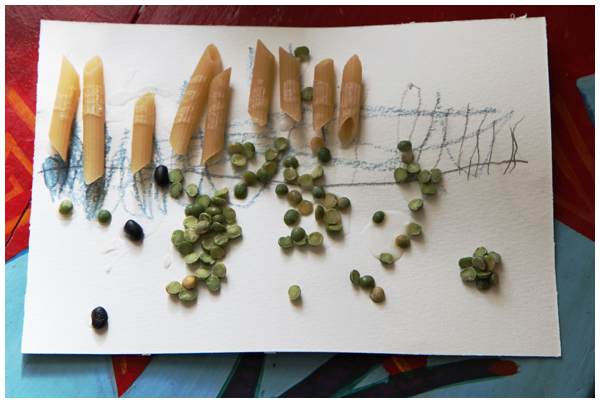
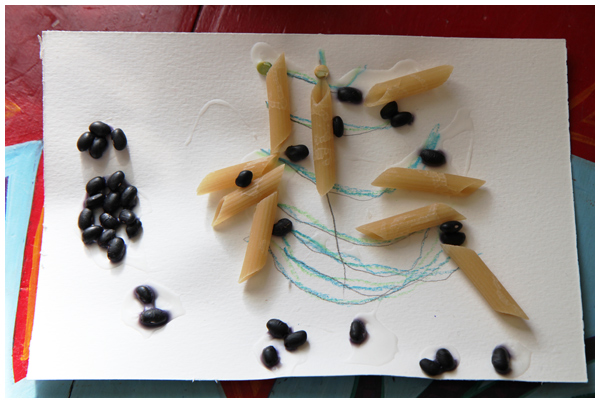
making (interpretive!) menorah collages with penne pasta candles (from Kids Craft Weekly):

Hanukkah Activities and Crafts

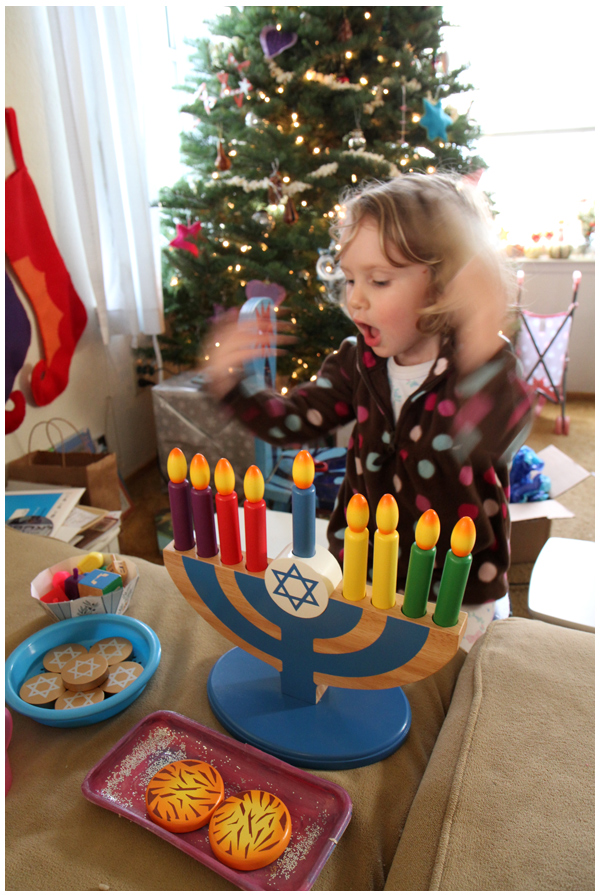
and practicing lighting the menorah and singing holiday songs:

Hanukkah Activities and Crafts

I think we’re ready for this particular holiday to begin!

Paper Fun with the Toymaker

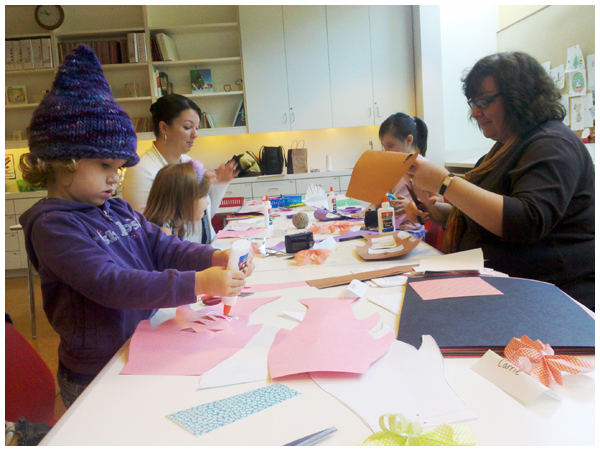
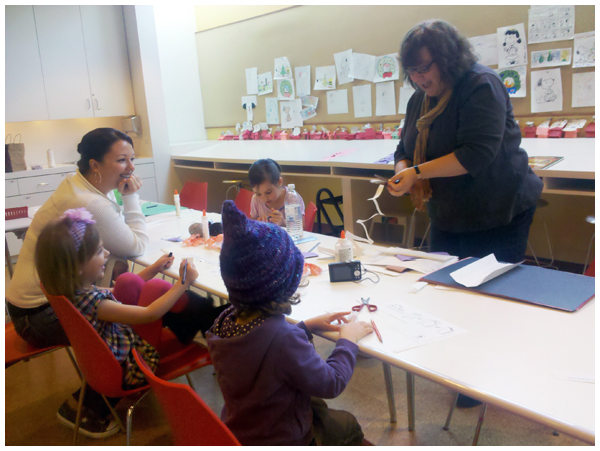
This past weekend we attended a fantastic paper craft workshop with artist, illustrator and author Marilyn Scott-Waters of the award winning Toymaker website.

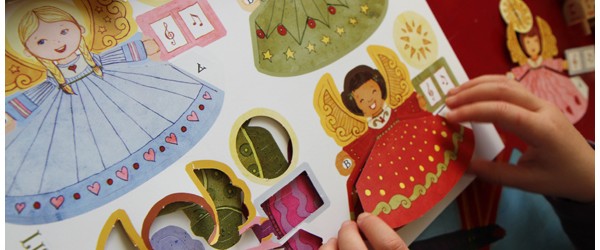
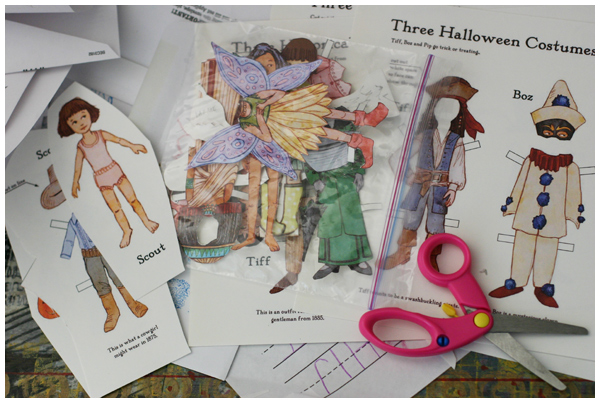
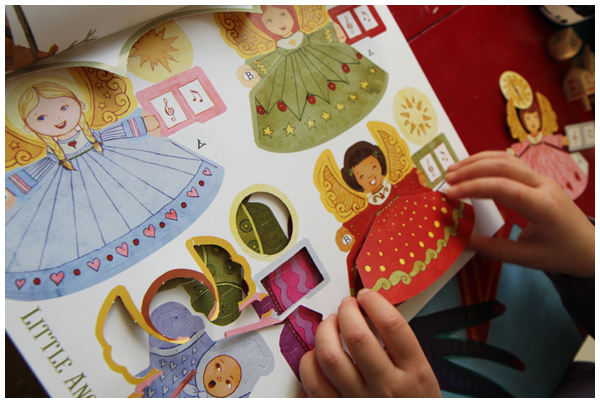
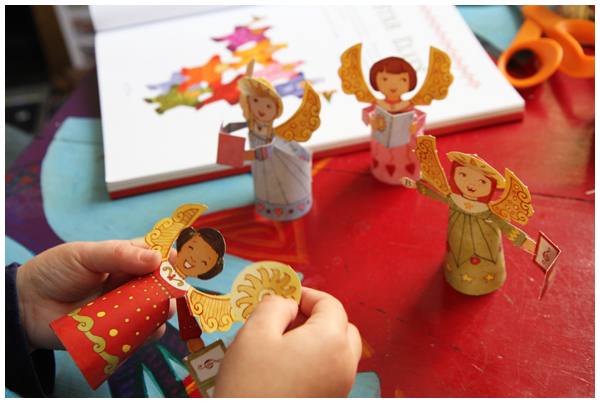
Remember these adorable paper dolls? They came from her site!

Paper Fun with the Toy Maker Marilyn Scott-Waters

I’m excited to have discovered that the instructions for many of the fun projects we did in our class are also featured on her website, so you can do them too!

We made and decorated: fairy books, koi kites, mini books, and paper butterflies.

Paper Fun with the Toy Maker Marilyn Scott-Waters

We even learned how to transform a single sheet of paper into a circle big enough to jump through! (More on that another time.)

Marilyn’s Toymaker website contains a wealth of other fun paper crafts. Check out her Hanukkah Crafts for a gelt box, menorah lighting activity, coloring pages, gift boxes, and more. There is also a fun filled Christmas Crafts page including beautifully illustrated gift cards, paper balls, boxes, and stars to print out and enjoy.

Paper Fun with the Toy Maker Marilyn Scott-Waters

You can also find Marilyn’s affordable books at your local bookstore. She is the author of The Toymaker’s Workshop: Paper Toys You Can Make Yourself and The Toymaker’s Christmas: Paper Toys You Can Make Yourself, two beautifully illustrated books containing hours of paper-crafting entertainment. We’ve had such fun assembling toys from The Toymaker’s Christmas, which she kindly autographed for us!

Be sure to subscribe to her fantastic, FREE newsletter for monthly updates on new paper toy projects. We also highly recommend picking up her books, which feature punch out paper toys (no scissors involved!). We are hooked!

Paper Fun with the Toy Maker Marilyn Scott-Waters

Handmade Ornament Roundup

We believe in crafting a handmade holiday, making our own ornaments for our tree, baking and making as many gifts as we can. The holidays feel so much more special when there’s heart involved.

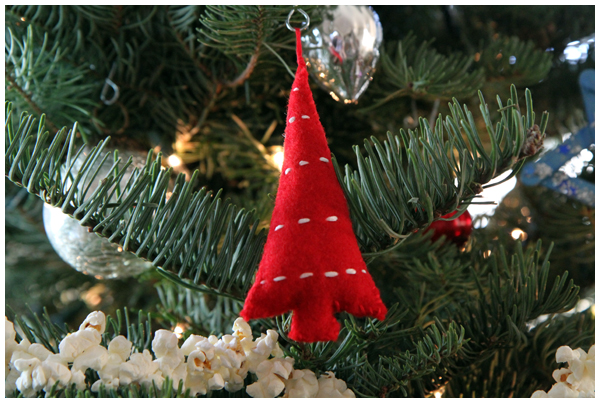
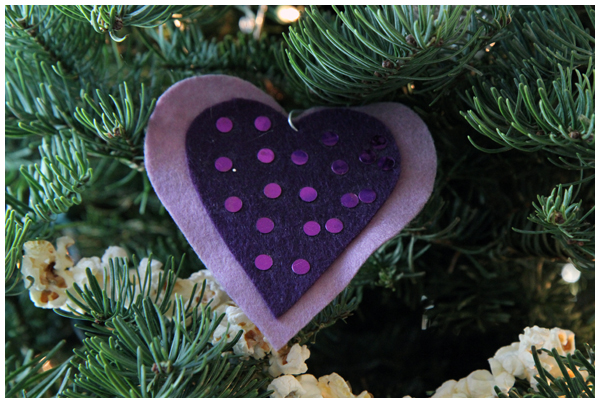
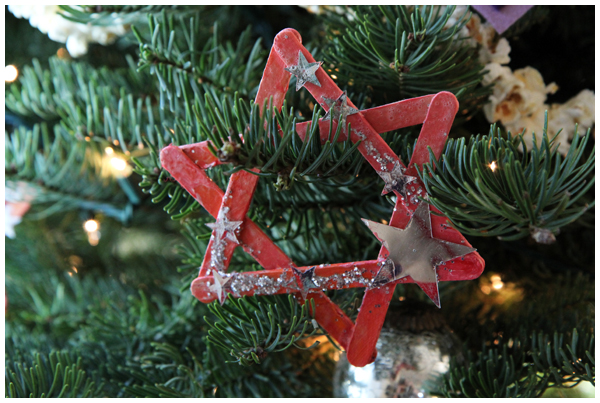
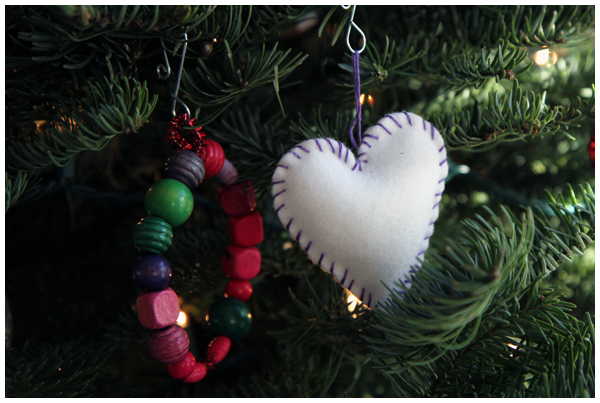
Our handmade ornaments

I’ve been thrilled to see that our daughter remembers last fall’s activities and now sees them as tradition. Come November she eagerly reminded me that we needed to start sewing ornaments for this years tree.

Our handmade ornaments

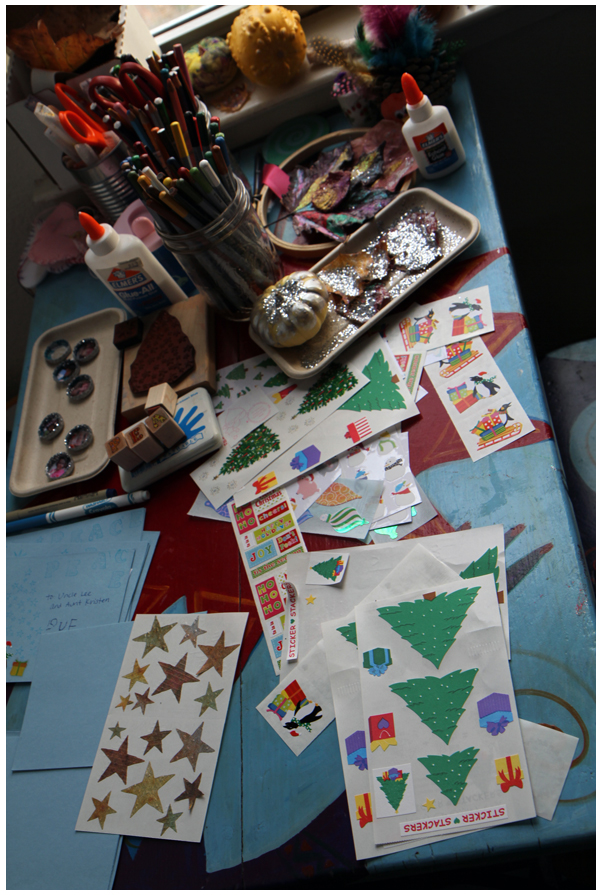
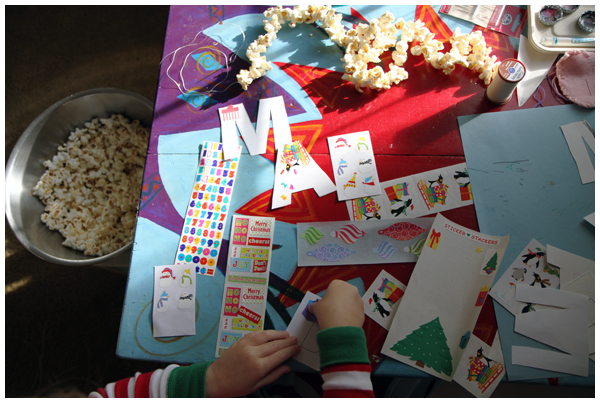
And so our home transforms into a Craft House with every surface covered with holiday projects, glitter, glue, feathers, felt, string, and stickers:

Messy art spaces
Messy art spaces

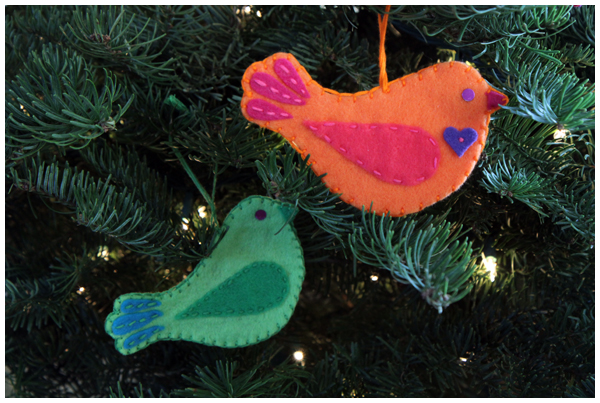
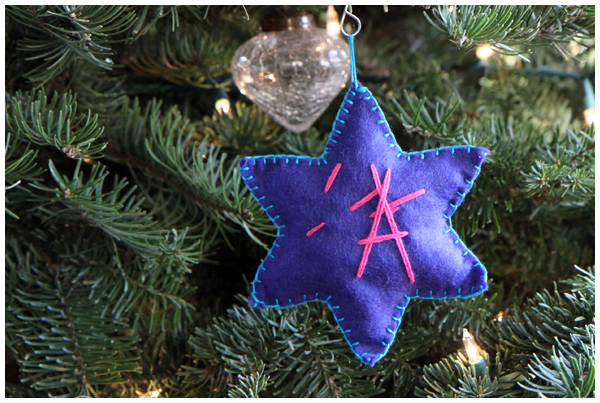
Here are some of the ornaments we’ve made, some from last year, many created in the last few weeks.

Our handmade ornaments

I love this time of the year.

Shown above:
+ Felt Christmas Tree Ornaments
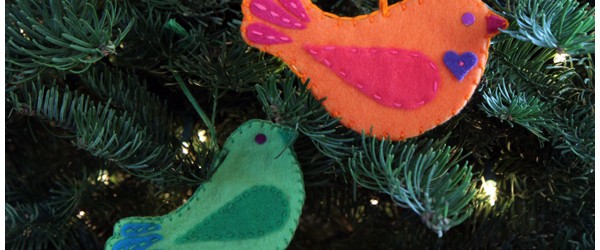
+ Bird Ornaments (from Skip to my Lou)
+ Beaded wreath ornaments
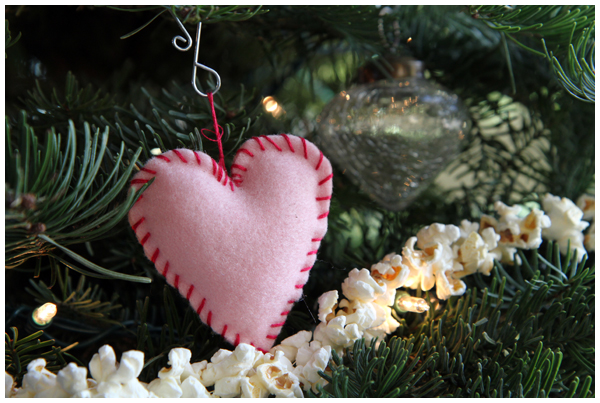
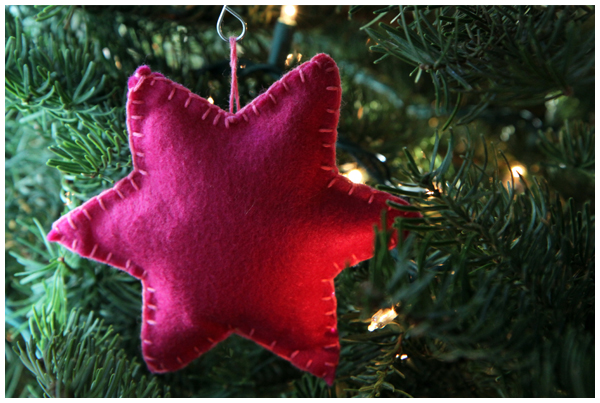
+ Felted stars, wooden stars, and felt hearts
+ Popcorn garlands
+ Popsicle stick six pointed stars
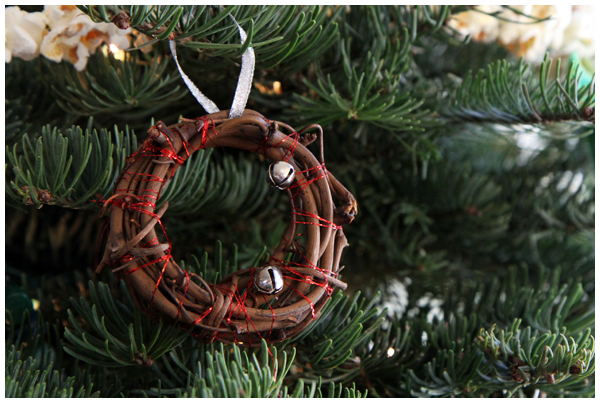
+ Grape vine wreaths with tinsel and bells

Still to be made:
+ Dehydrated orange slices (try dehydrating ruby red grapefruit for a beautiful pink color!)

Picture Bottle-Cap Magnets

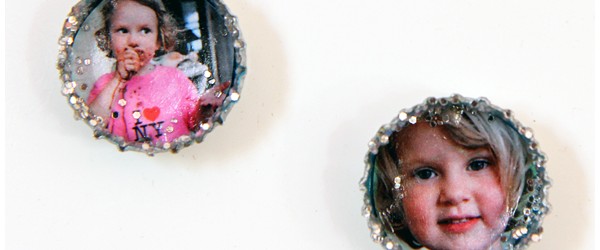
Making these bottle-cap magnets turned out to be one of the most fun and rewarding projects that my daughter and I have done together — right up there with our felt salad, toddler art napkins, and favorite book character magnets that we use every day!
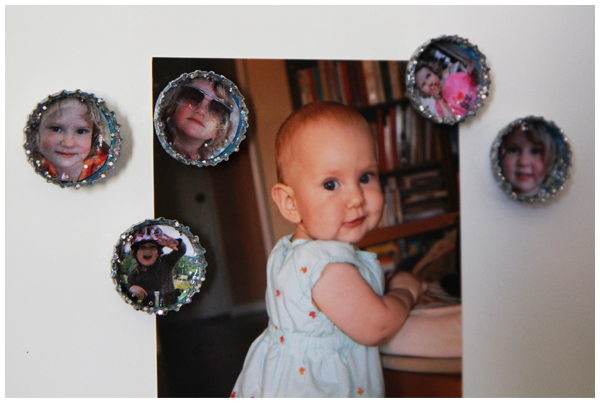
Picture Bottle-Cap Magnets Tutorial

The idea for making glittered bottle-cap magnets came from Anna Getty’s book, I’m Dreaming of a Green Christmas: Gifts, Decorations, and Recipes that Use Less and Mean More. By adding our daughter’s photo to the magnets, we’ve made a great holiday present for family. (Boy did I blow the surprise by posting this!)

Note: this project involves several layers of paint and glue, so you’ll need to allow several days to complete in order for each layer to fully dry between steps.

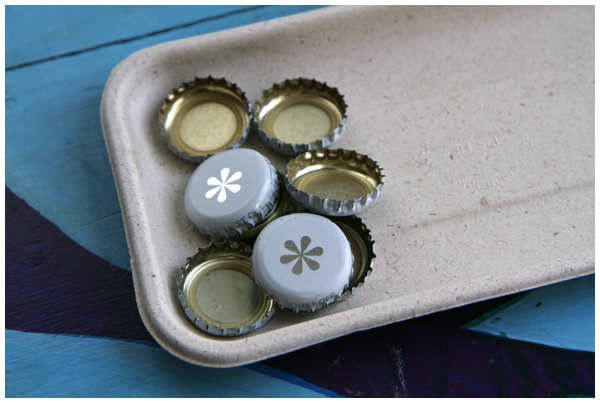
We started by gathering twist-off bottle caps. Since we rarely drink anything but water, milk or coconut water it took us several months to gather this meager collection of seven twist-off bottle tops:
Picture Bottle-Cap Magnets Tutorial

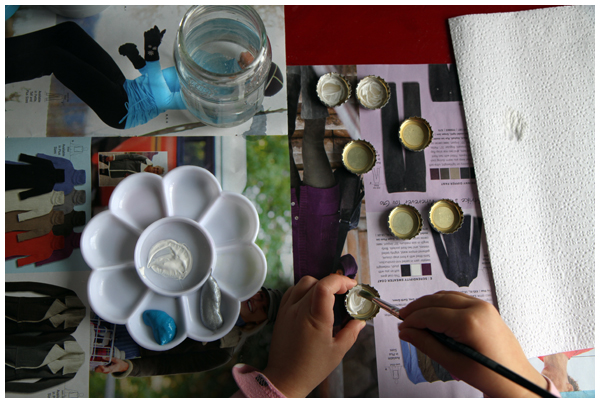
We painted the bottle caps with white, blue and silver paint and let them fully dry:
Picture Bottle-Cap Magnets Tutorial

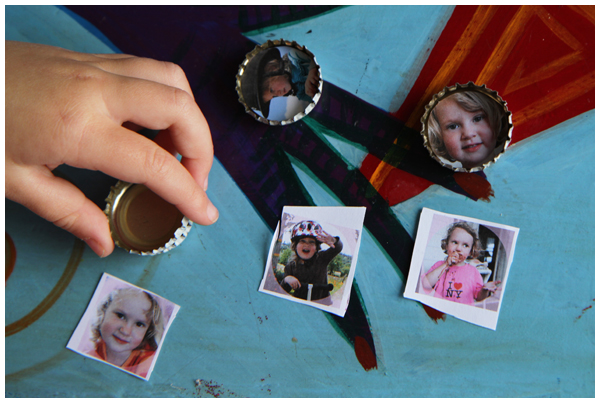
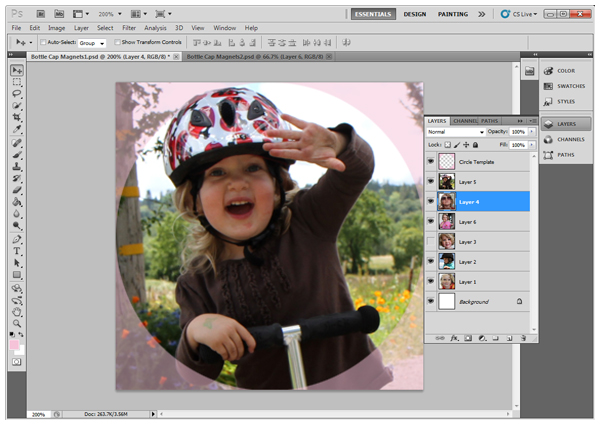
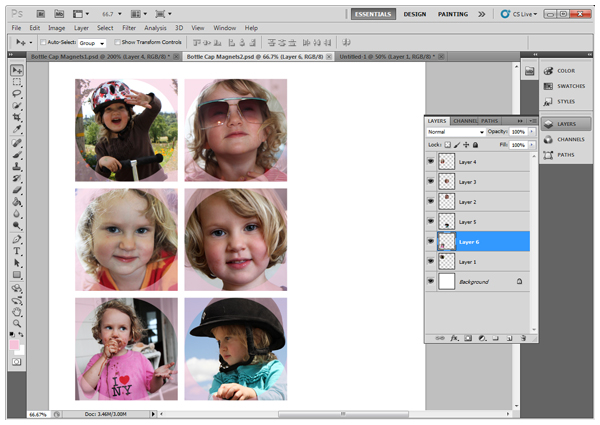
After selecting favorite photos of our daughter, we used Photoshop to make photos with a 1 inch diameter circle around her face:
Picture Bottle-Cap Magnets Tutorial

We printed the photos and cut them out to fit in the bottle caps:
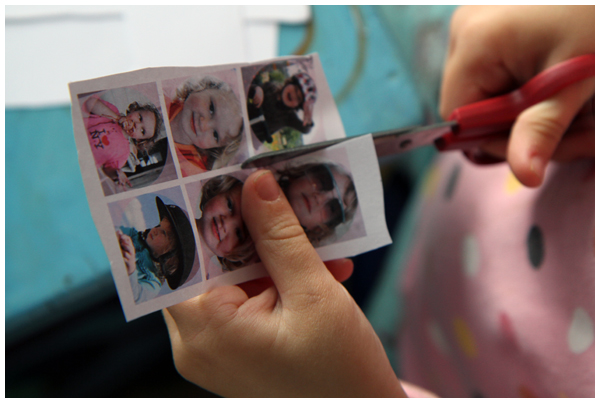
Picture Bottle-Cap Magnets Tutorial

Then we mod podged the circular photos to the inside of bottle caps. After they dried, we sealed the photos by painting another layer of mod podge on top:
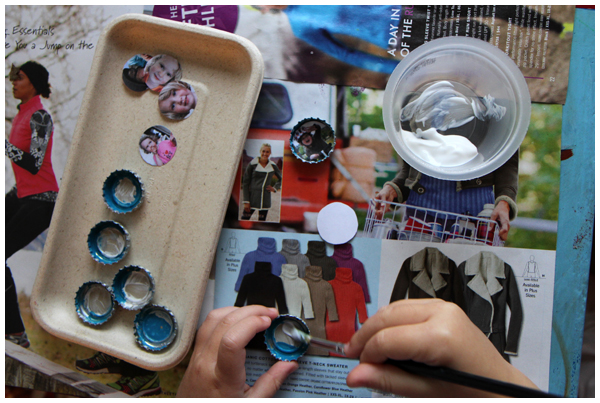
Picture Bottle-Cap Magnets Tutorial

We put glue around the inside lip of the caps (just barely touching the photos inside) and sprinkled silver glitter over the top:
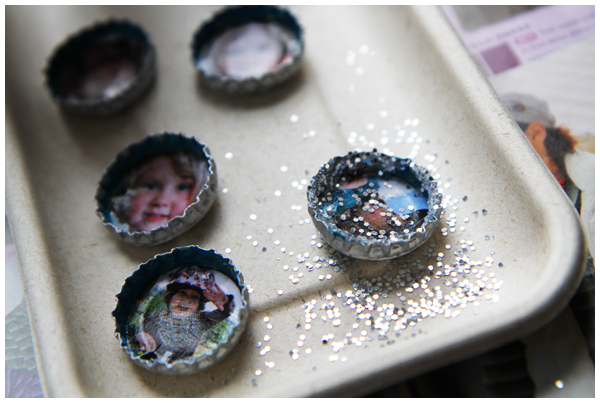
Picture Bottle-Cap Magnets Tutorial

After the glue dried, we shook off the extra glitter and painted one final coat of mod podge to seal the glitter on:
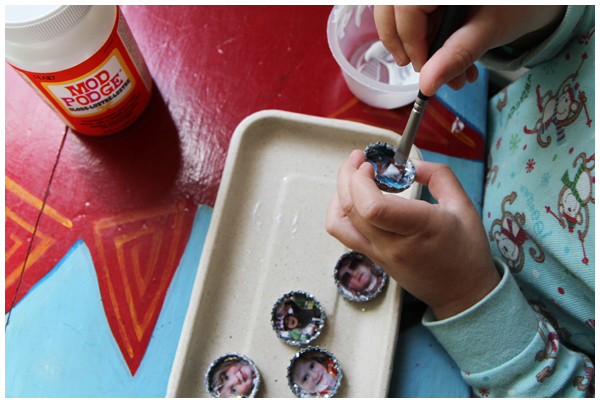
Picture Bottle-Cap Magnets Tutorial

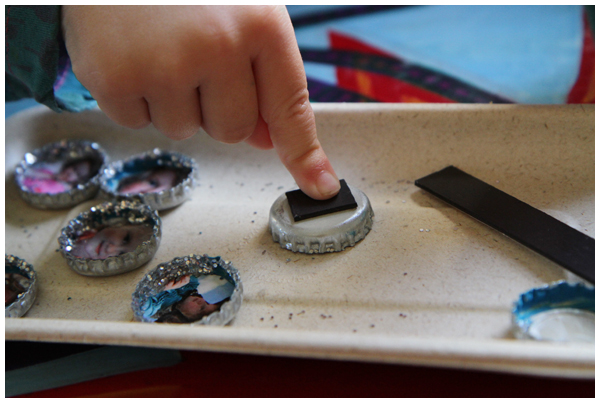
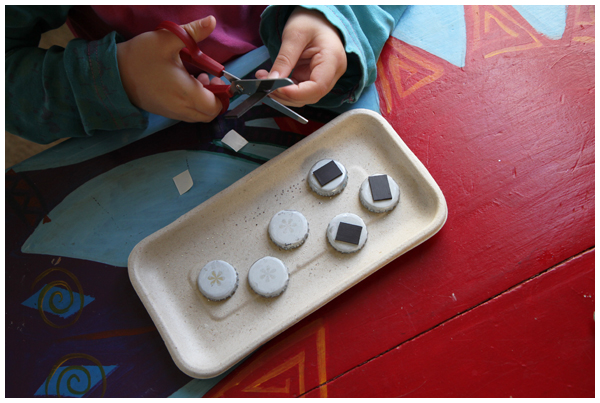
We cut small magnets (from magnetic strips) and adhered them to the back of the bottle caps:
Picture Bottle-Cap Magnets Tutorial

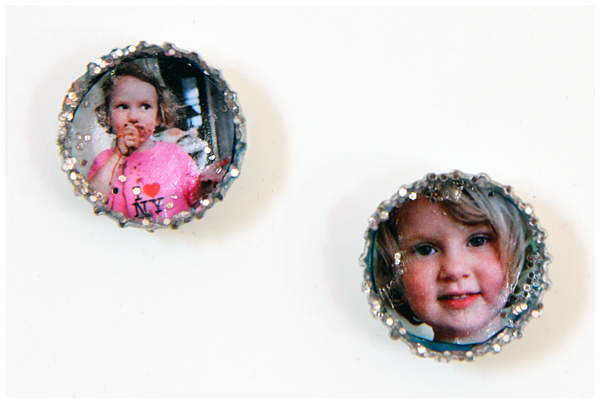
Ready to use! (Or send off to the relatives.)
Picture Bottle-Cap Magnets Tutorial

I’m not gonna lie. We did save two for ourselves. They were entirely too cute to give away.

Now to save up bottle-caps so we can make some more…

Updated 1/13: Click here for more tips and helpful ideas in making these magnets!