The Bobbin Winding Continues

We’ve been hard at work organizing our arts and craft supplies. Today I am focusing on our ongoing attempt at bringing order to our giant stash of embroidery floss.
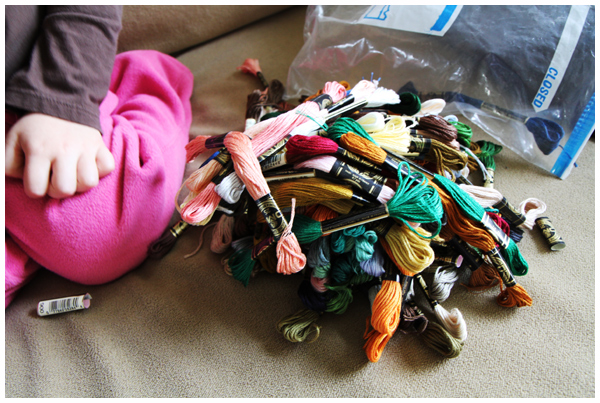
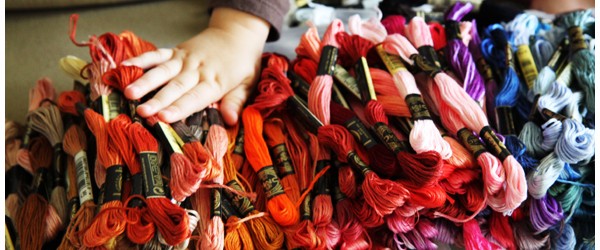
We have been slowly and steadily winding our way through the enormous quantity of embroidery floss that my mother-in-law gave me for Christmas. (Have I mentioned how much I love that my in-laws own an arts supplies store and gallery?!)

Lucky for me, our three-year old daughter loves to help me wind bobbins.
I believe bobbin winding is a great activity to build hand strength. I’ve read about how cutting with scissors helps build hand strength in children, an essential first step towards writing. I believe that bobbin winding also helps with this as well. Both the winding of the handle and the holding of the string helps develop hand dexterity and strength.
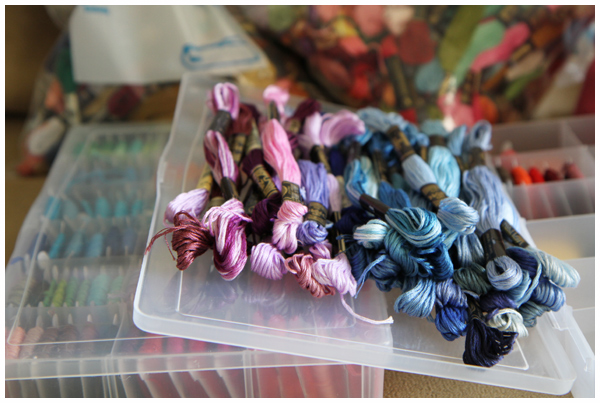
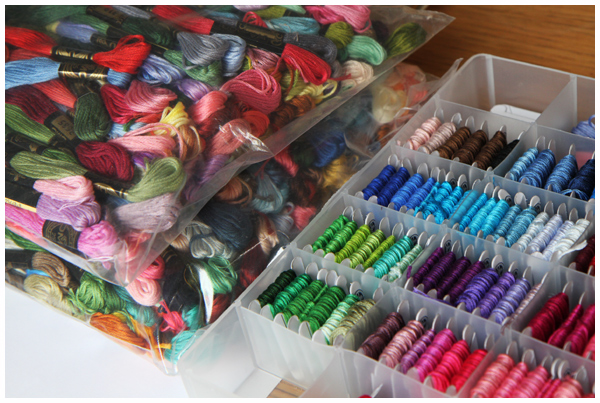
We also added a color lesson to today’s bobbin winding activity. (I love how every day activities can be transformed into learning experiences!) We sorted the strands into piles of different colors:
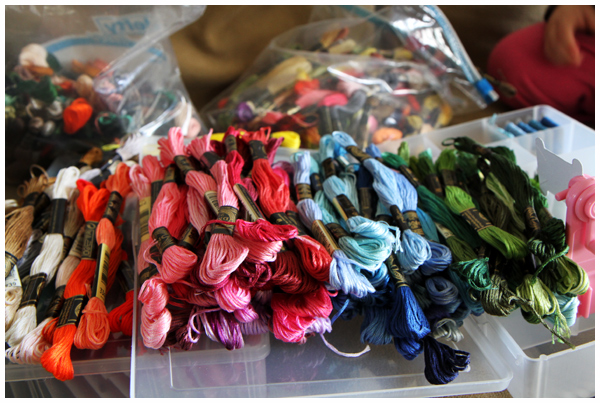
We also giggled when we mixed them up, purposefully placing (throwing!) a pink floss in the blue pile, for example, which sent my daughter into a fit of giggles:
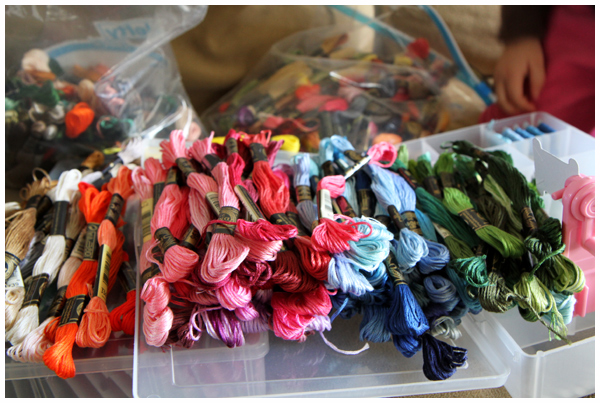
The kid loves adding chaos to my attempt at finding order.
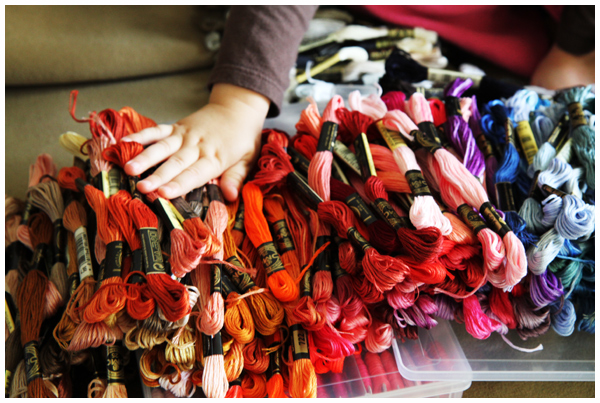
We so enjoy these mama-daughter activities. We’ve found sorting floss and winding bobbins to be a calming, quiet activity to do together.

We only have a couple hundred bobbins to go. Piece of cake! I think it may take us all year.
Make Your Own Stickers

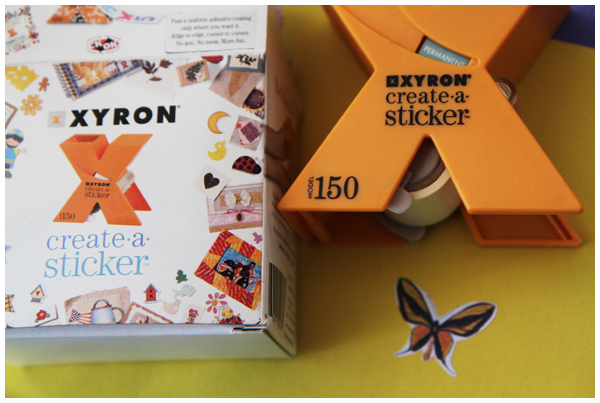
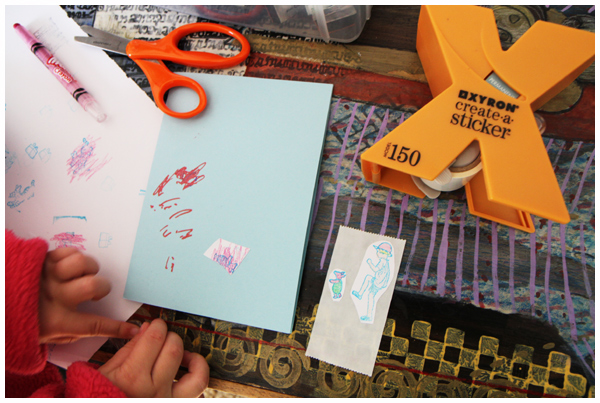
We picked up a Xyron Create a Sticker Machine at our local craft resale shop, along with a refill cartridge for just a couple bucks. Thrift store score!

The sticker maker machine is actually incredibly affordable (i.e. under $6!), so if this project appeals to you at all, I recommend picking one up! We’ve been using ours every day since we bought it.

Here’s how we made our own stickers:

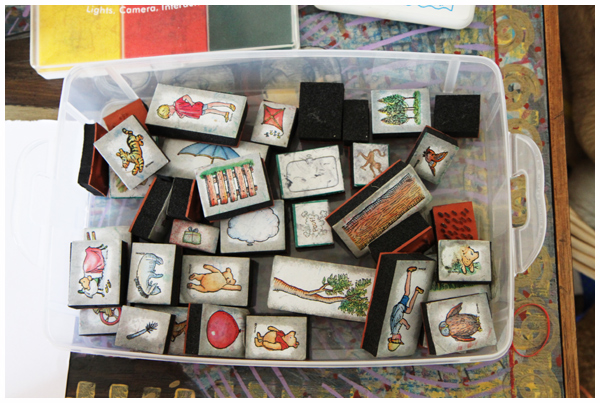
We used plain construction paper, colored pencils and our Winnie the Pooh stamps, also scored from a thrift store. These stamps may look old and well-loved, but I’m thrilled we found them as I have been unable to find similar ones anywhere.

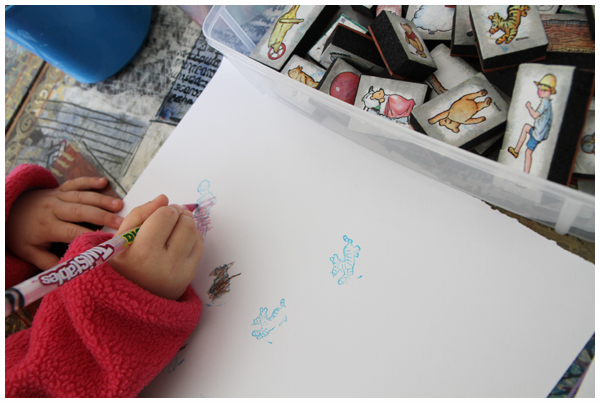
We stamped different Hundred Acre Wood characters onto plain paper, then filled in (over!) the outlines with colored pencils.

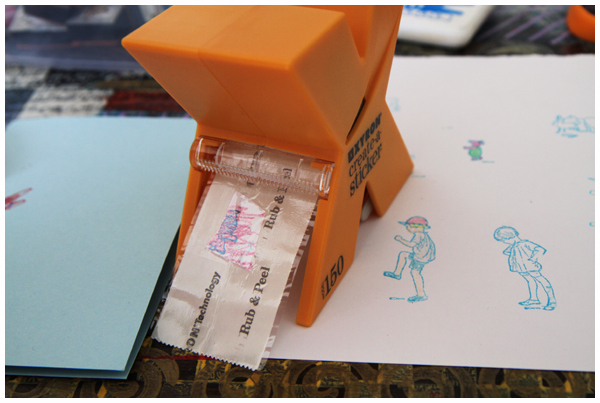
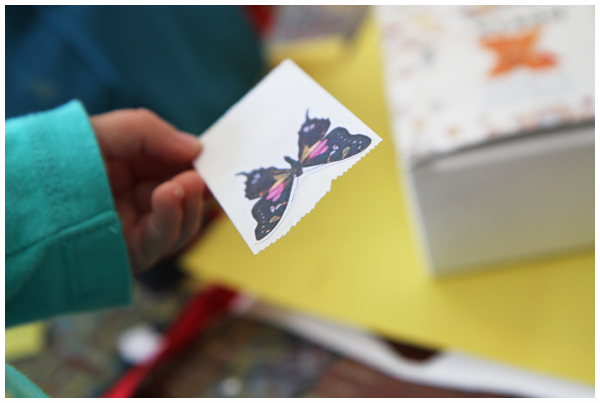
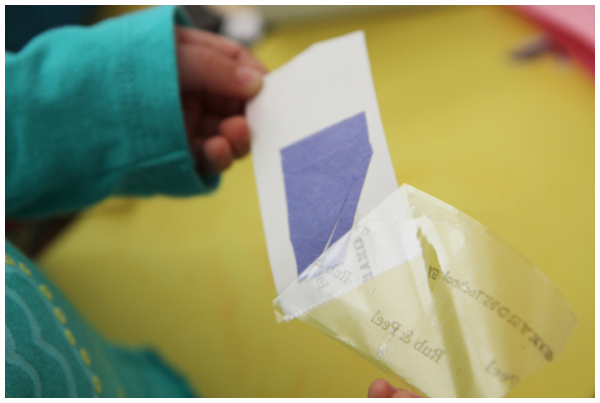
After cutting out the stamp shapes, we fed them through the sticker maker, peeled off the front and back of the tape, and voilà! We have a personalized Piglet sticker! Our little girl was thrilled.

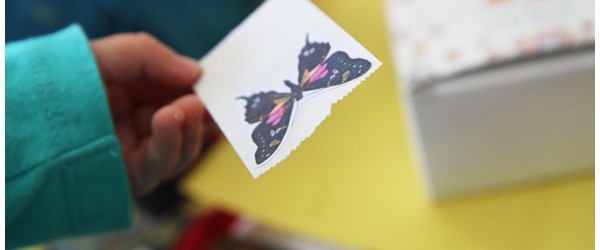
We’ve also made butterfly clip art and colored shape stickers cut from construction paper.


The possibilities with this sticker maker are endless!

We used these beautiful handmade stickers on some of the thank you notes from our birthday festivities. A handmade-touch to the cards and a super fun project!

Picture Frame Decoupage Project

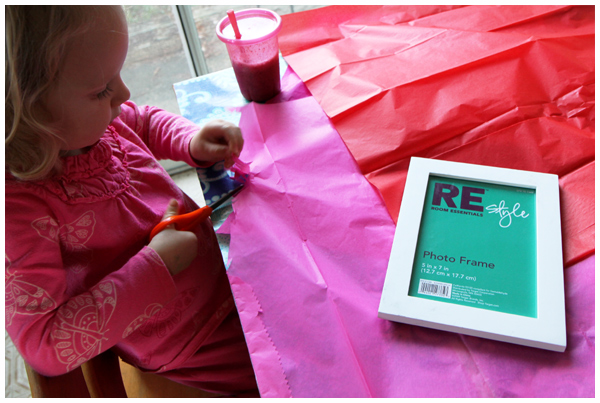
We spotted these inexpensive picture frames on clearance and felt they just screamed “PROJECT!” I wasn’t sure if we would spray paint them a fun color (turquoise! lime green! hot pink!) or do an arts and craft project. The project won out and what fun we had!

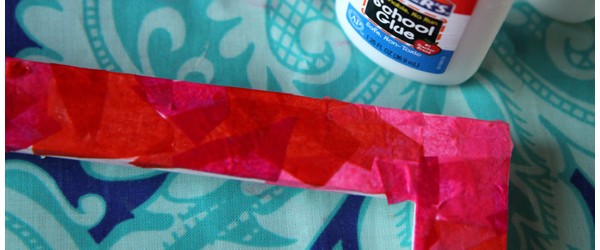
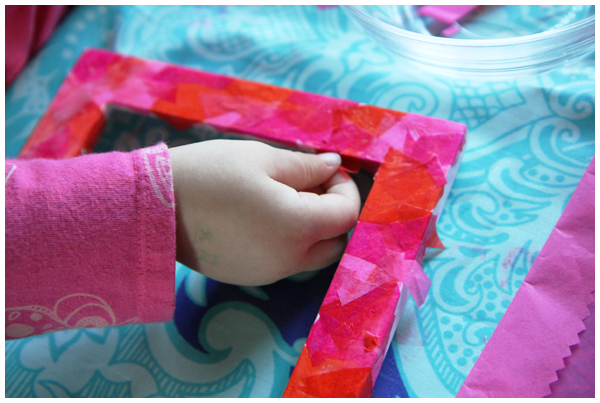
First my daughter cut up small pieces of pink, red, and purple tissue paper.

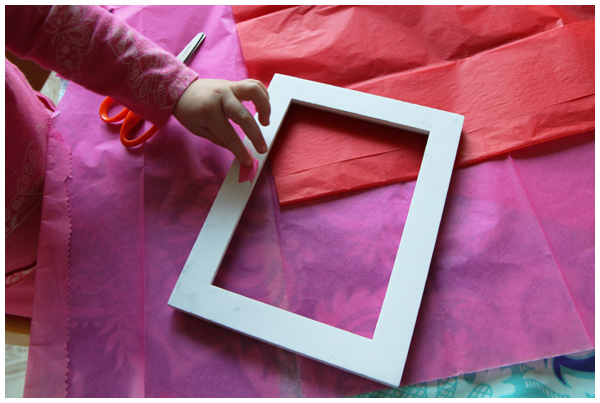
While she did this, I removed the glass from the frame.

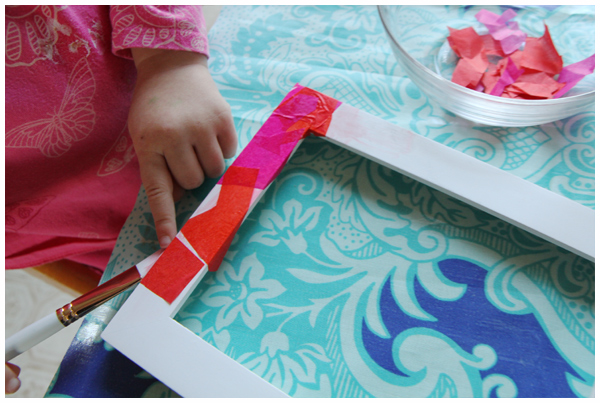
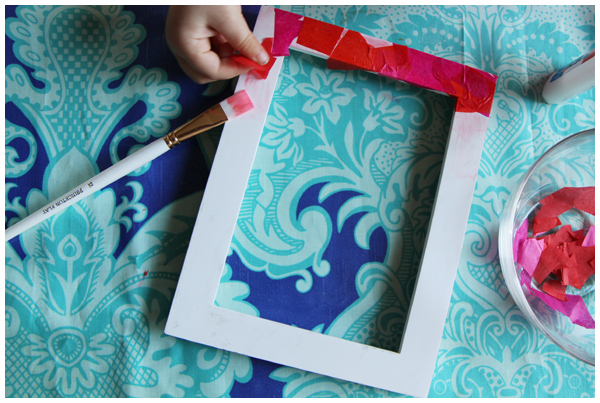
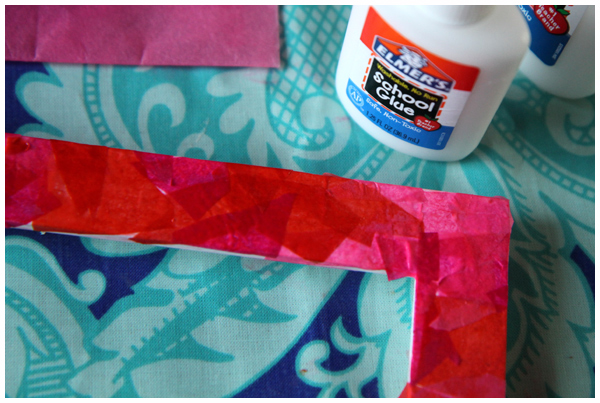
Then we glued the tissue paper pieces onto the frame using elmer’s glue. We then brushed glue over the paper to seal the paper on. (The decoupage part of the project!)

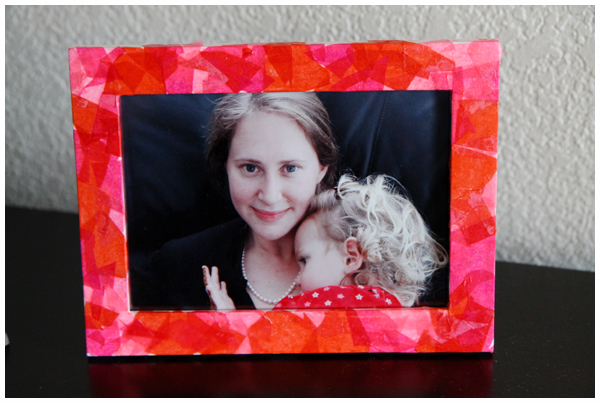
After the glue dried, we applied a coat of mod podge to really seal the paper on to the frame and add a glossy sheen.


What an easy, quick project with a lovely handmade feel! Not to mention a perfect Valentine’s Day gift for a certain daddy who needs a more recent photo of his loves for the office.

Adorable!

Birthday Crown

Our blog countdown to the three-year old’s birthday party continues!

Today we share a mother-daughter project that’s been three years in the making.

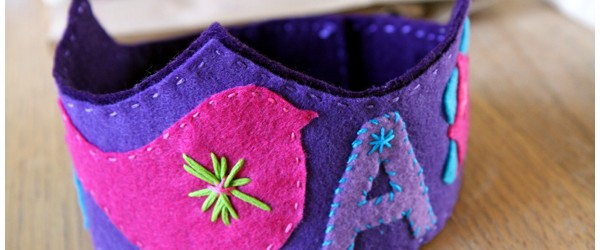
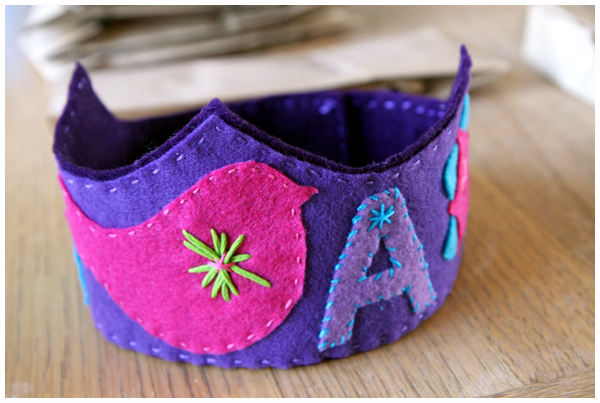
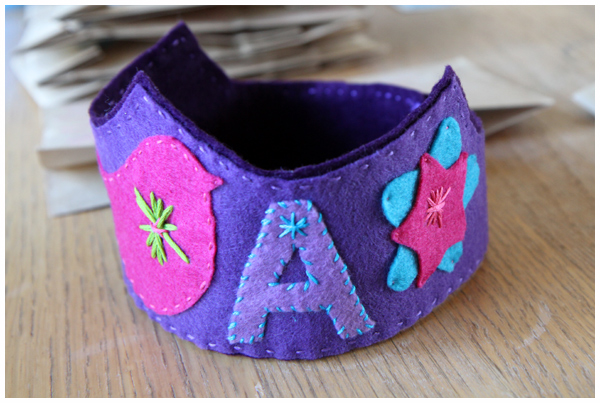
The birthday girl and I made this special birthday crown based on Amanda’s crowns, adapting the template and technique in her inspiring, wonderful book, The Creative Family.

My daughter involved herself in each step of the project (no surprise there!). She picked the colors, dictated the embellishment shapes, and placement of all items. She hand sewed the green star-burst on the pink bird. She held my hand as I cut the felt, assisted me in pinning and gluing the embellishments, attached the velcro to the tags (omitting the elastic band in the back, allowing for a more seamless crown), and helped me sew the entire crown, pulling the needle through after I placed each stitch.

Let me tell you, this crown was a labor of love and so worth it.

Want to see it on her? That’s tomorrow’s post!

Birthday Party Letter Art Banner

Our blog countdown to the three-year old’s birthday party continues!

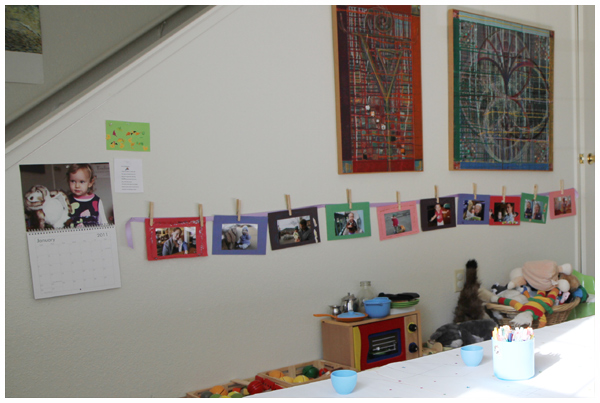
Yesterday we talked about our photo banner:

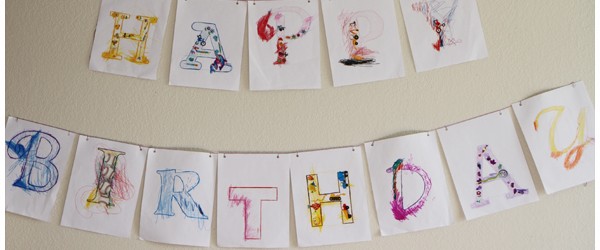
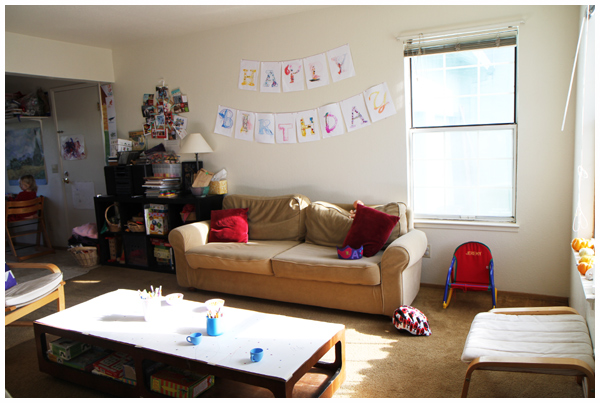
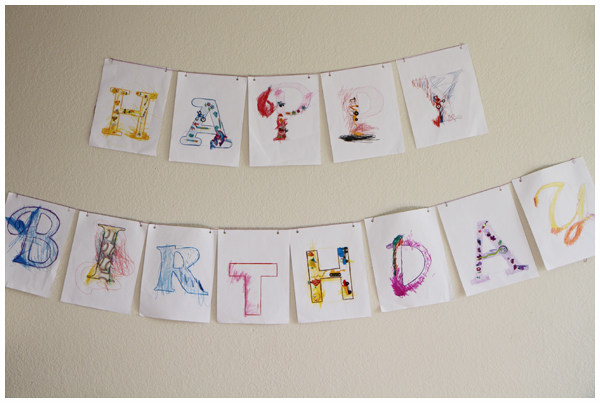
Today I want to share with you our Happy Birthday letter art banner that we’ve hung on the opposite wall of our living room:

I typed “Happy Birthday” using different fonts for each letter on our computer and set up the letters to be outline only. After printing the series out, we then decorated the letters with stickers, twistables crayons and colored pencils.

The project took us several days to complete and we talked about the different letters and colors as we filled in the outlines. For some of the letters, my daughter focused on coloring each outline one (or two) colors and matching stickers of the same color to each letter.

A fun preschool project that’s simple, yet open to endless creative possibilities.

Now, a freebie for you:

Download a PDF of our Happy Birthday letter art banner to print and color in for yourselves!