Making Sugar Skulls

What could be more fun on a quiet Sunday afternoon than making sugar skulls in anticipation of our family’s Day of the Day celebration later in the week?!

Making sugar skulls for Day of the Dead

Since we want to decorate our sugar skulls on Tuesday, we needed to make them ahead of time so they’d be fully dry before we adorned the sugar skulls with paint, feathers and sequins.

Here’s a simple sugar skull recipe for you to try at home.

Making sugar skulls for Day of the Dead

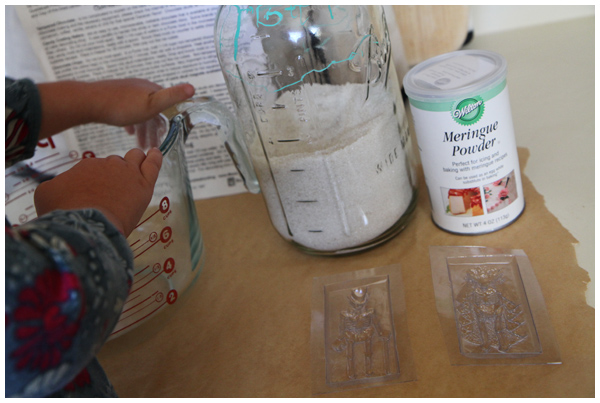
Mix 1 cup sugar with 1 teaspoon merigue powder (available at Michael’s or your local cake decorating supply store) and 1 teaspoon water.

Making sugar skulls for Day of the Dead

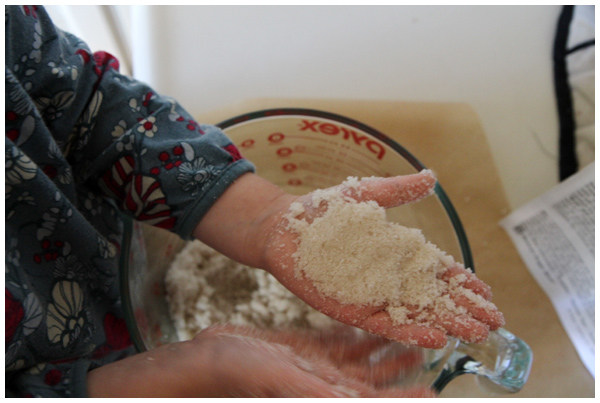
Mix fully with your hands until every granule of sugar is moistened (about five minutes).

Making sugar skulls for Day of the Dead

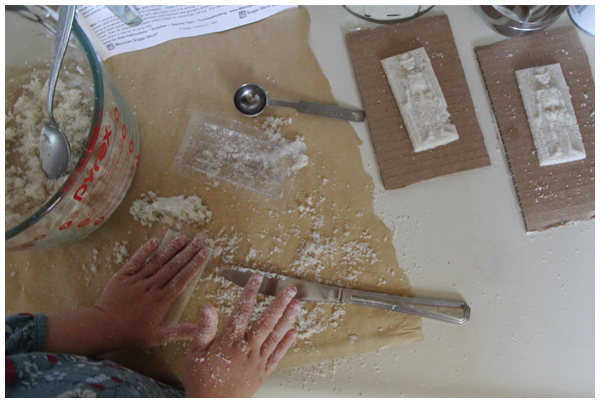
Mound sugar mixture into the mold, scrapping off excess with the a knife to ensure the back of the mold is smooth and level.

Making sugar skulls for Day of the Dead

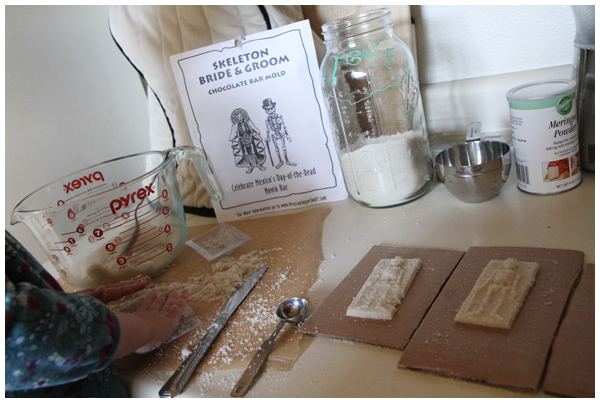
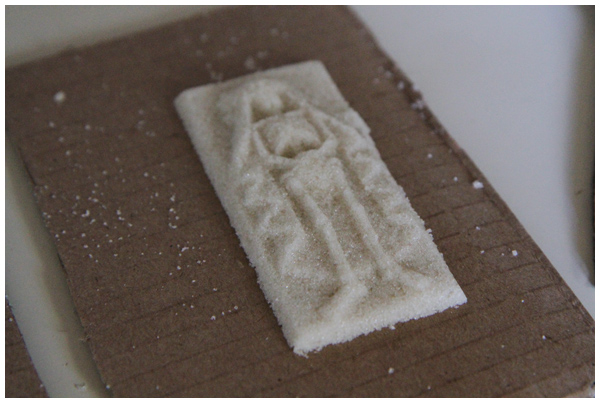
Place a stiff piece of cardboard over the mold and immediately invert. Tap the top of the mold to release the sugar mixture onto the cardboard and carefully, slowly lift the mold off. Let air dry for eight hours or overnight.

In a few days, after the sugar skulls are fully dry, paint and decorate them with feathers, colored foil, and sequins.

Making sugar skulls for Day of the Dead

Look for photos of our decorating activities here on the blog later in the week.

Note: even though this sugar skull recipe could be edible, it doesn’t taste good because of the decorations! In other words, this is a make but don’t eat project.

Looking for supplies to make your own sugar skulls? This website has everything you need including the skeleton bride and groom chocolate bar mold we used above.
Birthday Girl Photo Banner Preview

We’re gearing up for a certain little girl’s birthday party this month.

This week we’ve been focusing on making decorations.

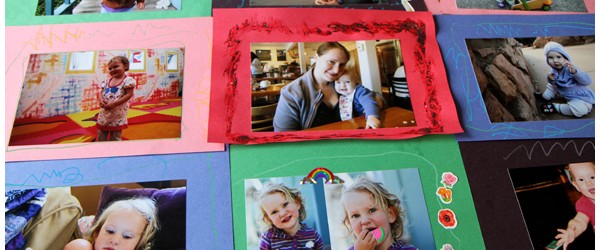
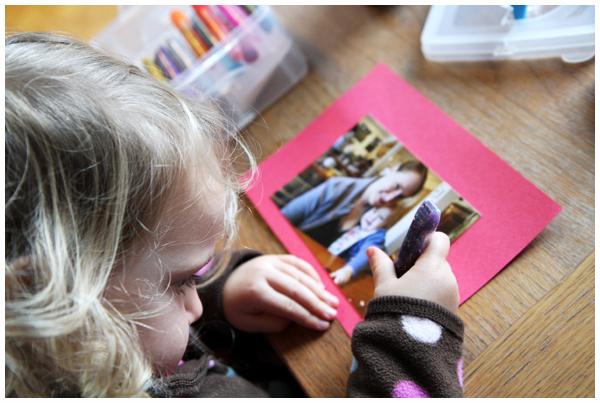
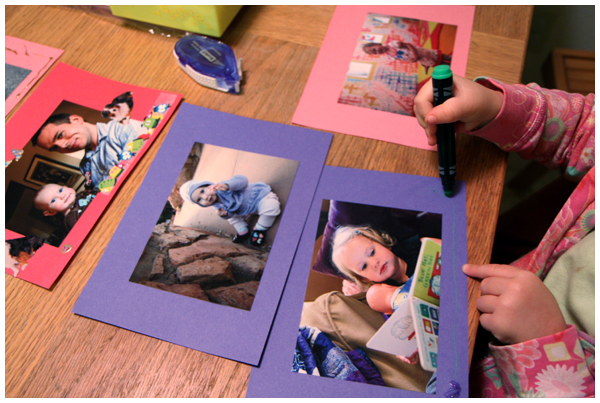
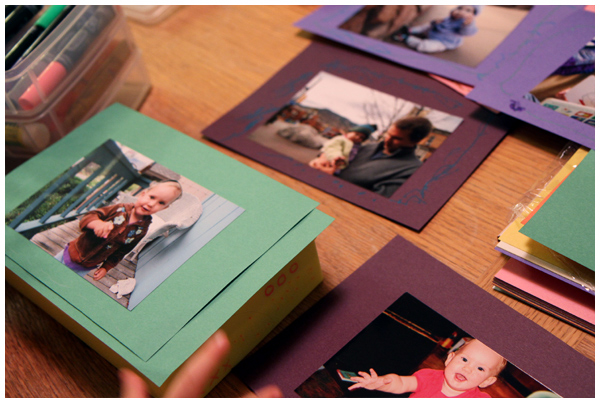
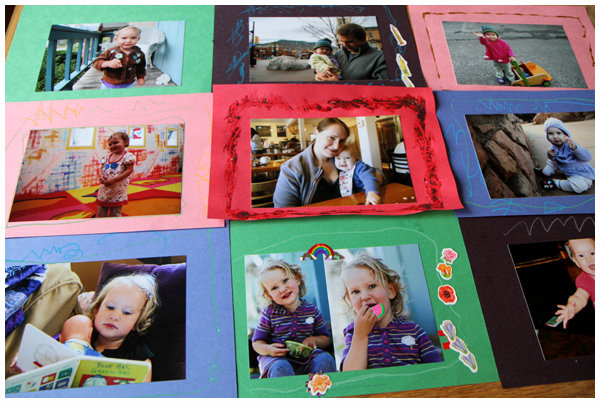
We took some favorite photos from the last three years and placed them on construction paper frames decorated by the toddler (with Elmer’s Washable Glitter Paint Pens and Crayola Gel Washable Markers).

We’ll string them up into a banner and hang them on the wall for a fun, birthday girl photo display.

Photos of that soon.

Christmas Eve

What a month we’ve had full of holiday celebrations.

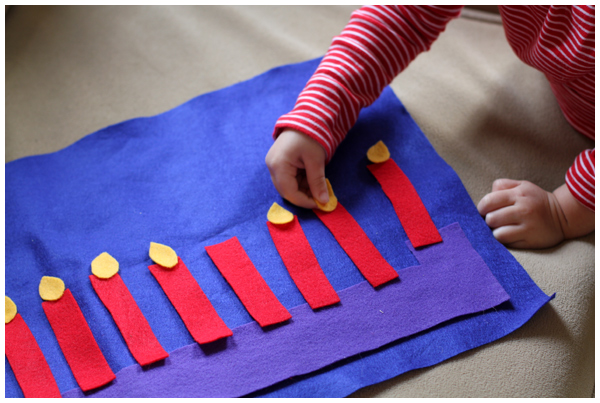
First we celebrated Hanukkah:

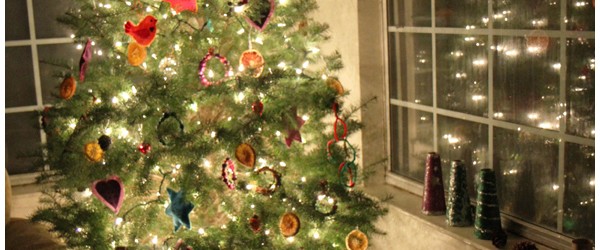
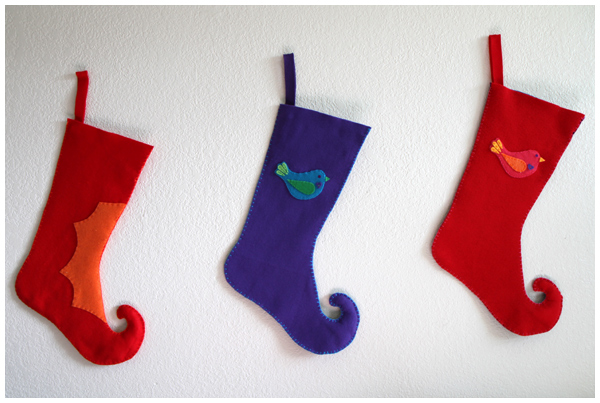
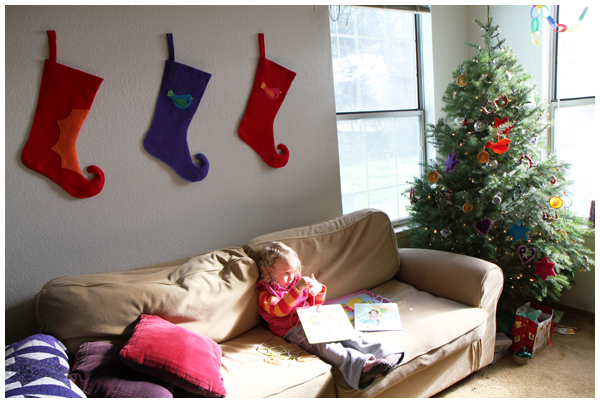
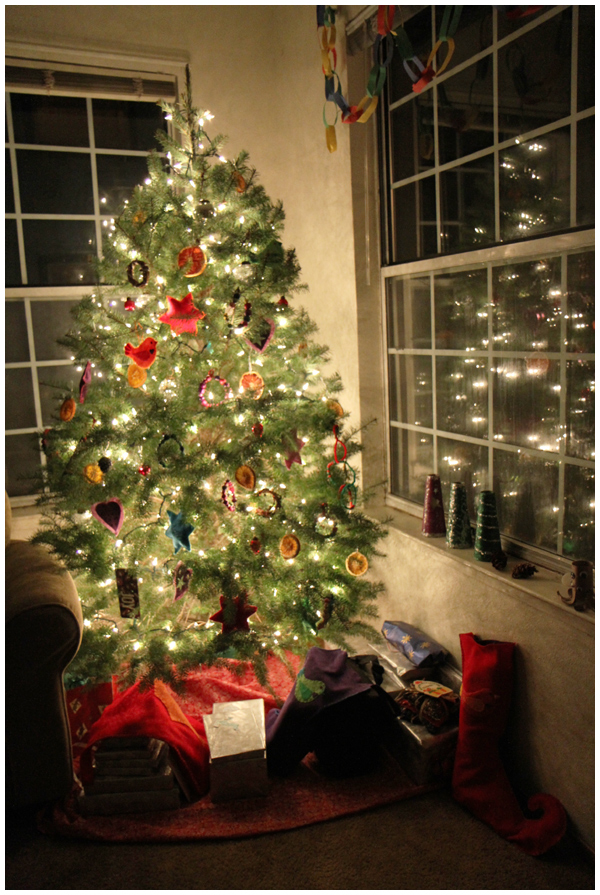
Then we counted down to Christmas, making handmade ornaments for our first full-sized tree and wreaths to decorate our entryway, sewing elf stockings for our family, and baking gluten-free treats:


Tonight I wrapped the presents and stuffed the stockings while David cleaned the kitchen, and voila! We’re all ready for Christmas Day:

After all this creative fun, we need a breather…

We’re going to blog lightly over the next few weeks, still posting daily photos Monday through Friday, but relying on less text, as we take a mini-blog vacation to recover from the whirlwind of the past few weeks and gear up to celebrate Carrie’s grandmother’s 80th birthday in January.

Hope you have a lovely holiday and enjoy your New Year celebration. May you find the comfort of warmth and light in this season of darkness. The solstice is past us, we’re heading towards Spring!

We’ll see you in 2011!

Gingerbread Friday

Another post in our First on Friday series where we share a new activity from the week.

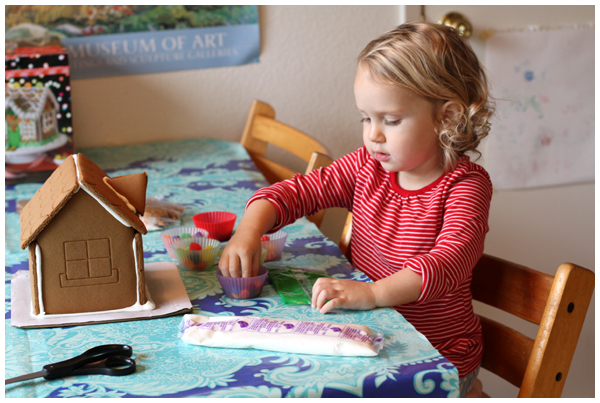
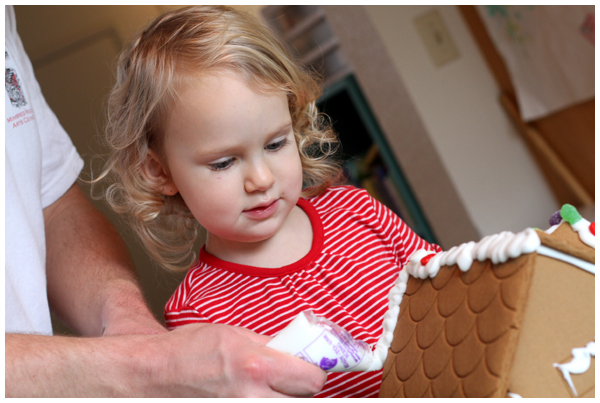
Neither the toddler nor I had ever decorated a gingerbread house before. A friend gifted us this already assembled gingerbread house, so we were all ready to go!

In actuality, David and Miss Leyba decorated this tree. I mainly cheered from the sidelines and photographed the event. (I also may have washed the dishes and tidied up the kitchen, if I need to disclose everything. Ahem.)

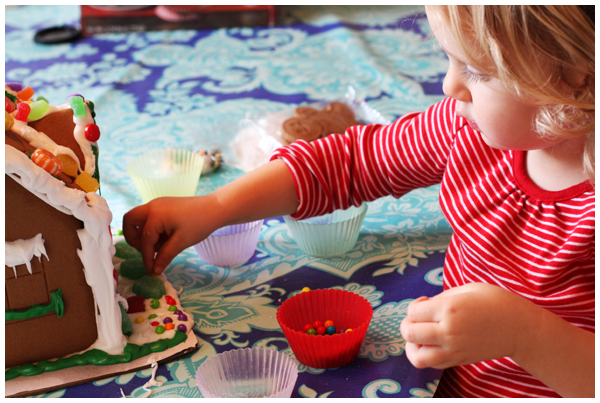
David squeezed the frosting (with Miss Leyba helping by holding the bag too — she has to be involved with everything) and Miss Leyba applied the candies all by herself (another big concept around here these days!).


The ants (common to Northern California cause our winters aren’t cold enough to kill em!) waited approximately 12 hours before storming the castle, possibly a Spritzer Leyba world record. I was sure they’d find it in an hour or two.

This morning we waved, said, “Goodbye Gingerbread House! See you again next year!” as David dropped the whole thing in the trash bin.

Nevertheless, the experience of decorating the house was SO worth it.

We’re looking forward to doing it again next year!

Last Minute Gluten-Free Holiday Baking

The holidays come around and I start planning dessert (not that I eat processed sugar, but that’s another post). I can’t help it. I married a chocoholic and evidently that’s catching.

As the countdown to Christmas continues, we’ve been busy baking in the kitchen. Here are links to two delicious gluten-free treats that we’ve made to share with friends this holiday season.

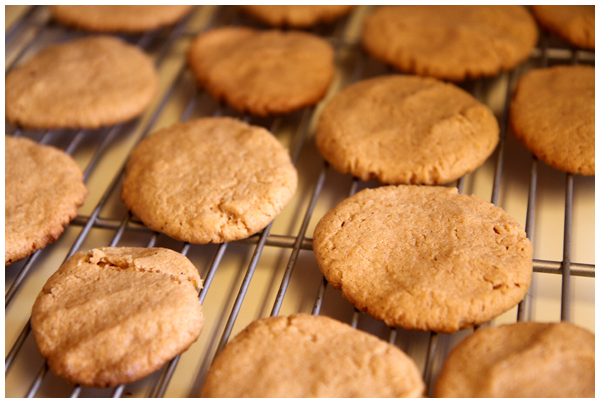
Flourless Peanut Butter Cookies

Quick, easy (just four ingredients!) and super yummy, we gobbled down these peanut butter cookies and even made a second batch cause they tasted so good. Incredibly delicious (and high calorie), they are dangerous to have around the house. Thank you to David for bringing the rest into work to share with his coworkers. I don’t need the temptation. So. Very. Tasty.

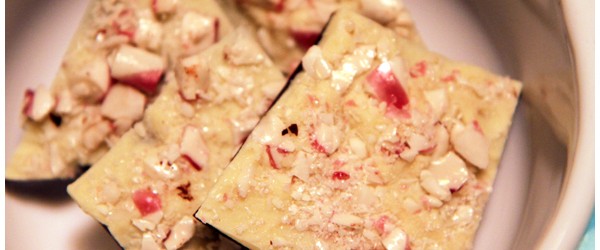
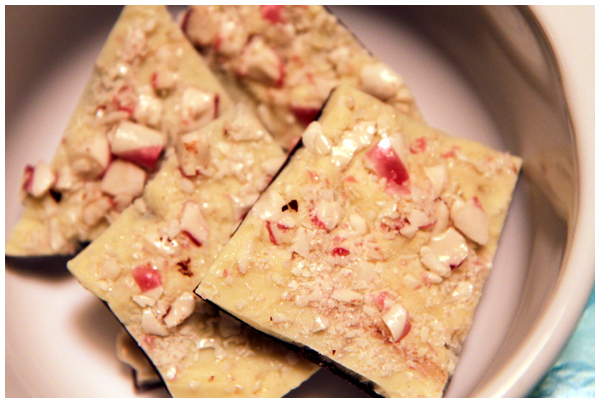
Peppermint Bark

I’ve always been a sucker for the chocolate and mint flavor combination. My favorite childhood treat? York peppermint patties. (Okay, and Entenmann’s crumb donuts! I haven’t eaten one in fifteen years, but my mouth is watering just thinking about it. I love those coffee-cake crumbles.)

In my mind, pairing candy canes with chocolate, whether it be hot chocolate (a great way to infuse mint into your cup as your candy cane melts!) or white and dark chocolate for peppermint bark, makes for the ultimate holiday indulgence.

Thanks to fantastic recipes on the internet, peppermint bark doesn’t have to be pricey or contain synthetic dyes (thanks to more natural candy canes!). In fact, making bark can be simple and downright inexpensive depending on your ingredients. I couldn’t locate peppermint extract in our small town grocery store to make the Bon Appétit version that Amanda loves, so I used a more simplistic recipe instead and it turned out just fine.

Super easy, with just three ingredients, this simple peppermint bark recipe makes for a kid-friendly baking experience that’s fun (hammers are involved!) and each step along the way tastes delicious. (Not that we were sampling. Ahem.)

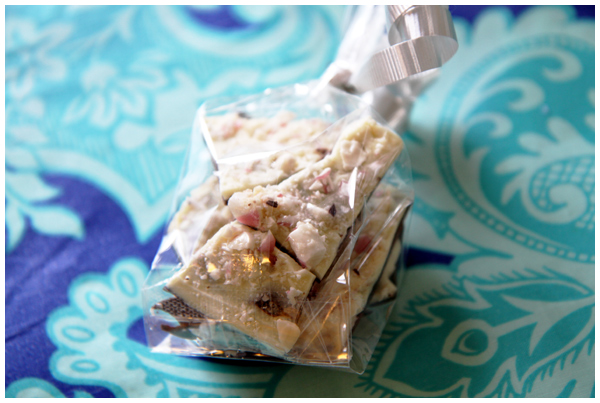
Plus it looks so fine wrapped up ready to gift!

Happy Holidays, everyone!