Edamame Salad

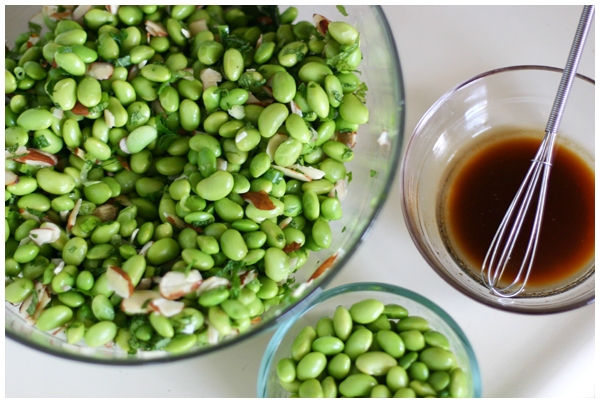
For a quick, healthy meal, we like this easy Edamame Salad adapted from a Sunset Magazine recipe.
Edamame Salad
Prep Time: 20 minutes

Ingredients
2 tablespoons sesame oil
1 tablespoon rice vinegar
2 teaspoons wheat-free tamari or soy sauce
1/2 teaspoon Asian chili garlic sauce (found on the specialty aisle of many supermarkets and in all Asian markets), optional
1 pound shelled edamame, cooked and cooled
3 green onions, thinly sliced
1/3 cup chopped mint
1/2 cup sliced almonds

Preparation
In a small bowl, whisk together sesame oil, rice vinegar, soy sauce, and chili sauce. Set aside. In a large bowl, combine edamame, green onions, mint, and almonds. Toss with dressing to coat.

Spritzer Leyba Variations
We add cooked (and cooled) quinoa or quinoa-corn pasta to this recipe to make it more hardy. We also like to toss roasted sesame seeds in for protein and more crunch; try using black sesame seeds for a colorful punch!
In the Kitchen Gift Ideas

We’ve been busy getting ready for the holidays, trying to plan ahead with presents and decorations to limit the last minute scrambling that inevitably happens each December. This year instead of our typical Week of Design, we’re talking about holiday gifts, presenting items we love and recommend, as well as items from our wishlists for fun splurge items.

Today we’re talking about items for the kitchen.

Kitchen gadgets I own, use, love and recommend (perhaps for stocking stuffers?):


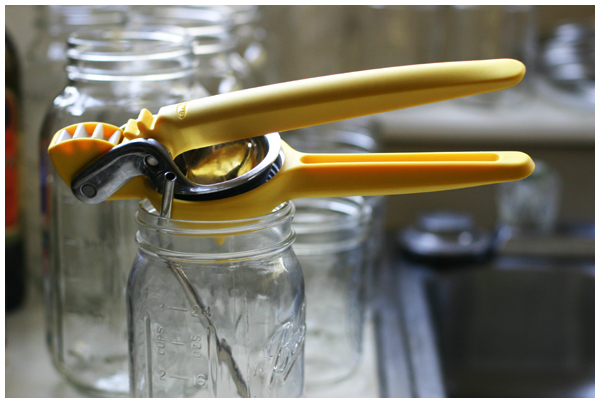
Chef’n FreshForce Citrus Juicer, Lemon (also available in the lime size) – shown above
As someone who squeezes fresh lime or lemon into my water everyday and loves to make mojitos all summer long, it feels imperative that we own an easy to use and easy to clean juicer. I LOVE this one. We own just the lemon size and it works well for both lemons and limes. This gadget works so well I can easily push the peels inside out to get every last drop in three seconds flat.

Stainless Steel Strawsshown above
Dishwasher safe, BPA-free, reusable, durable, recyclable, perfect for hot and cold drinks. We love them and use them every single day!


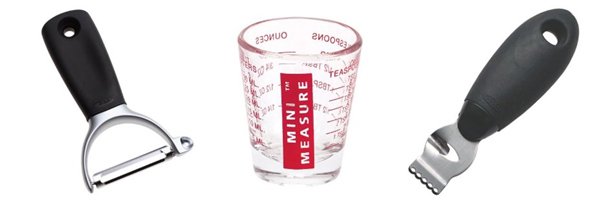
Oxo Good Grips i-Series Y-Peeler
I’ve used many crappy peelers in my lifetime and, believe me, they are so not worth it. This one is easy to use and not just for easy to peel vegetables either. I use it to peel more typically difficult items like butternut squash, no sweat!

Harold Mini Measuring Glass
I own several of these and keep meaning to pick up a few more. They are wonderful liquid measures, so much easier to clean and use than measuring spoons.

Kitchen gadgets I’m lusting after:

Oxo Good Grips Lemon Zester and Microplane Grater/Zester
After years of zesting citrus on our six-sided grater (SO not what it’s meant for!), I am ready to zest easily. For under $10 each, I may just have to buy these for myself.

Williams-Sonoma Goldtouch Nonstick Baking Pans
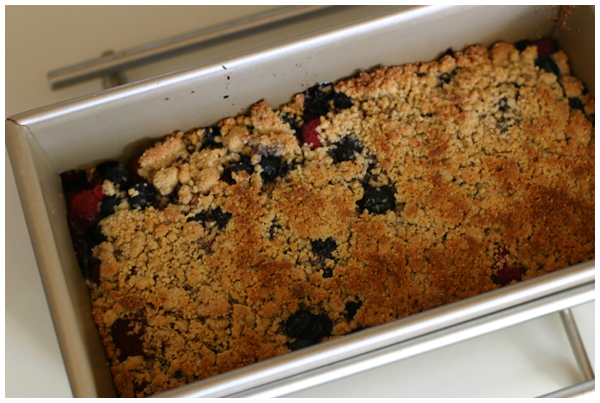
We own two Williams-Sonoma Goldtouch loaf pans and they are completely nonstick. Not nonstick now and then not so much two years later once you’ve used them a ton and the coating has rubbed off. Our pans are as nonstick now as they were when we bought them several years ago and I LOVE THEM. I keep hoping that David will buy me these Goldtouch Mini Loaf Pans or perhaps this fabulous Goldtouch 6-Piece Essentials Bakeware Set that contains a muffin pan, a cookie sheet, a half-sheet pan, two 9″ cake pans and a cooling rack. With the breads, muffins, and cookies I would whip up, David would benefit from this gift too. Sigh.


KitchenAid Mixer Accessories
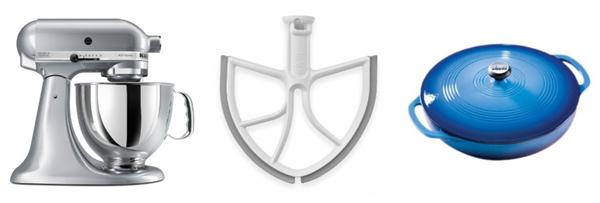
I love our KitchenAid Artisan Series 5-Quart Mixer that we received from my grandmother for my bridal shower. I lust after the Pasta Roller Attachment for Stand Mixers and have you seen this New Metro Design Beater Blade for KitchenAid Mixers? No more scraping down the bowl! I love it.

By the way, we also own this great cover that I recommend for anyone who owns a mixer. Keeps it dust free and ready for immediate use.

Lodge Enameled Cast-Iron Casserole in Caribbean Blue
We love Lodge’s cast iron pans, but have you seen their new affordable enamelware?! I’m so in love.

Let’s get cooking!

The Organized Pantry

Also known as the ONLY organized space in our house!

To learn more about this project, please read our postsĀ Organizing the Pantry (gearing up for the project) andĀ Pantry Organizing Supplies (including more info about those awesome liquid chalk pens we used to label everything).

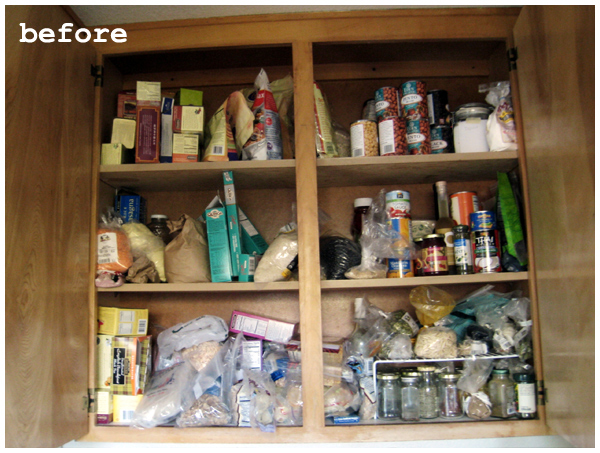
To refresh your memory, here’s what our pantry looked like before:

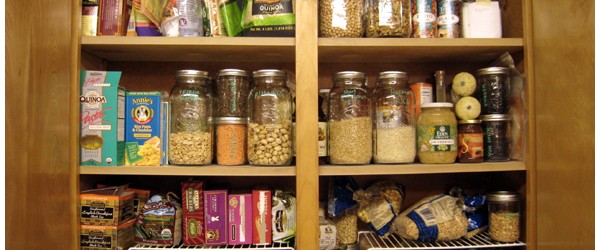
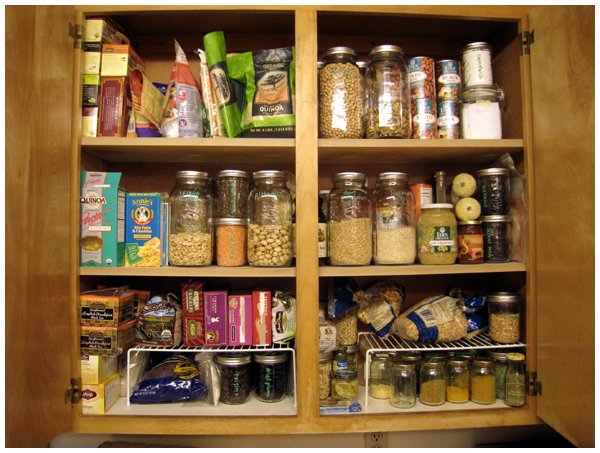
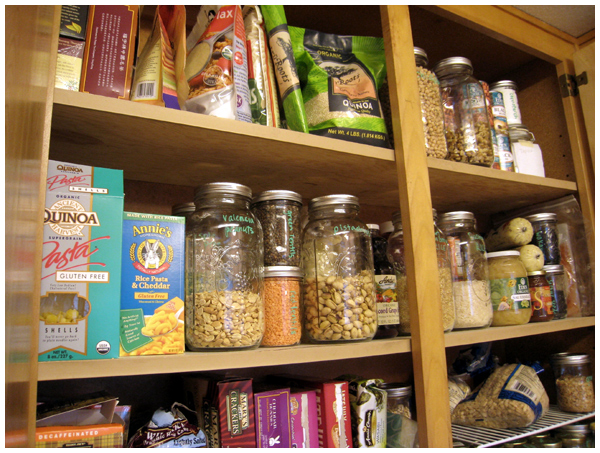
Here’s what it looks like now:

Top row: teas for guests, ground flax seeds for smoothies, gluten-free flour, bulk raisins and quinoa, dried beans (garbonzo, black) and canned beans for when we’re in a pinch (pinto, black), tapioca flour and cornstarch for art projects.


Middle row: quinoa/corn pasta and Miss Leyba’s stash of mac and cheese, peanuts, split peas, lentils, corn meal, pistachios, grape juice, millet, brown and white basmati rice, sauerkraut, ketchup, apple cider vinegar, canned pumpkin, polenta, jam, wakame, sesame seeds, rice wrappers, balsamic vinegar.


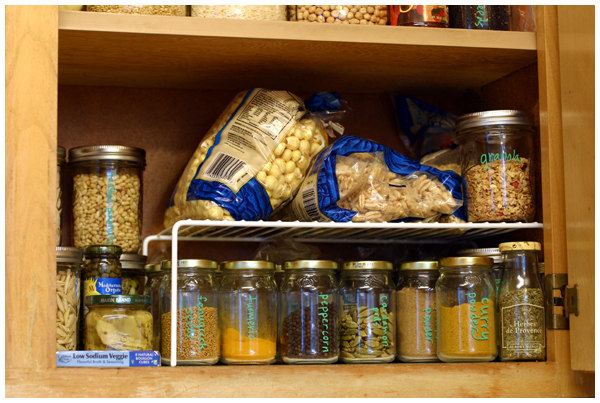
Bottom row: every day teas, rice cakes, flax seed crackers, cheddar bunnies, chocolate graham crackers, bite sized peanut butter sandwich crackers, seasweed snacks, blue corn chips, raisins, dried plums, nori, pine nuts, pumpkin seeds, slivered and sliced almonds, shredded coconut, capers, artichoke hearts, bouillon cubes, puffed cereals, granola, and spices.

Wow, what a difference! And, wow, do we have a lot of food in the house!

Now the challenge: keeping it this way! I may have to post monthly photos of our pantry just so I have incentive to keep it neat and tidy… you all will be watching! ;-)

Pantry Organizing Supplies

When I started on our pantry organization project, I had no idea how many glass jars we’d need to hold everything. Had I known, I may never have embarked on this particular activity, but I’m so glad I did.

I shopped around for affordable glass jars and settled on canning or mason jars. They’re inexpensive and incredibly durable. We already use them for our drinking glasses so having more around the house for that purpose too was a bonus (should we have any jar left over — HA!).

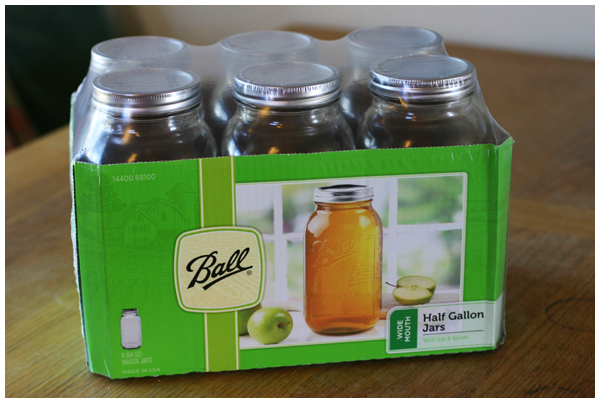
We bought twelve giant half-gallon jars (here are just half of them):

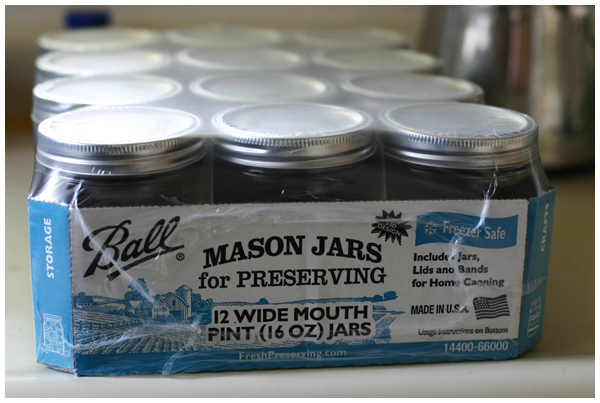
and twenty-four (two flats of these) pint sized jars:

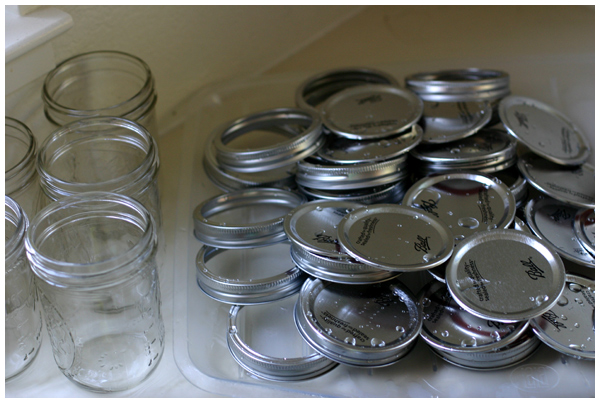
The downside to these jars? The lids are lined with the endocrine disruptor Bisphenol A (BPA). Total bummer! We still decided to use them because we’re filling the jars with dry goods that won’t be touching the tops and we’re leaving plenty of headroom between the goods and the lids. We’re not too worried.

Ultimately we want to replace all of the BPA-laced lids with these Tattler Reusable Canning Lids. We can use them with our existing bell jars that we’ve already invested in and filled (more on that later!) and the lids are reusable and BPA-free, even though they’re plastic (the only part we’re not completely sold on). Why aren’t we using these lids right away? We just spent all this money on canning jars and we’d need a lot of lids. We’ll get to it eventually. We’re in no rush.

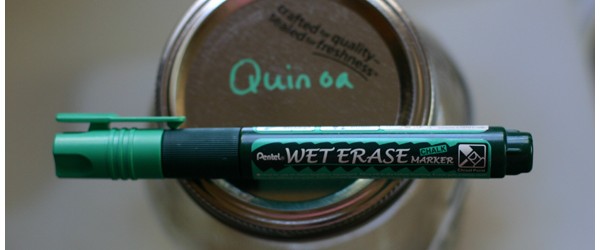
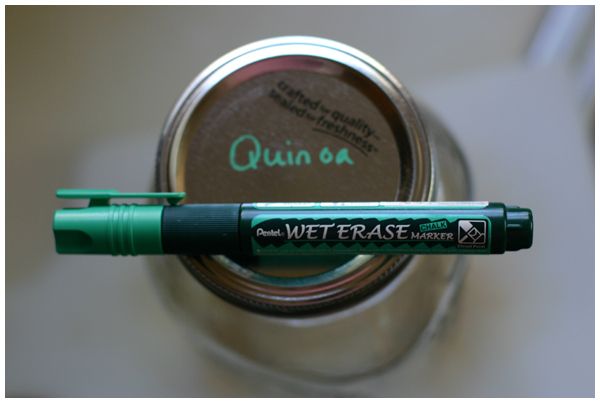
To mark the jars, we bought these fantastic Wet Erase Chalk Markers by Pentel:

They come in a number of vibrant colors: green (shown above), blue, red, violet, yellow, orange, white and black. (All the pen colors are eligible for Amazon Prime so if you have that, like we do, you’ll get them in two days! So freaking convenient.) If you’d rather buy these pens straight from the manufacturer, click here. We bought our pens from our local art supply store.

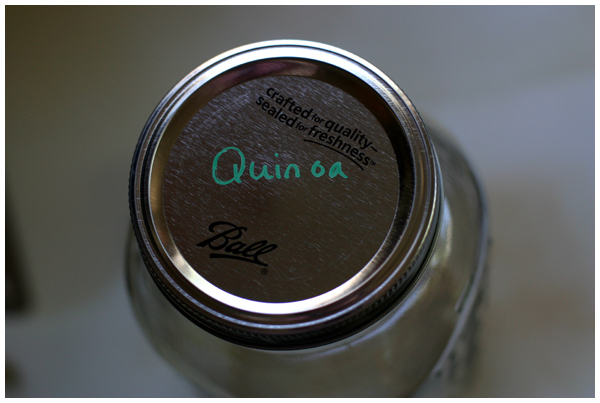
You can use these pens on any dry, non-porous surface, like the metal tops and glass sides of the bell jars (or blackboards or whiteboards), and the ink easily wipes away with a damp cloth or paper towel. I had originally planned on spraying the jar lids with chalkboard paint to then use these pens, but realized I didn’t have to. Hooray, one fewer step in our pantry organization process!

The only downside that I’ve found to these pens is that you need to have fully dry hands when you handle the labeled jars or the pen wipes off. No big deal. I keep the chalk markers within an easy reach of the pantry for touch-ups.

Want to see what our pantry looks like now? I’ll be posting about it tomorrow. Stay tuned…

One Meal, Six Variations

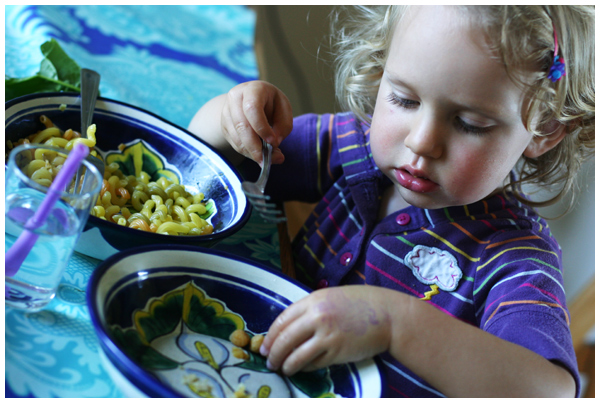
My kid insists on eating pasta (usually with cheese) at least once a day. I can understand this. I was a kid who ate mac and cheese religiously for about a decade. However, now I’m a grown up and while I still love pasta, I can’t eat it plain every single day. REALLY. Also I am so not interested in cooking two dishes at each meal, one for my toddler and one for me. NO THANK YOU!

Here are some quick pasta additions straight from the garden/pantry that I’ve tried over the last month for you to try and enjoy.


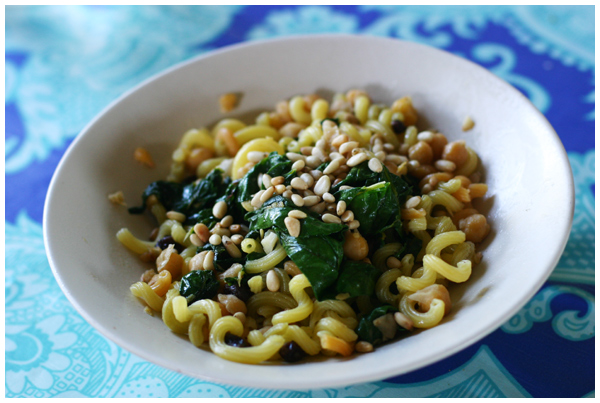
First up, above, for mama: pasta with spinach, pine nuts, and chickpeas (similar to this chard recipe).
For the kid: plain pasta with chickpeas on the side.

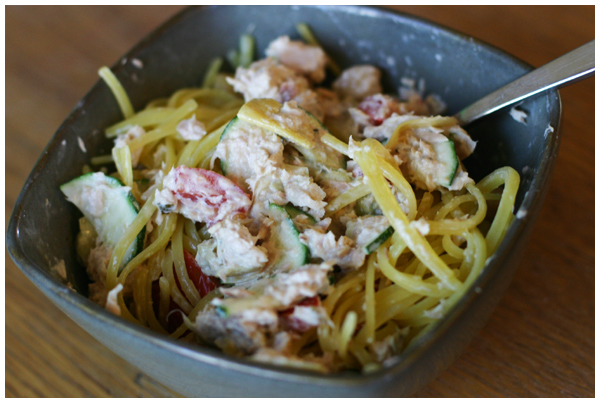
Above, for mama: pasta with tuna and mayo, raw sliced zucchini, and halved cherry tomatoes.
No picture of what Miss Leyba ate, but I can guarantee plain linguine was involved.


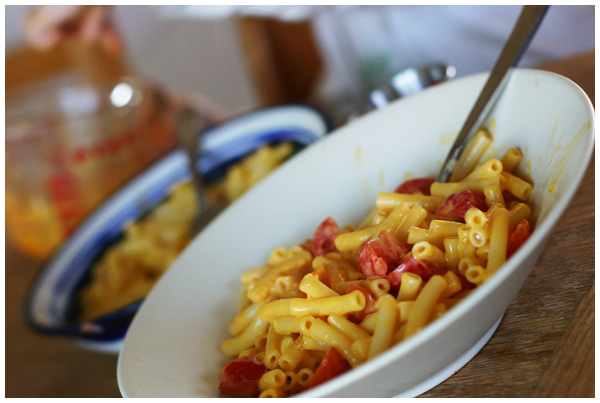
For the toddler: mac and cheese (Annie’s gluten-free version) straight out of the box.
For mama: some halved cherry tomatoes added to the mix, though this tastes much better with fresh basil too.


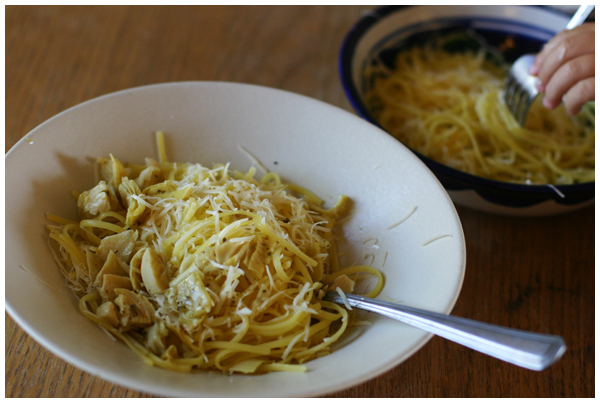
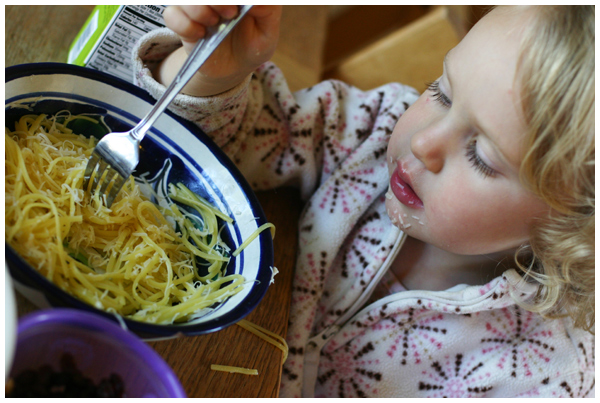
For mama: a super quick addition of grated Parmesan cheese and jarred artichoke hearts halved.
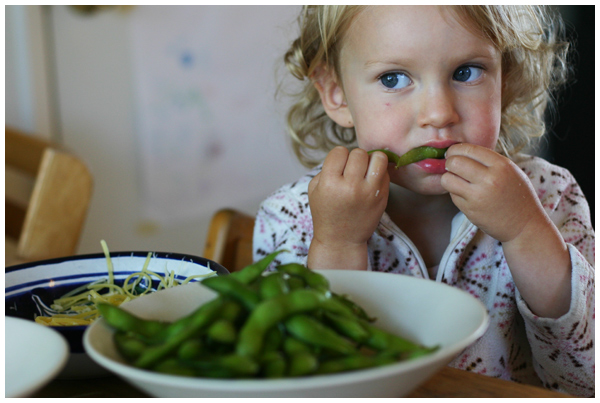
For Miss Leyba: a sprinkling of Parmesan cheese (she LOVES it!) and a giant bowl of edamame to share.


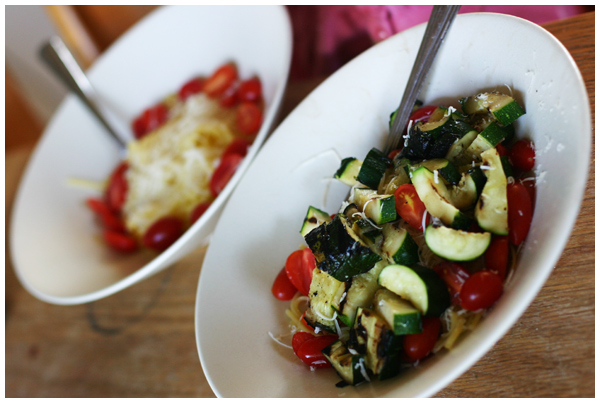
Finally, for mama: putting leftovers of grilled zucchini and cherry tomatoes to good use.
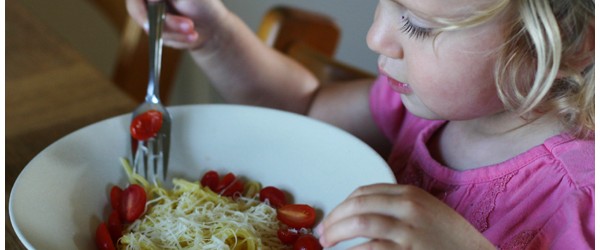
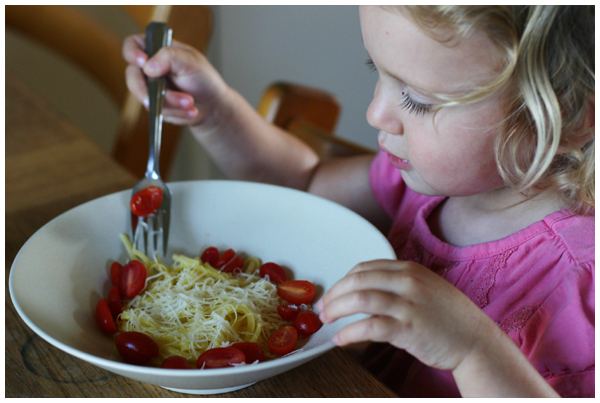
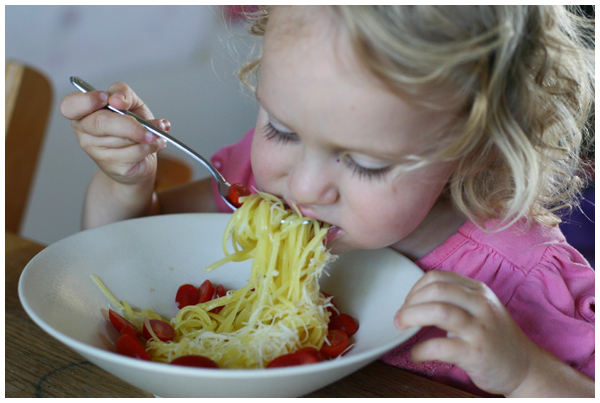
For toddler: linguine with Parmesan and a circle of cherry tomatoes (she warmed up to the idea by the end of the month; score!).

All easy, all super tasty!

Some other toppings I want to try (and will undoubtedly have plenty of time to taste) include pesto with boiled potatoes and pine nuts; corn and green chilies; and asparagus, arugula and ricotta. YUM!