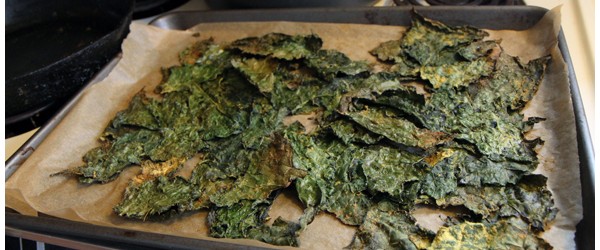
Easy Kale Chips Recipe

I’m ashamed to admit that I’ve been buying those tiny yet expensive ($7!) bags of raw kale chips at Whole Foods. I know they’re ridiculously over priced for such a little bag of kale goodness, but they’re just so tasty and tempting. Especially when I need to bring a quick snack on an outing with friends. We all love them so.

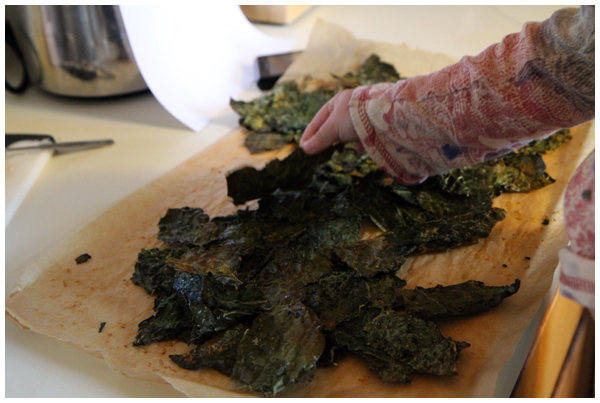
Making kale chips together from scratch

Well, a friend encouraged me to make them from scratch at home and now that I’ve discovered just how easy (and CHEAP!) making kale chips can be, I doubt I’ll ever buy a bag from the store again.

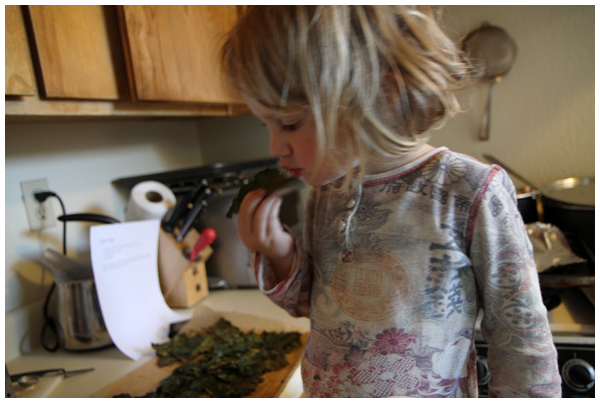
Making kale chips together from scratch

I know the idea of kale chips may sound weird, but trust me — they are delicious and you must try them! Even our daughter loves them and UNTIL NOW she has had an aversion to dark leafy greens. (And you know that’s been killing me!)

Making kale chips is so simple, quick, and tasty. Here’s what you do.

Kale Chips

1 bunch kale – wash, dry fully, remove stems, and tear into 3 to 4 inch pieces
1/2 tablespoon apple cider vinegar
1 tablespoon olive oil
2 tablespoons nutritional yeast (or Parmesan cheese)
Pinch of sea salt

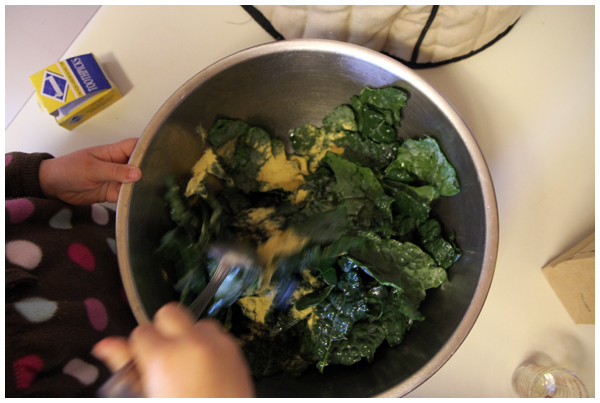
Making kale chips together from scratch

To make them quickly:
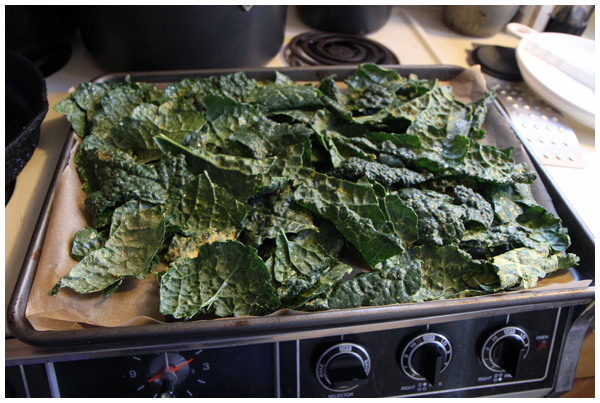
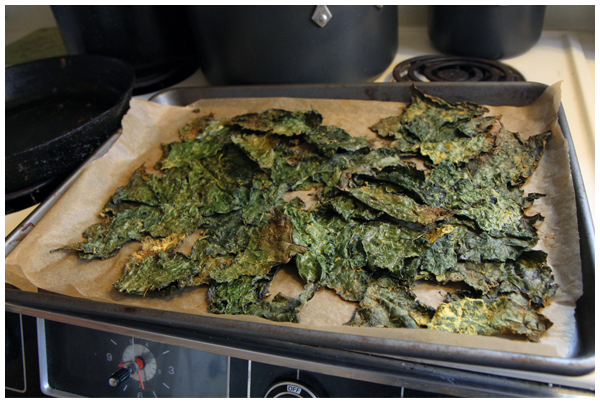
Heat oven to 375 250 degrees. Mix vinegar and oil, pour over kale and toss to coat evenly. Sprinkle in cheese/yeast and salt. Toss again until kale is evenly coated. Spread in a single layer onto a baking sheet, and bake for approximately 15 20-30 minutes or until just crisp.

Making kale chips together from scratch

To make them raw:
Mix vinegar and oil, pour over kale and toss to coat evenly. Sprinkle in cheese/yeast and salt. Toss again until kale is evenly coated. Spread in a single layer onto a baking sheet, and dehydrate at 115 degrees for 4-6 hours until crispy.

Making kale chips together from scratch

Enjoy them on their own or crumbled on top of quinoa, baked potatoes, pasta dishes or salads. This particular batch didn’t last ten minutes in our house. We all went to town.

Recipe from Eat Drink Better.
Coconut Date Rolls

I’m always on the lookout for simple, healthy, gluten-free treats.

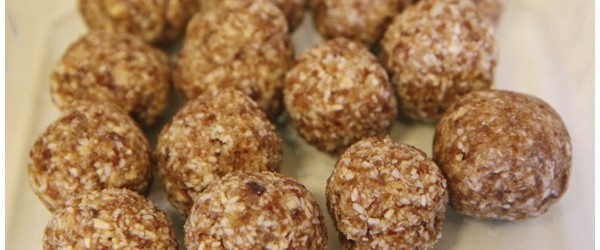
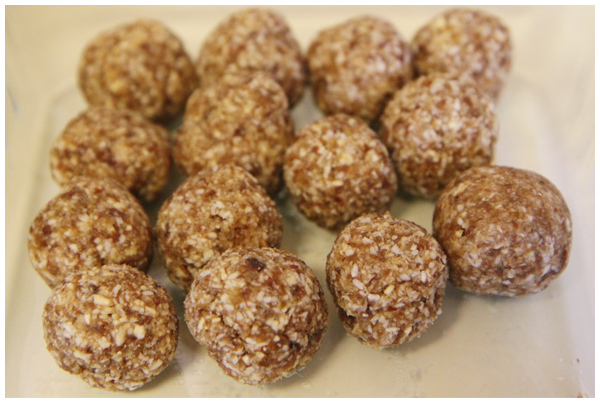
This Coconut Date Rolls recipe takes just a few minutes and contains only dates, almonds and shredded coconut!

Recipe For Making Coconut Date Rolls

Coconut Date Rolls

1/2 lb pitted dates
1/2 cup raw slivered or sliced almonds
1/2 cup unsweetened dried coconut flakes
2 tbsp water (optional, to taste)

Recipe For Making Coconut Date Rolls

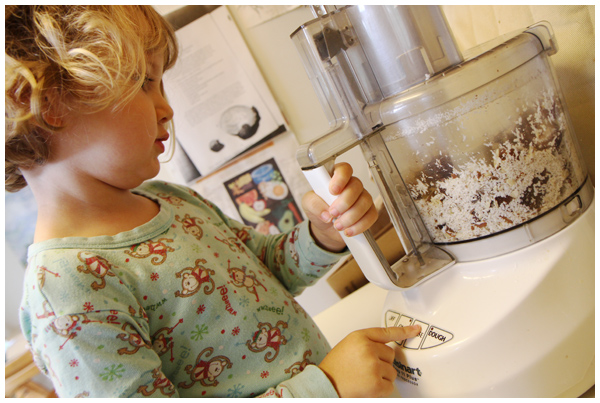
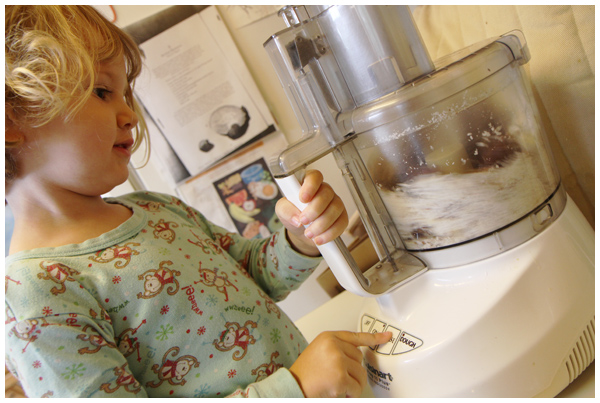
Blend the dates, almonds & coconut in a food processor until a paste is formed. Add water through the feed tube if the paste seems dry. Pulse to incorporate the water into the mix. With damp hands, form heaping tablespoonfuls of the paste into 1 inch balls. Makes about 12-15 rolls.

Recipe For Making Coconut Date Rolls

Kid and figure friendly, this recipe couldn’t be more easy or delicious!

Adapted from this recipe on Shutterbean (one of my favorite food sites!)

Canning Applesauce

I’ve talked before about my love of making applesauce from scratch, but can you believe I’ve never canned applesauce before?!

In fact, I’ve never canned any food before! Despite our intention to cook most meals from scratch, I make each component from scratch each time we cook. What a waste of time!

This past week, with friends guiding the way, I discovered how easy canning can be!

Here’s how we made our applesauce:

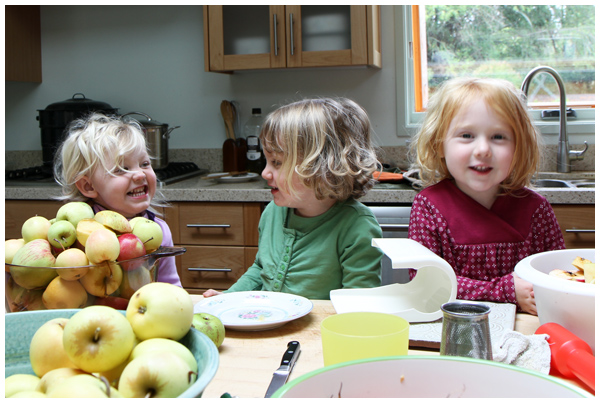
Canning applesauce with friends

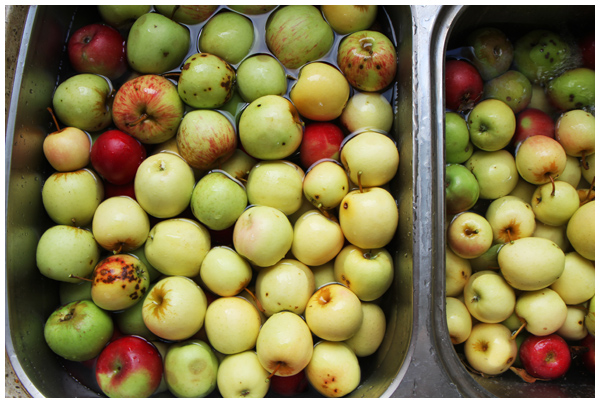
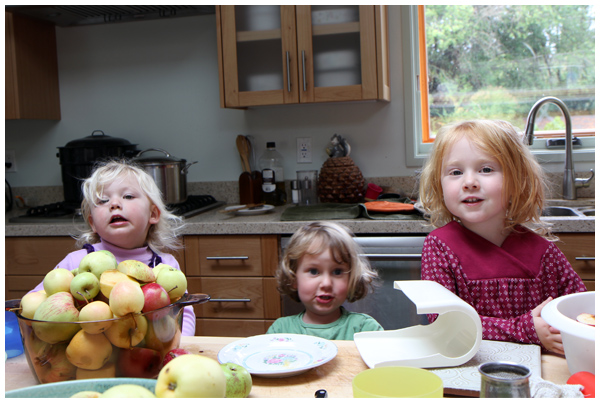
We gathered and washed lots and lots of apples.

(How lucky are we to get free apples from our friends with fruit trees in their backyard?!)

Canning applesauce with friends

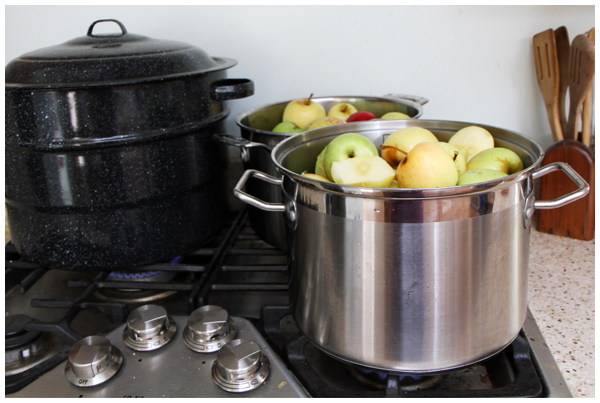
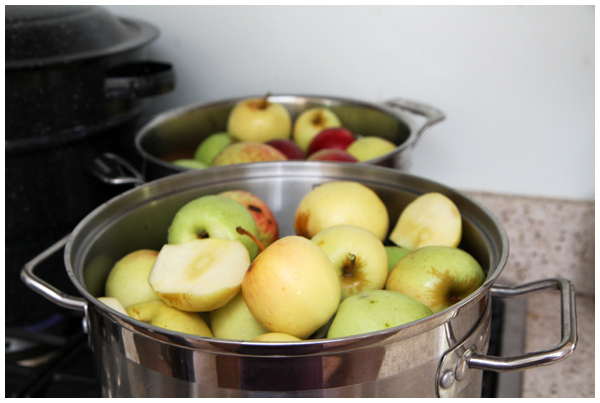
We cut out obvious worm holes, but ignored bruises, and piled whole apples into stock pans filled with some water. We brought the water to a boil, lowered the heat and then simmered the apples until they were mushy.

(We’ve found the applesauce tastes much more flavorful when using whole apples, so resist the urge to peel them!)

Canning applesauce with friends

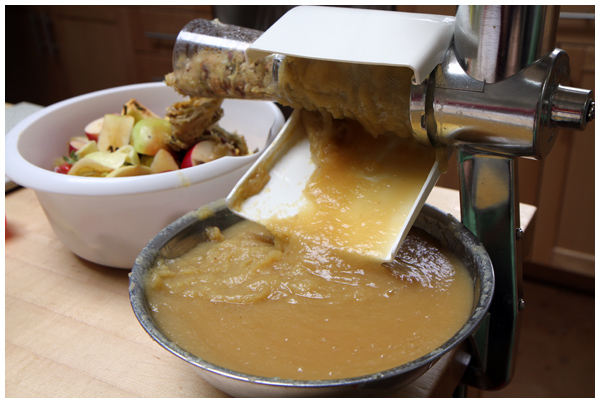
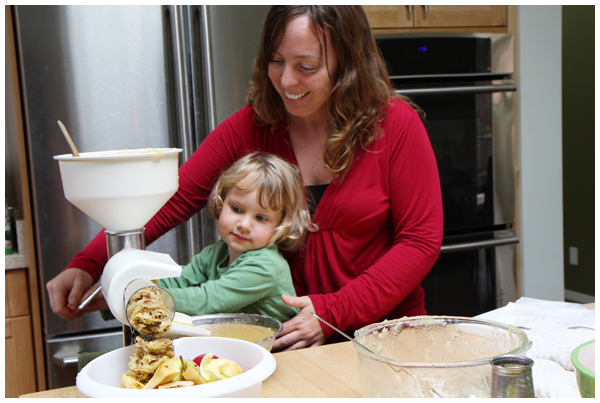
We then used a food strainer to process the apples. Alternatively you could use a food mill.

Canning applesauce with friends

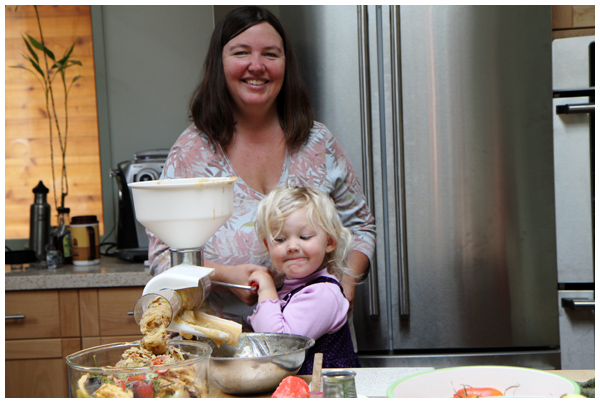
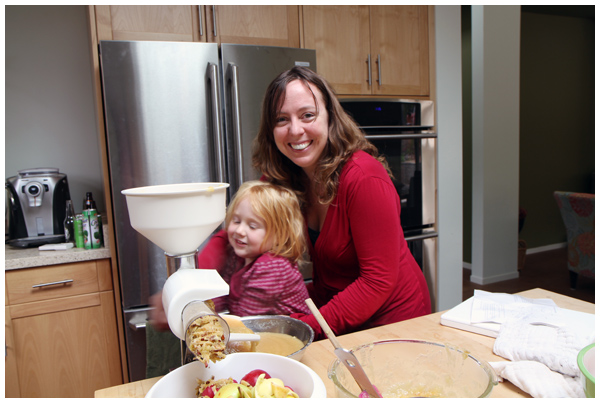
We all took turns turning the handle on the food strainer. This is definitely an instance of the more the merrier. After all, many hands make light work!

Canning applesauce with friends

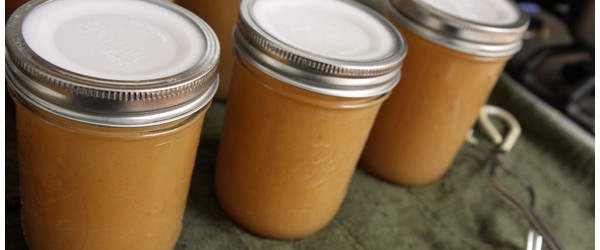
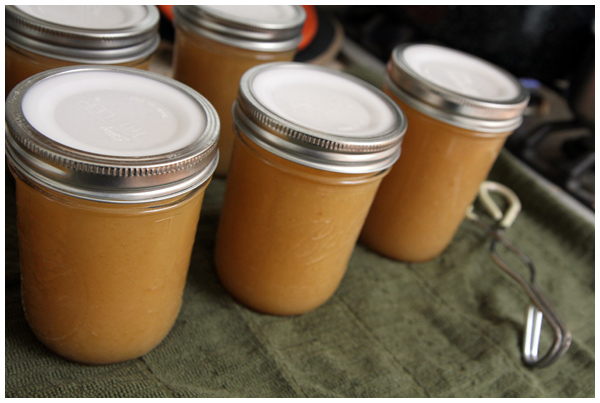
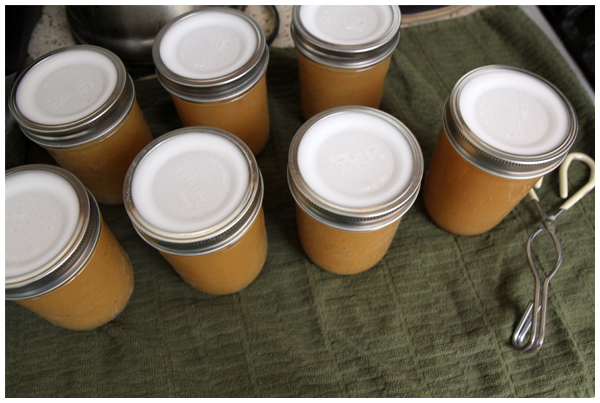
We filled sterilized jars with the applesauce, covered the jars with Tattler reusable canning lids (BPA free!), and boiled them in a water bath to seal the jars.

201110_applesauce10

What fun we had working together! It feels so good to use your hands and make something incredibly delicious.

Canning applesauce with friends

I now am eager to put up more: preserves, condiments, salsas, sauerkraut, and, of course, more applesauce before apple season is over.

Next summer we are going to can jars and jars of blackberry jam. Nom nom nom!

Butternut Squash Recipes

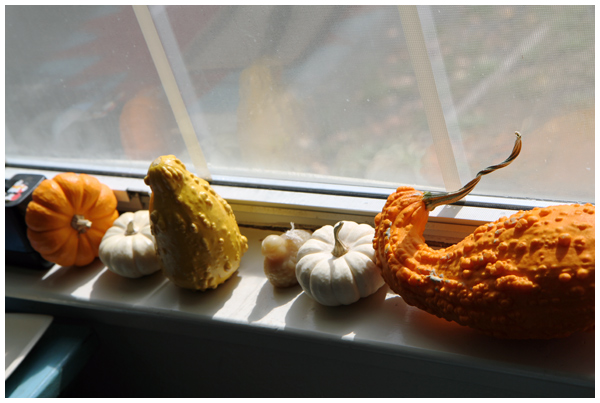
In one fell swoop autumn has descended upon Sonoma County and we’re craving those familiar fall foods: homemade apple sauce, warming veggie curries and soups, and anything and everything involving winter squash. Oh, the diversity of squash that’s available in the grocery store! I can’t help but come home with a squash, gourd or pumpkin each time I shop.

Squash on the windowsill

Here are some butternut squash soup recipes I’m excited to try, plus my favorite butternut squash recipe of all time, below.

Recipes to try:

Butternut Squash and Apple Soup


Butternut Squash Soup with Cranberries and Pumpkin Seeds


Leek, Butternut Squash and Potato Soup


Our favorite lasagna recipe, to make again and again:

Butternut Squash and Hazelnut Lasagne
from the December 2001 issue of Gourmet

For squash filling
1 large onion, chopped
3 tablespoons unsalted butter
3 lb butternut squash, peeled, seeded, and cut into 1/2-inch pieces
1 teaspoon minced garlic
1 teaspoon salt
1/4 teaspoon white pepper
2 tablespoons chopped fresh flat-leaf parsley
4 teaspoons chopped fresh sage
1 cup hazelnuts (4 oz), toasted , loose skins rubbed off with a kitchen towel, and coarsely chopped

For sauce
1 teaspoon minced garlic
3 tablespoons unsalted butter
5 tablespoons all-purpose flour
5 cups milk
1 bay leaf (not California)
1 teaspoon salt
1/8 teaspoon white pepper

For assembling lasagne
1/2 lb fresh mozzarella, coarsely grated (2 cups)
1 cup finely grated Parmigiano-Reggiano (3 oz)
12 (7- by 3 1/2-inch) sheets no-boil lasagne (1/2 lb)

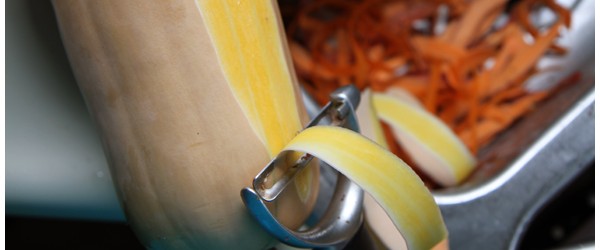
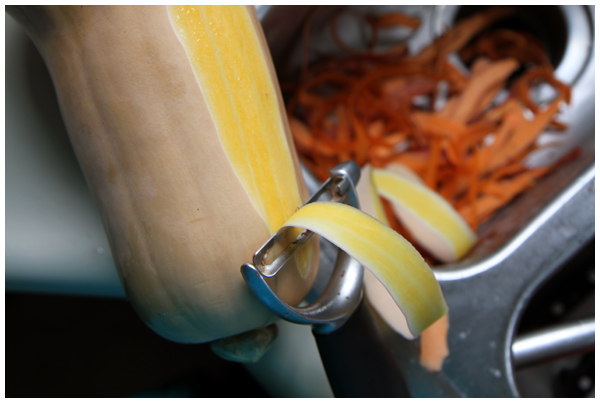
Peeling butternut squash
Preparation

Make filling:
Cook onion in butter in a deep 12-inch heavy skillet over moderate heat, stirring occasionally, until golden, about 10 minutes. Add squash, garlic, salt, and white pepper and cook, stirring occasionally, until squash is just tender, about 15 minutes. Remove from heat and stir in parsley, sage, and nuts. Cool filling.

Make sauce while squash cooks:
Cook garlic in butter in a 3-quart heavy saucepan over moderately low heat, stirring, 1 minute. Whisk in flour and cook roux, whisking, 3 minutes. Add milk in a stream, whisking. Add bay leaf and bring to a boil, whisking constantly, then reduce heat and simmer, whisking occasionally, 10 minutes. Whisk in salt and white pepper and remove from heat. Discard bay leaf. (Cover surface of sauce with wax paper if not using immediately.)

Assemble lasagne:
Preheat oven to 425°F.

Toss cheeses together. Spread 1/2 cup sauce in a buttered 13- by 9- by 2-inch glass baking dish (or other shallow 3-quart baking dish) and cover with 3 pasta sheets, leaving spaces between sheets. Spread with 2/3 cup sauce and one third of filling, then sprinkle with a heaping 1/2 cup cheese. Repeat layering 2 more times, beginning with pasta sheets and ending with cheese. Top with remaining 3 pasta sheets, remaining sauce, and remaining cheese.

Tightly cover baking dish with buttered foil and bake lasagne in middle of oven 30 minutes. Remove foil and bake until golden and bubbling, 10 to 15 minutes more. Let lasagne stand 15 to 20 minutes before serving.

Cooks’ note:
· Filling and sauce can be made 1 day ahead and kept separately, covered and chilled. Bring to room temperature before assembling.

Bon appétit!

Tasty Gluten-Free Granola Recipe

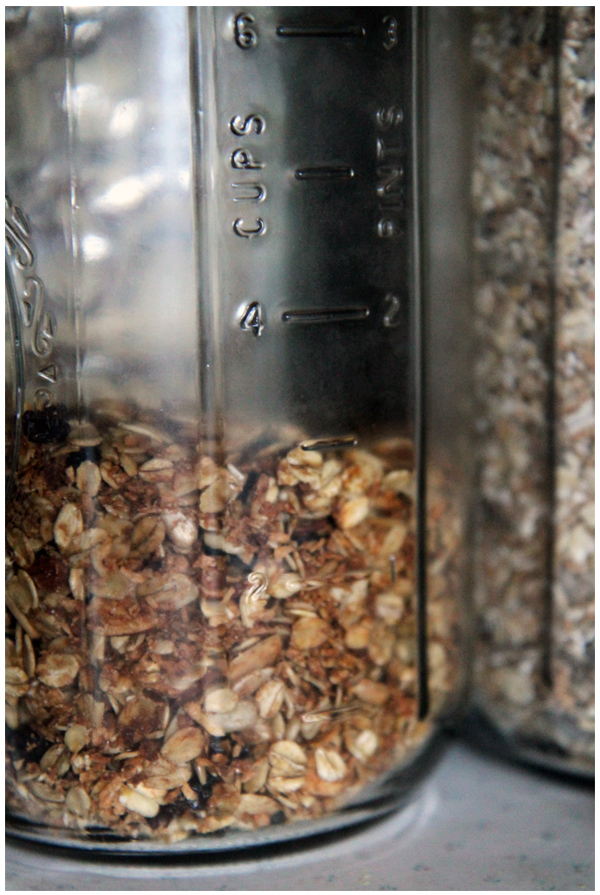
Packaged gluten-free granola may taste good, but it can be pricey in the store. So instead of buying it, we’ve been making our own granola from scratch.

Gluten-free granola recipe

I frequently think about how making our own granola is perhaps not the best idea. This granola recipe is so delicious, so crunchy, so perfectly sweet but not too sweet that I almost always pour myself too big a bowl. David and I go through a batch of it way too fast.

Yet despite this granola being so very bad for our wastelines, we always go back for more. It tastes that good.

And so we keep making it.

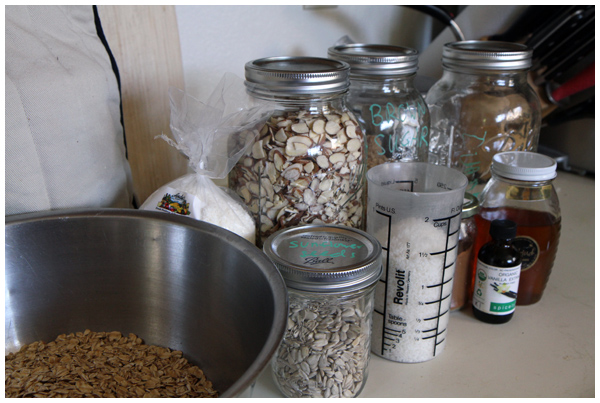
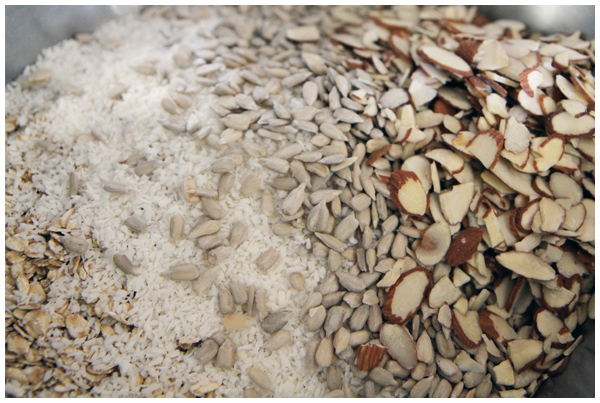
Making gluten-free granola from scratch

Coconut and Almond Granola with Sunflower Seeds and Dried Fruit

Ingredients:

5 cups old-fashioned oats
1 1/4 cups unsweetened coconut flakes or shreds
1 cup slivered almonds
1/2 cup sunflower seeds
1/2 cup brown sugar
1/2 teaspoon salt
1 teaspoon ground cinnamon
1/4 cup canola or olive oil
1/4 cup honey
1 teaspoon vanilla extract
1 1/2 cups mix of raisins and dried cranberries or other chopped dried fruit

Directions:

1. Preheat the oven to 300°F.

2. In a large bowl, mix the oats, coconut, almonds, sunflower seeds, brown sugar, salt, and cinnamon.

3. Heat the oil and honey together in a saucepan over low heat until combined. Pour the honey mixture over the oat mixture, add the vanilla extract, and stir until combined. Working quickly, spread the granola on a rimmed baking sheet.

4. Bake the granola, stirring every 10 minutes, until golden brown, 30 to 45 minutes. Remove from the oven and stir in the dried fruit.

Stored in an airtight container, this granola keeps for up to 1 month.

Making gluten-free granola from scratch

Inspired by this recipe from Emily Mainquist’s book Sweet Vegan: A Collection of All Vegan, some Gluten-Free, and a Few Raw Dessertsicon found via Pinterest.