Curtain Swap

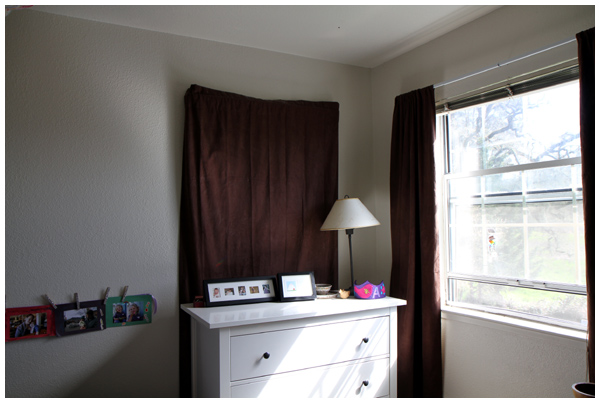
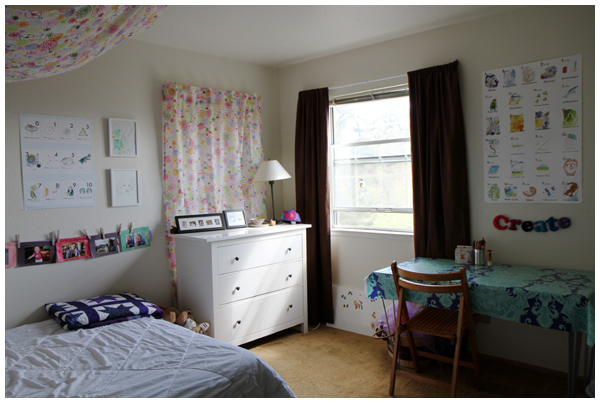
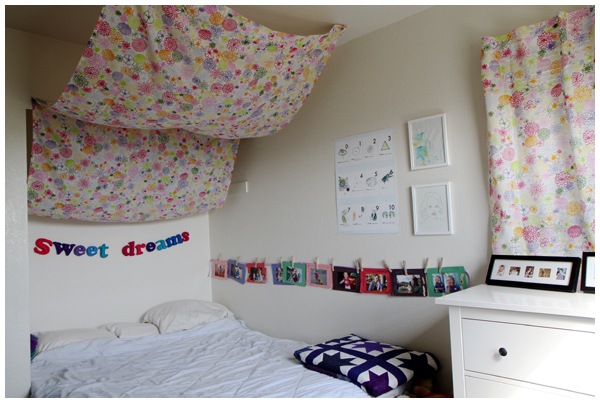
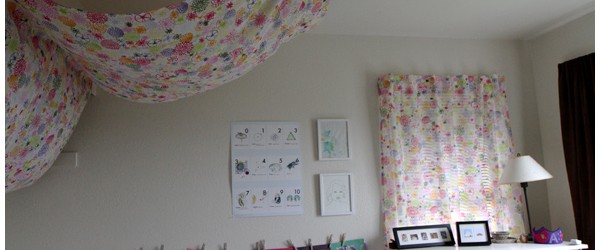
In an attempt to make our daughter’s new room more light and airy, we swapped out the dark brown, light-blocking curtain on the east facing window and replaced it with the same curtain material as her bed canopy.

That simple switch has let so much more light into her room during the day. (We keep that window shade closed during the day because the view goes right to the neighbors.)

The old brown curtain was so drab! We still have two brown light-blocking curtains in her room, but we typically keep them open during the day and close them just at night. That south facing window is the one with the view.

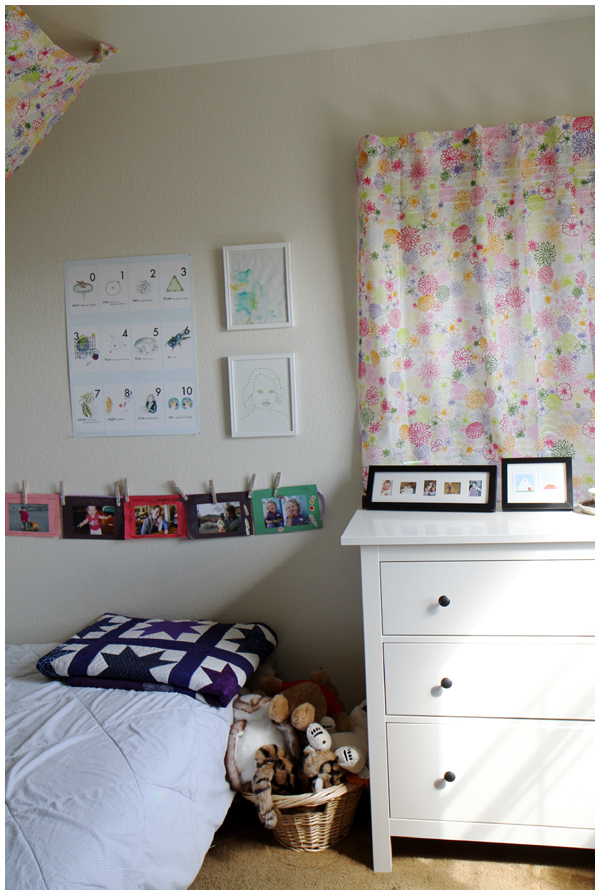
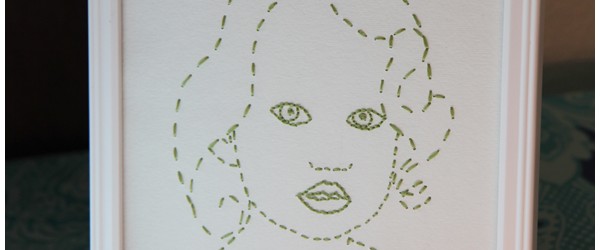
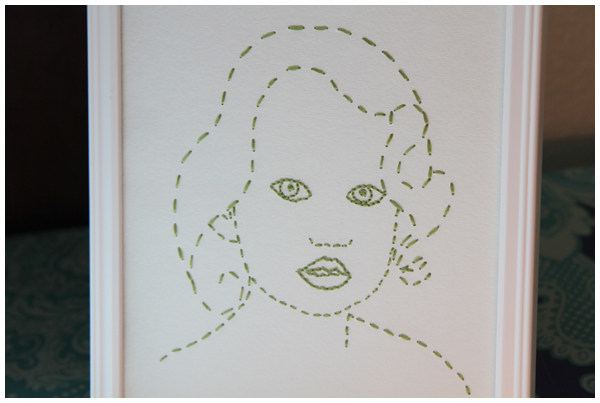
We’ve also been hanging more artwork: a nerdy number poster (by the same illustrator who made the oversized alphabet poster hanging over the desk) and the embroidered portrait I made. We have more artwork that’s currently in-progress to hang up and share with you soon.

It’s starting to really look like a little girl’s room up there. She loves it!

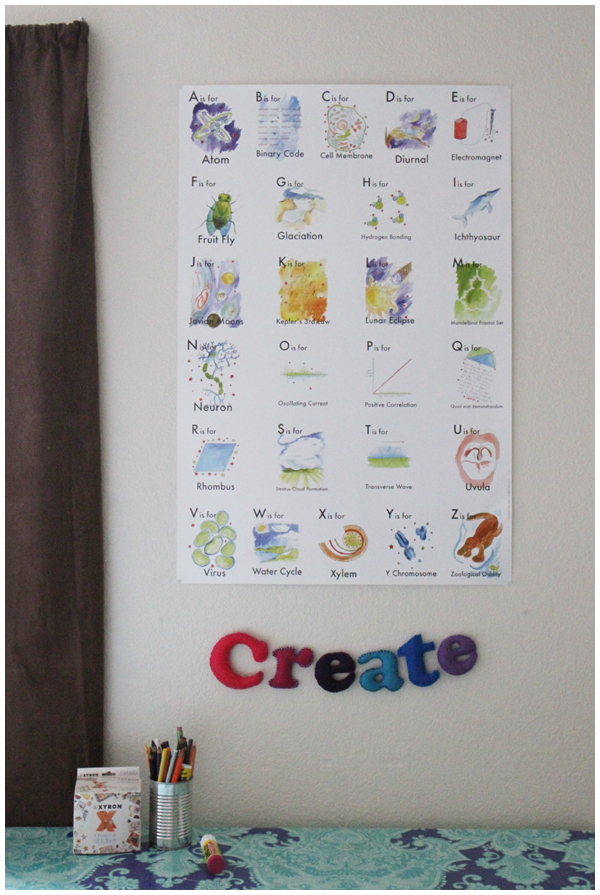
Nerdy ABC Poster

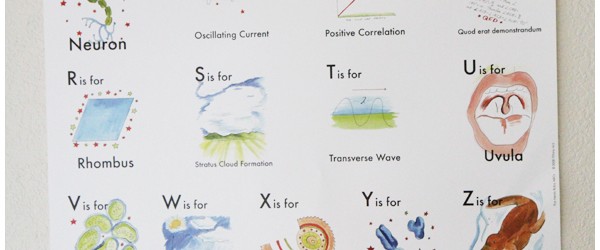
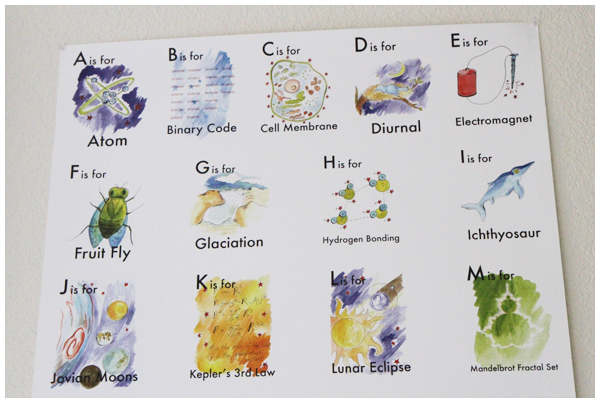
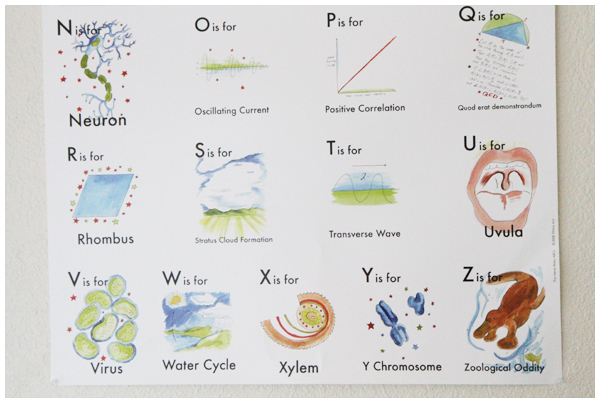
When I ordered this clever alphabet poster from Nerdy Babies I took a risk. The site didn’t list its dimensions and I rather foolishly thought, “how big can it be? I’ll just order it and it will be fine. I don’t have time to email the artist and wait for a response right now.”

Two days later it arrived. Enter the worlds largest poster that my daughter ADORES and won’t let me return.

It’s clever, creative, nerdy… and gigantic!

The space where I had originally planned to hang it (above the photo banner over the bed) was too small, so we decided to hang it above her desk instead.

She LOVES it!

I think I would love it more if it were smaller and framed, but she’s three years old and that clearly doesn’t matter to her, so I’m letting it go. We’re enjoying both its beauty and brilliance. Besides, it’s the perfect size for this space. The end.

The Reading Nook

David built this sturdy, double-sided bookcase for our daughter. For the past two years it’s been in our living room overflowing with books (the following photo might as well be the “before” shot from 2009 back when we had only that many books).

After boxing up and putting away many of our beloved board books, we moved it upstairs to our daughter’s new bedroom.

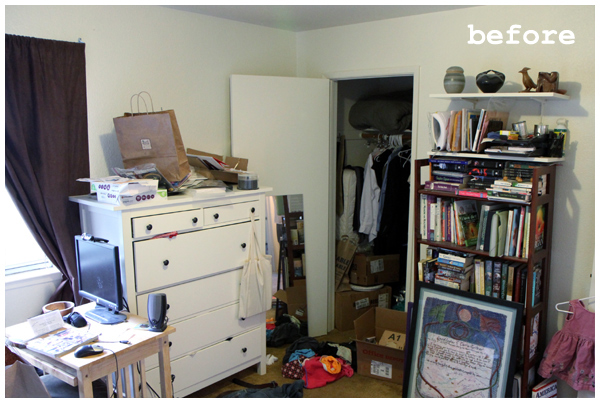
Here’s the shot from before we started the transformation from spare bedroom/office/junk closet to big girl bedroom:

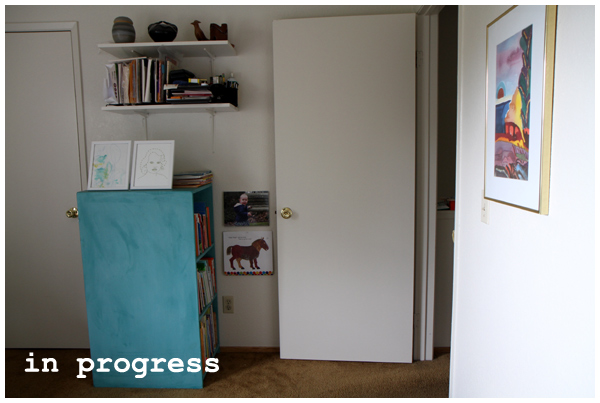
Wow, does it look less cluttered now, though we have more work to do:

Remember this video of our daughter reciting her version of Eric Carle’s classic, The Very Hungry Caterpillar, from last week?

She’s reading in front of the bookcase in her new room!

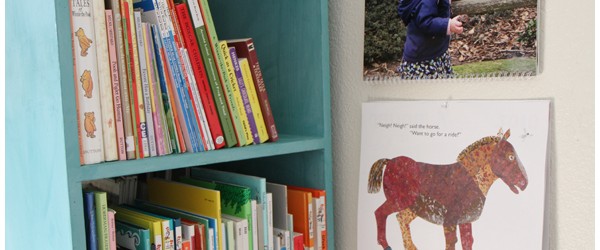
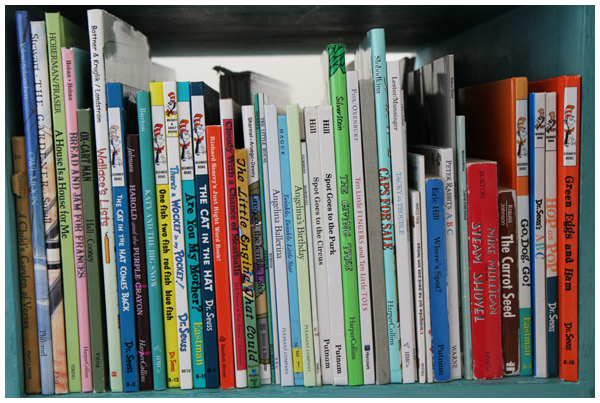
One side of the bookcase has our before bedtime books and some picture book fiction,

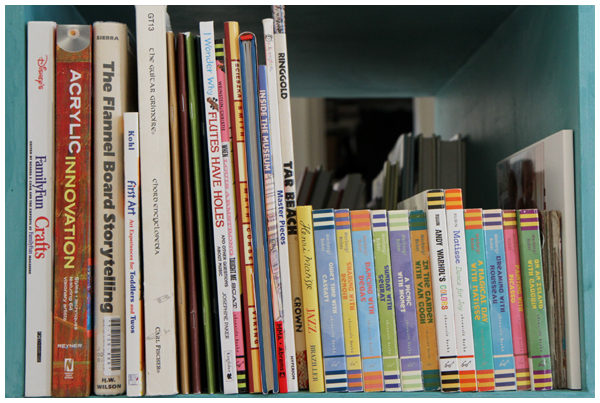
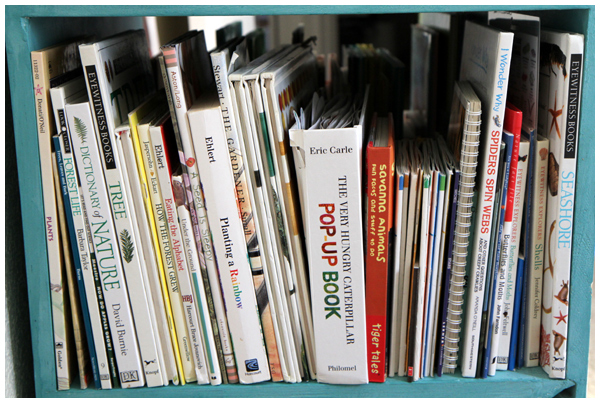
the other side contains (mostly) a nonfiction collection:


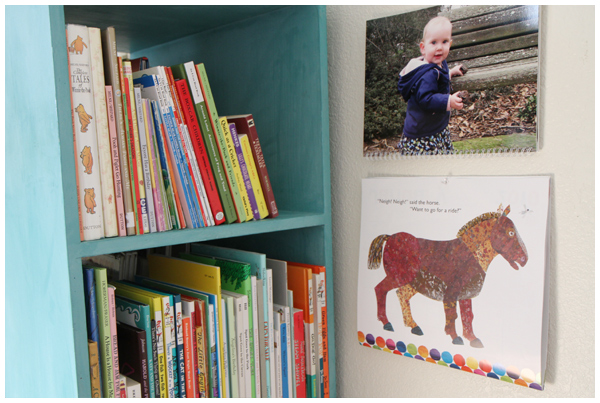
I’m in the process of framing art from beloved children’s books to hang next to the bookcase, but in the meantime our daughter asked us to hang pictures from two of last years family calenders (one with pictures of her and the other featuring Eric Carle illustrations).

All that’s missing is a comfy cushion to snuggle up on and I have plans for that.

Embroidered Portrait Fun

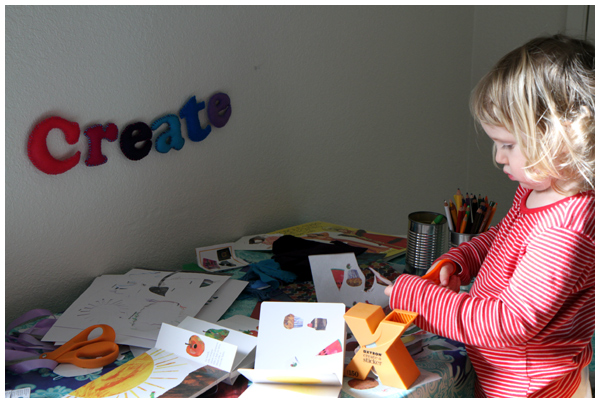
I wanted to embroider something special to hang with the “create” felt banner I made for above the desk in our daughter’s new big girl room (similar to the “sweet dreams” felt banner above her bed).

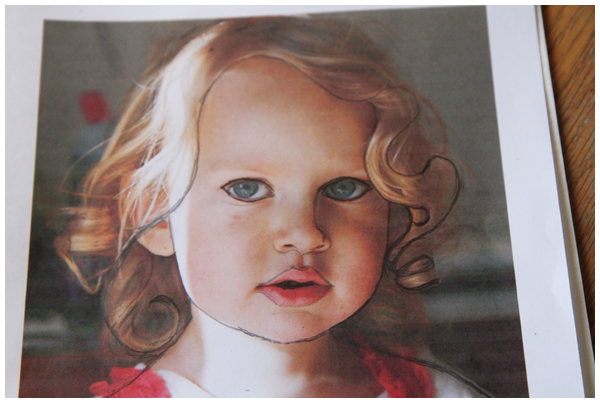
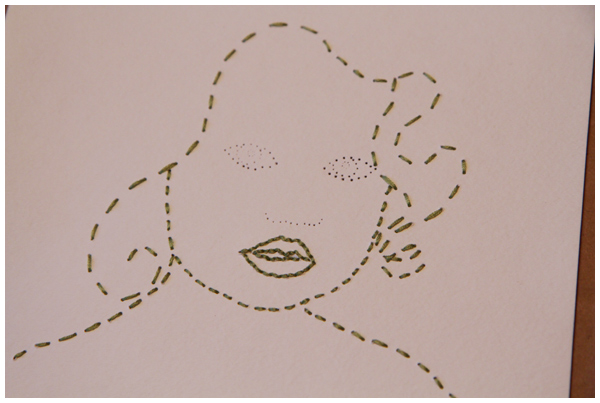
I read about a portrait embroidery project in Country Living Magazine and couldn’t wait to try it. After printing out the photo that I would use as a template, I drew in pencil on the photo where I planned to embroider. I’m glad I used pencil because I drew and redrew the lines until I felt confident with the outline placement.

Then I taped the photo template to watercolor paper with scotch tape, placed it on top of some thick cardboard and used a thumb tack to punch holes into the watercolor paper to embroider. (See the Country Magazine link above for the complete directions).


Framed and ready to hang above her desk

I was nervous that the picture wouldn’t look like her, but I’m quite pleased with the final result. In fact, I like her embroidered portrait so much that I’m toying with the idea of making a family portrait for our bedroom.

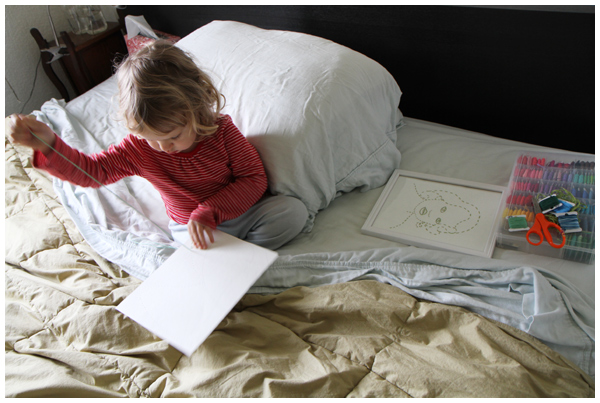
Meanwhile, our daughter is busy embroidering a picture of her own design. I love it when inspiration hits!

Sweet Dreams Felt Banner

I wanted to personalize our daughter’s room with all different types of artwork, not strictly the photos and paintings typically found in bedrooms. From the beginning I knew that some sort of 3D felt embroidery projects would be involved, as at the moment that is my favorite creative medium.
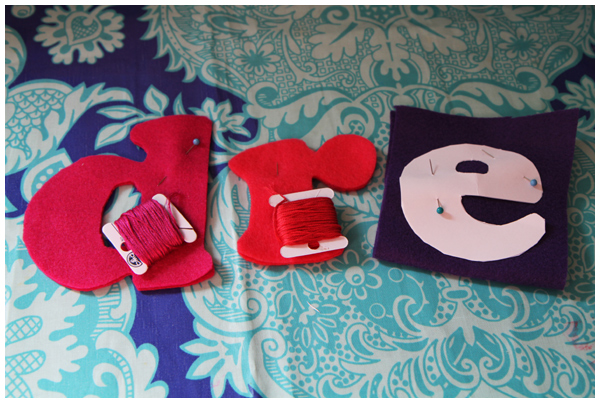
When I saw these fantastic felt letters last fall I knew I had found the perfect special project.
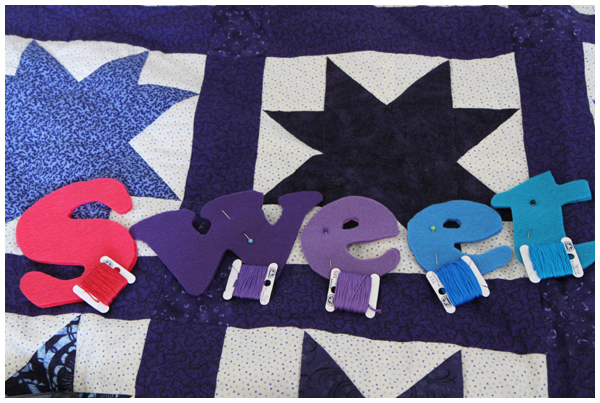
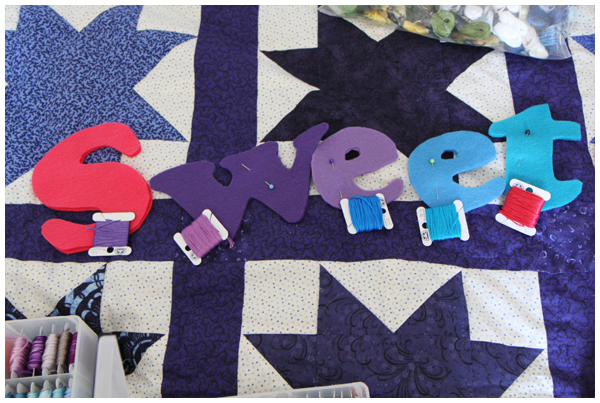
Being the rebel that I am I couldn’t do our daughter’s name. Instead I wanted to do something to create or inspire. I first made a “create” sign for over her desk (you’ll see a photo of that soon) and then set about making “dream” for over the bed.
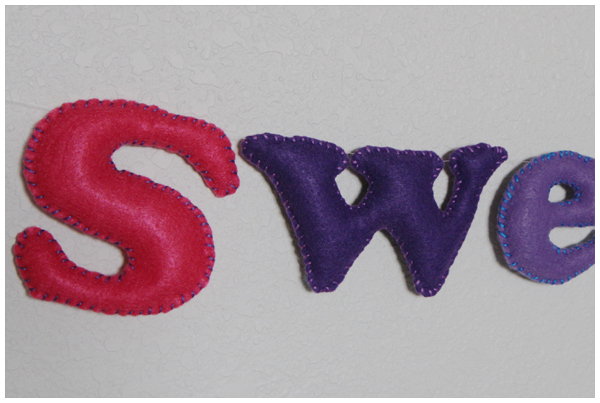
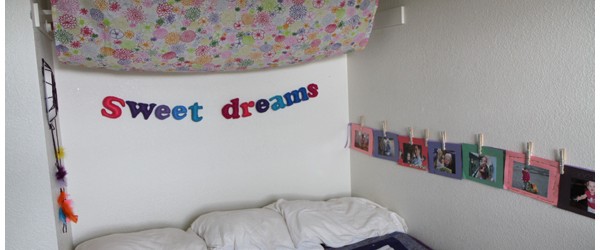
When I finished “dream” I realized that it was WAY too small for such a large space as over her bed. So “dream” quickly became “sweet dreams” and I couldn’t be more pleased with the outcome.
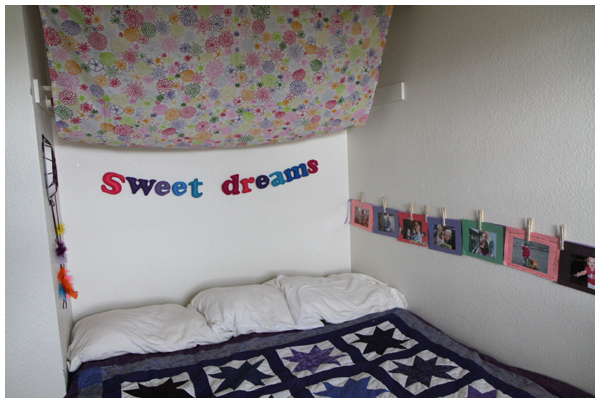
If you too want to do this project, read Made By Rae’s Felt Letter’s post for directions.

Here are my deviations from her project directions, plus some additional helpful tips:

1) I used a 500 pt font (instead of the 400 pt that Rae used) for our letters; next time I may go even bigger.

2) When I printed out the letters I formatted them as “outline only” so as not to waste lots of printer ink (thanks to my friend Alissa for this great tip!). I also used heavy-weight card-stock instead of regular printer paper.

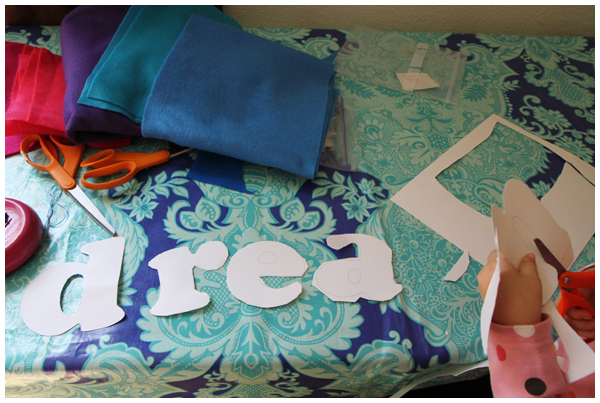
3) I then cut out each letter, pinned each letter outline on top of two layers of felt (to cut both the front and back sides of each letter at once), then cut out around the paper outline. (This way I skipped the time-consuming letter tracing step before cutting out the felt letters.)

4) I used embroidery floss instead of plain thread in bright, often contrasting colors (first I matched the embroidery floss colors to that of the felt, then I mixed up which letter got which color). I like the chunky look for the whipstich that resulted.

5) Be forewarned that this project is time consuming. Each letter took me between 30-45 minutes. Granted I was chatting with friends while I worked, so it may have been much faster had I just focused on the task at hand. I personally prefer having company while working on craft projects. Makes the time go so much faster, don’t you think?!

Have fun and good luck!