Play Money for Kids

Miss Leyba loves playing with money and credit cards and quite frankly I got tired of her playing with my wallet and putting my library card who knows where. Something had to be done.

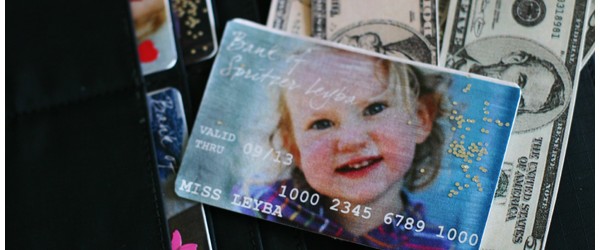
So we made her some play money and credit cards to go in her very own wallet:
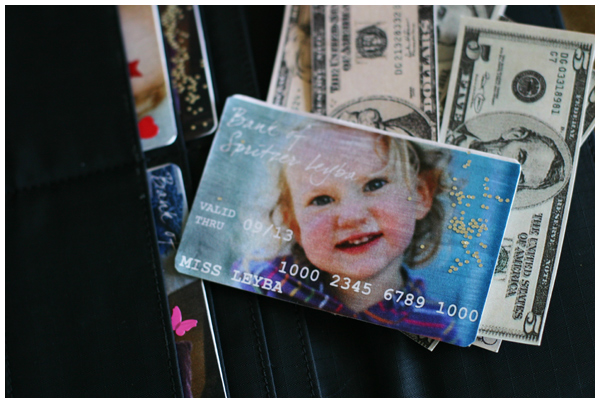
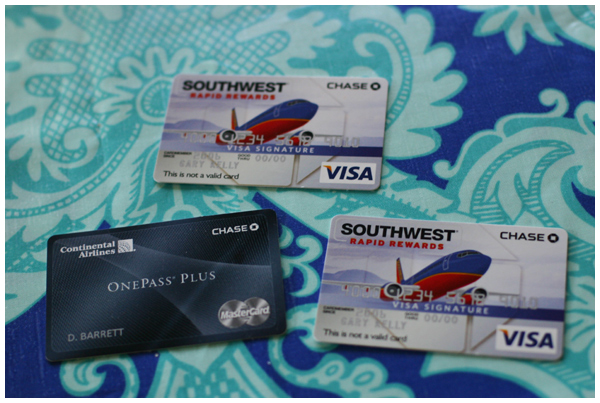
We used the cardboard cards that come with those annoying credit card offers in the mail.
On Photoshop I quickly whipped up some 3.370 × 2.125 inch credit cards at a 300 dpi resolution with Miss Leyba’s face and pretend bank and card info.
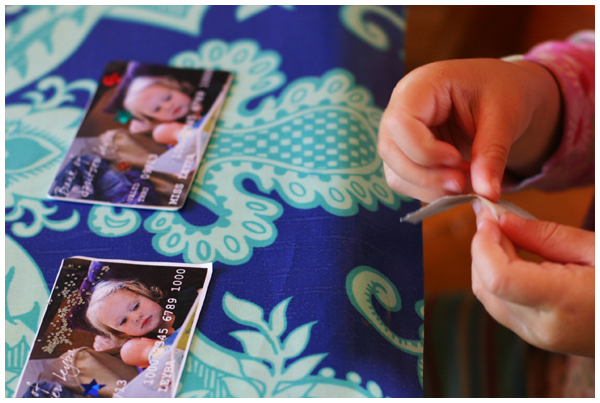
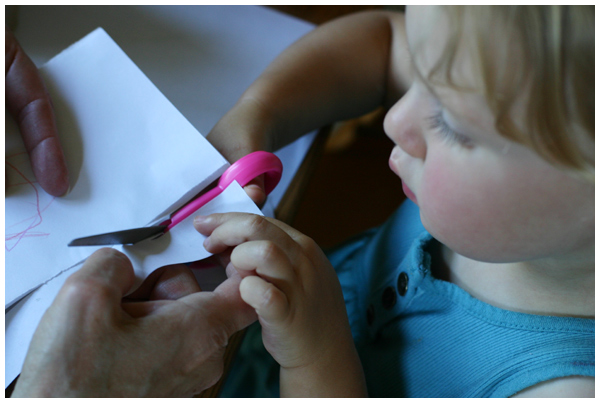
We cut them out, mod podged them on to the cardboard cards, decorated them with stickers and glitter, let them dry, covered them with mod podge again and voila!
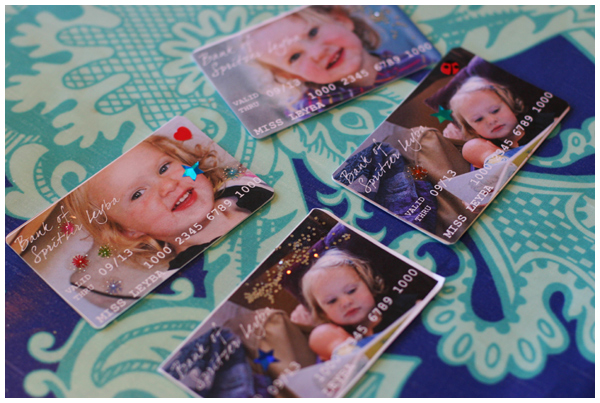
Welcome to the Bank of Spritzer Leyba!

Quite honestly if I could do it again (and I probably will), I would print her pictures out on heaver card stock (not regular printer paper) and would glue it on with regular glue (or a thicker coat of mod podge). Then I would probably laminate the cards instead of covering them with mod podge. That way my daughters beautiful face wouldn’t be covered in brush strokes. She didn’t seem to care at all… that’s one thing I love about toddlers: they’re easy to please!

We also made her some pretend money. I found photos of dollar bills online and made them smaller than real bills so she could hold them more easily in her hand. Then I printed them on heavy cardstock and cut the bills out. Here they are next to real money:
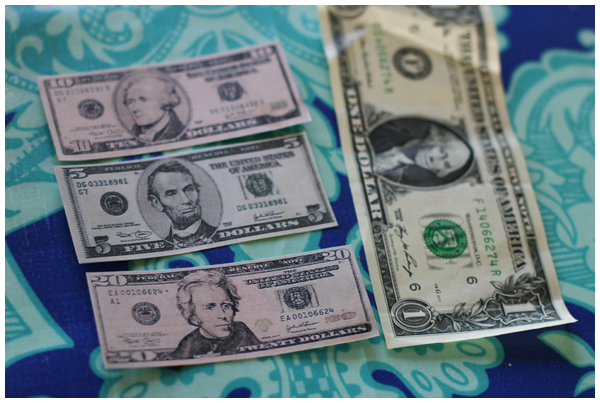
See? Much smaller!
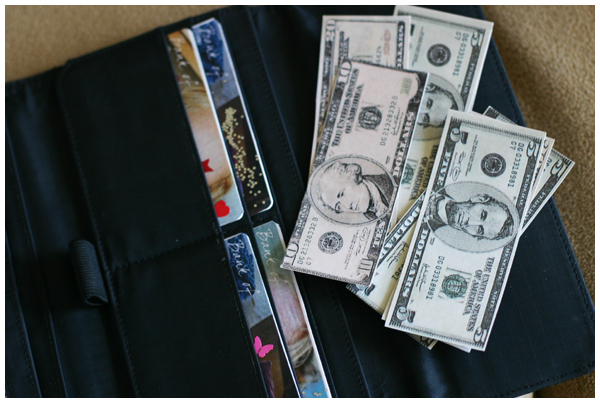
She keeps them in her wallet along with her new credit cards. Miss Leyba’s crazy about shopping and, finally, she can treat me!
Binoculars Craft Project

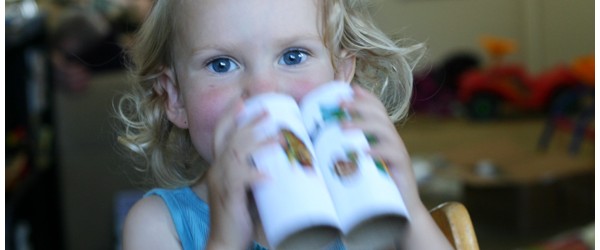
My mother is an avid birder and loves to share her enthusiasm and knowledge with us. During her visit she made binoculars with Miss Leyba, a fun and easy project designed to introduce young kids to birding and give them a way to practice looking through their own, homemade binoculars.

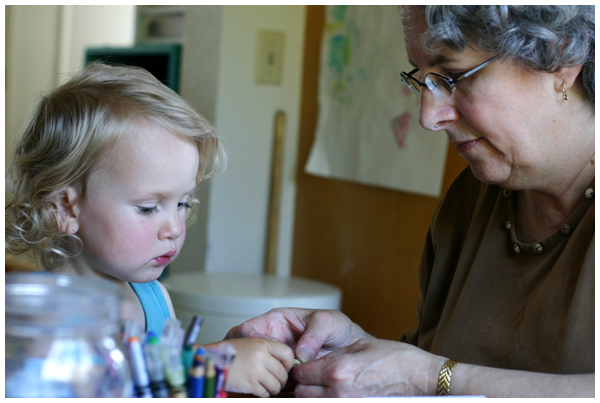
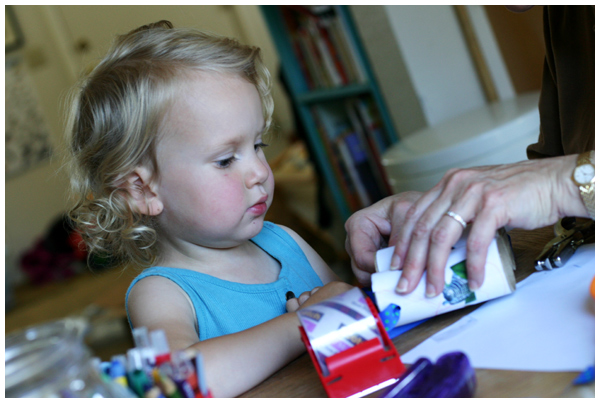
Grandma began by cutting a paper towel roll in half. With the intention of wrapping a piece of paper around each of the paper towel tube halves, Grandma and Miss Leyba then cut the paper down to size.

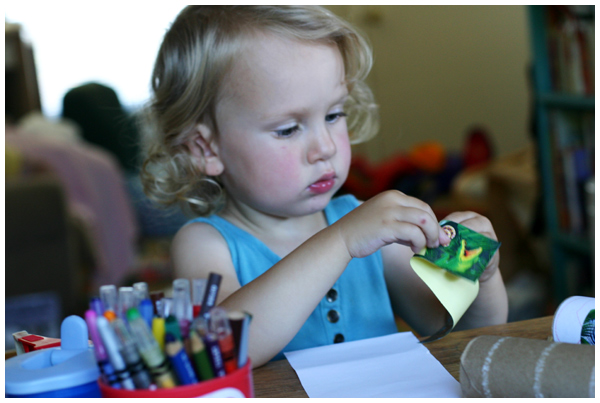
Miss Leyba decorated each piece of paper with crayons and stickers.

They then glued the paper to the tube.

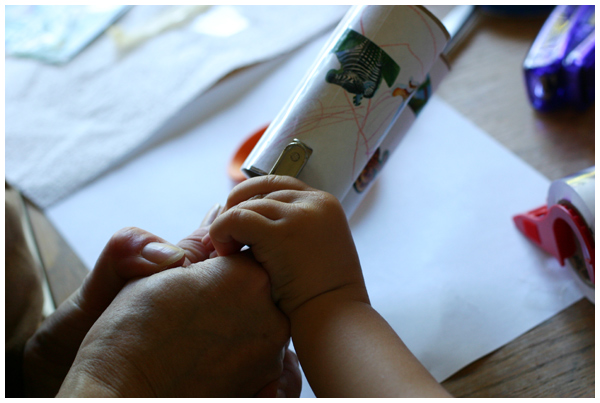
Grandma wrapped each tube with packing tape to seal the paper to the tube and to create a smooth surface to easily hold on to. My mom then stapled the two tubes next to each other lengthwise to form the binocular shape.


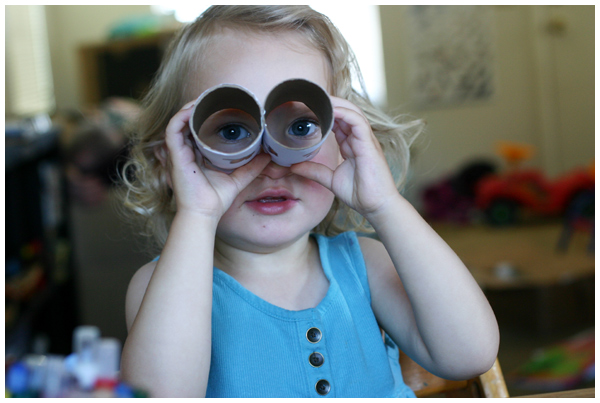
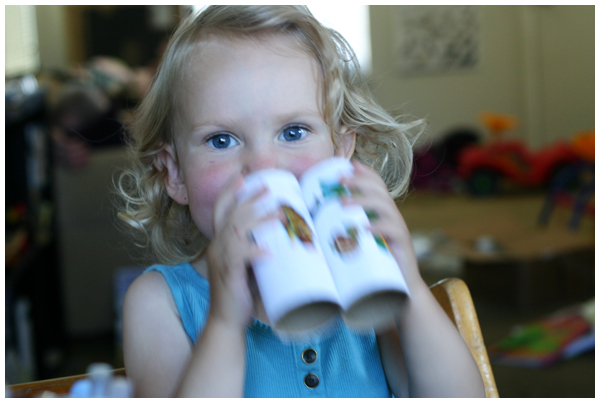
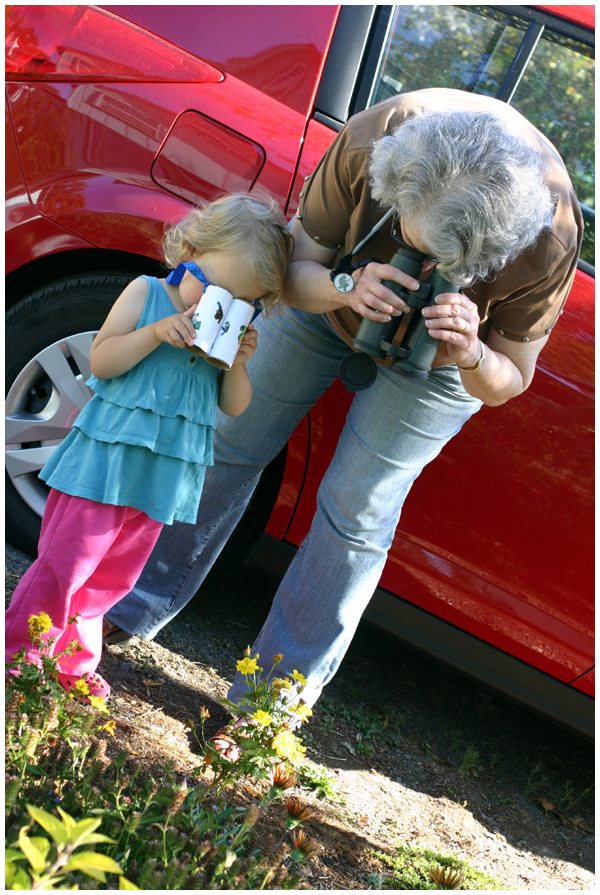
Phew! She can see out of them and they fit!

They then used a hole punch to make a small hole on the outside of each of the tubes.

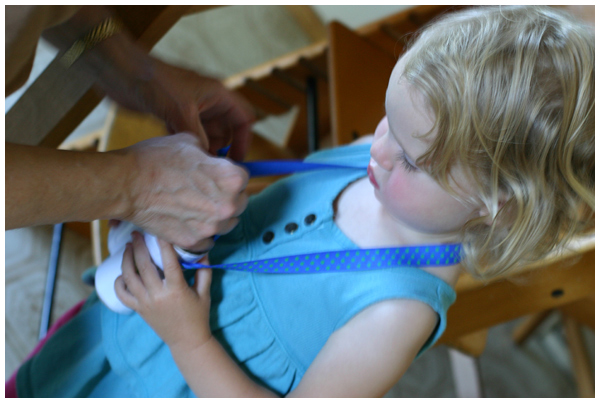
They cut a piece of ribbon the length of a necklace (plus several inches for each side to tie on) and then attached it to the tubes so it could go around Miss Leyba’s neck.

Finally it’s time to head outside and practice looking through those binoculars!

The first step is to practice finding/focusing on stationary items like flowers, leaves, rocks, bird feeders, and trees.

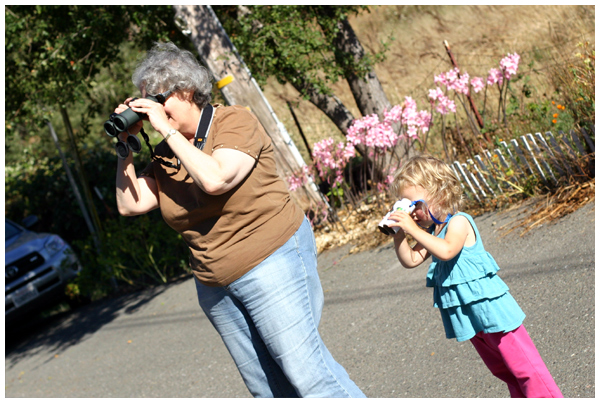
Finally, out in the field “birding” with Grandma.

Since this activity, going out birding has become a favorite activity around here. Thanks for the great project, Grandma!

Rainstick Craft Project

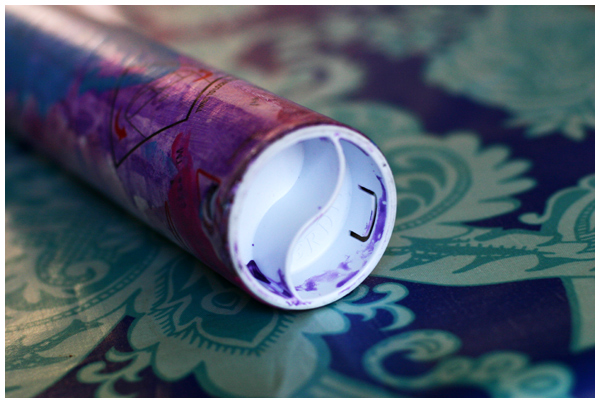
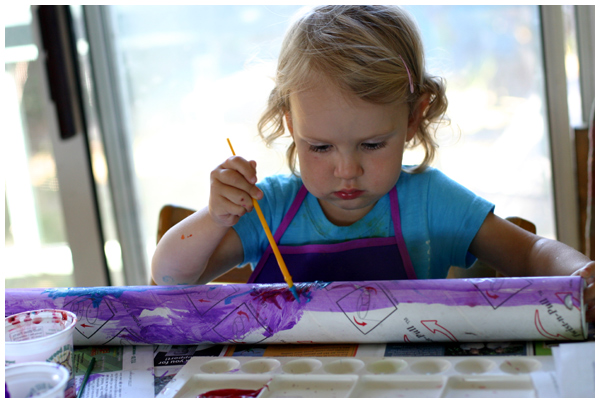
We started with a cardboard tube, the type you mail posters in, that has two secure ends and turned it into our very own rainstick:

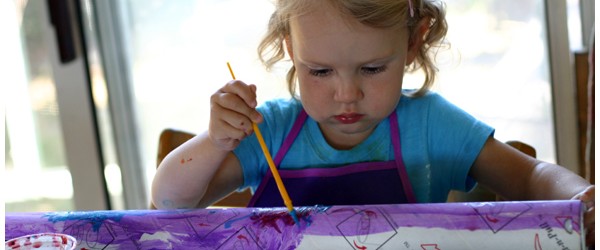
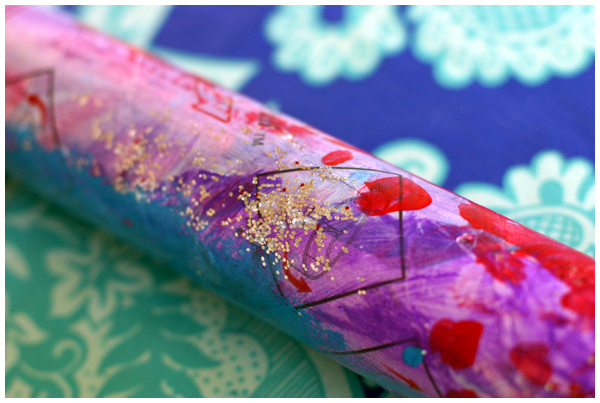
Miss Leyba first covered the tube with two layers of paint in several colors that blend nicely together. We used Crayola washable kids’ paint in red, blue, pink and purple.

To add a little sparkle to the project, we used glue to adhere glitter and sparkle stars (most of which fell off… whoops!).

After the project thoroughly dried, we applied two coats of Mod Podge to more fully adhere the glitter and to give the rainstick a glossy shine.

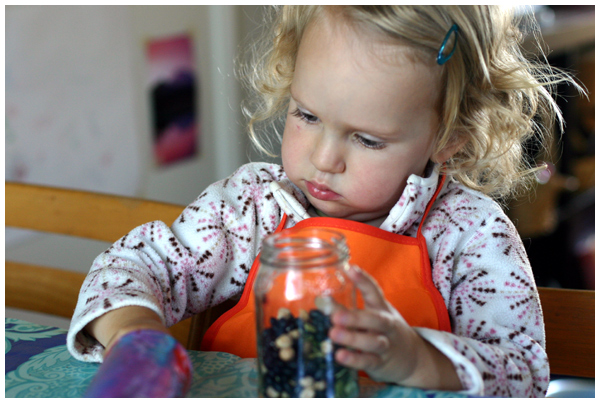
Then we filled the tube with beans, lentils and seeds left over from our Earthy Collage Project. Miss Leyba filled the tube one bean at a time. Although pouring the beans into the tube wasn’t an option for our house, I highly recommend you try it. I imagine it would have been much faster. :)

Miss Leyba really enjoyed dropping beans on the floor instead of filling the tube too. “Ha ha! Don’t worry, Mom, we can sweep them up!” (She did when she was done! In fact, she’s still sweeping twenty minutes later!)

It took a while, but she finally got the cup or so of beans that we used in there.

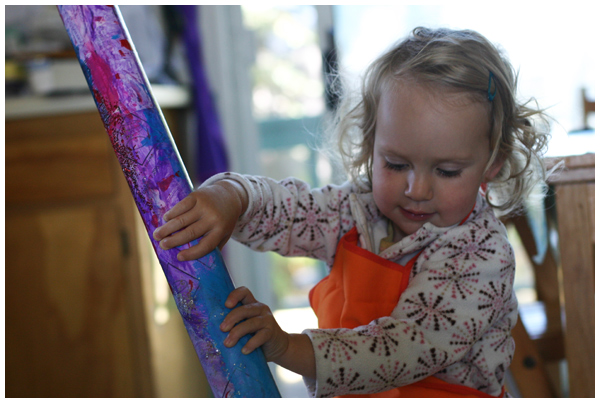
Then we put the top securely back on and…

Ta-da!

Time to make music!

Sticker Fun

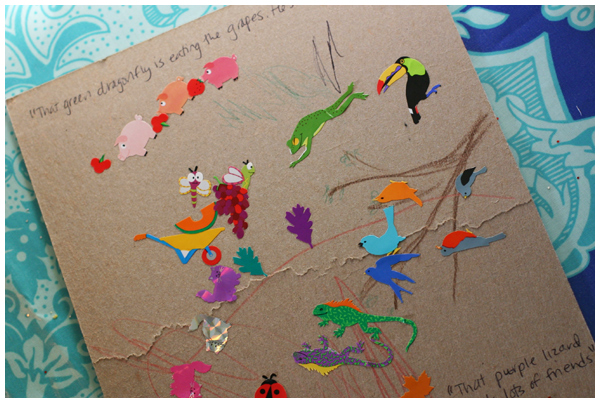
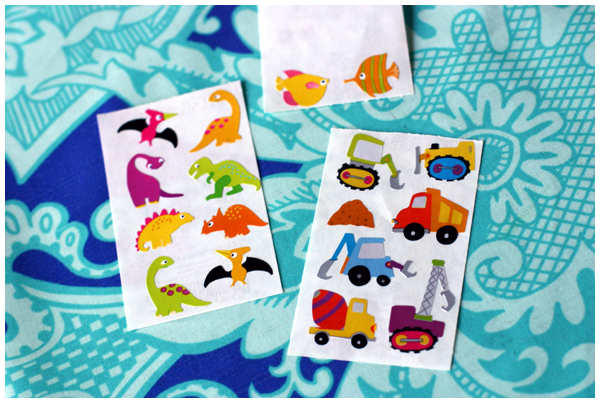
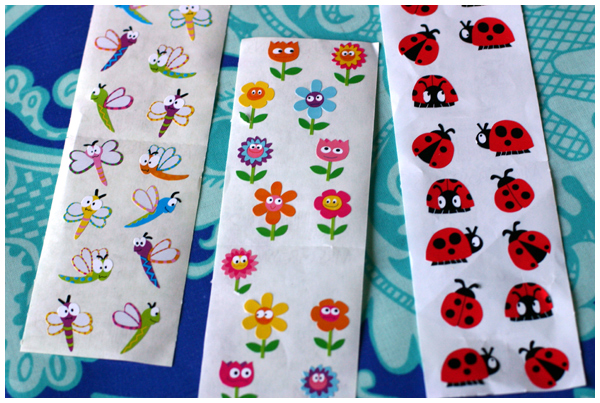
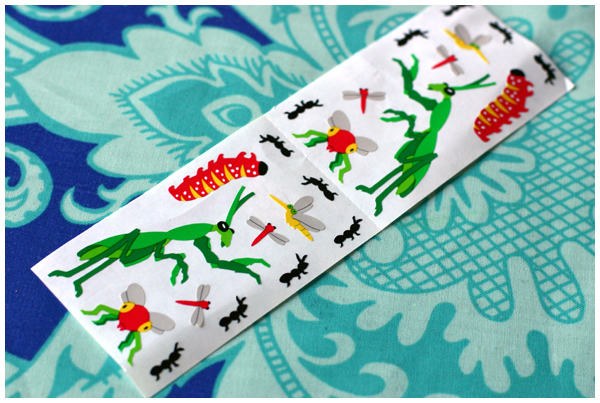
Do you know about Mrs. Grossman’s stickers?

I remember playing with them when I was a little girl back in the 80s.

Andrea Grossman started the company from her home here in California in the 70s and moved to a gorgeous facility in Petaluma, CA in 1995.

If you live in the North Bay and have sticker lovers in your house, you can tour their factory!

They give you lots of stickers just for visiting and you can buy directly from them at their shop, which also has sticker seconds (with barely noticable imperfections) and surplus stock at a deep discount.

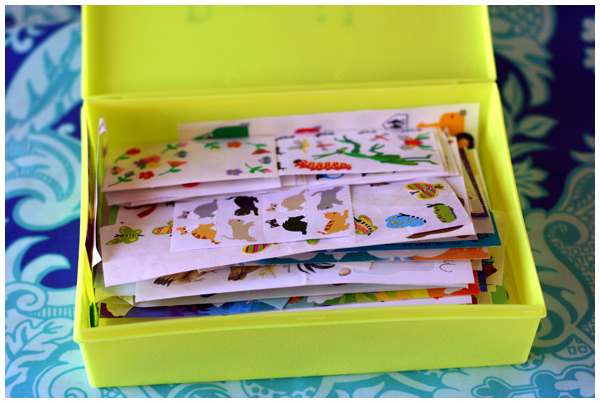
I recommend picking up a few of their $2 takeout containers with miscellaneous stickers inside. A fun treat to open, you never know what you’ll get inside!

A note of caution: try not to go overboard in their gift shop. We only spent about $20 and still came home with too many stickers. And by too many, I mean it will take us years to get through this stash.

Not that we’re complaining! Stickers are fun!