A glimpse into our three year old’s creative thinking…
Some recent toddler art with her descriptions:
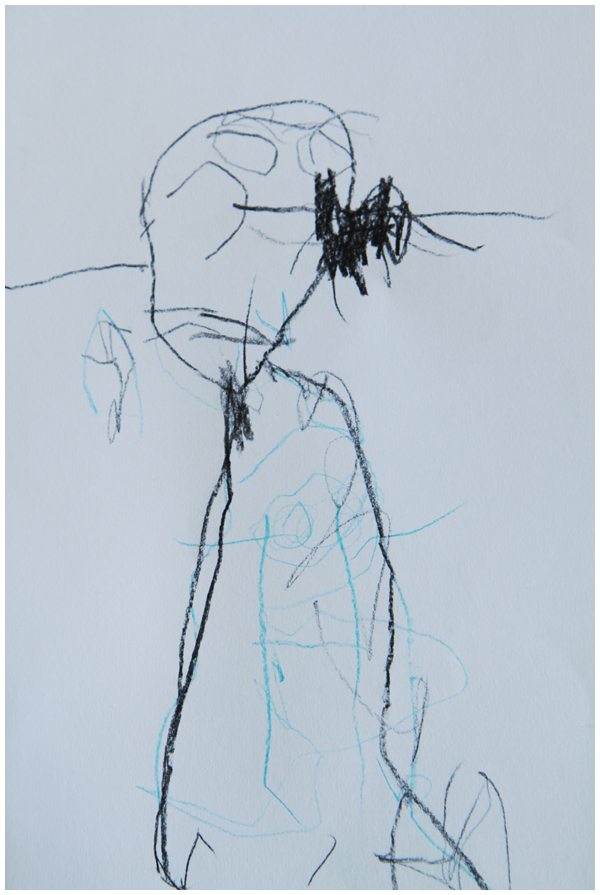
A portrait of Mama (in black) and daughter (in blue)
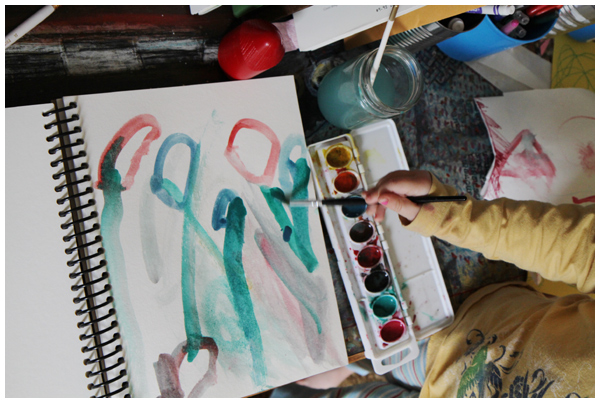
Flowers with long stems
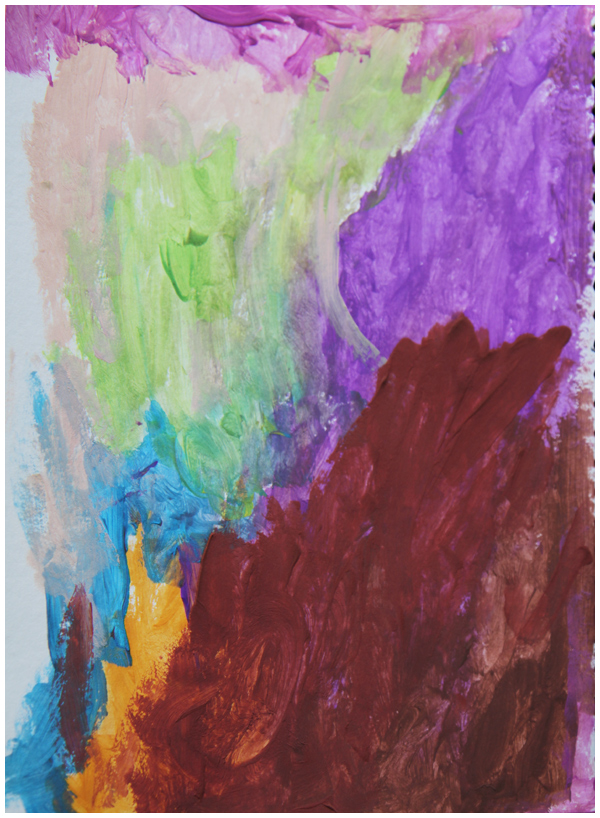
Purple mountains with orange and brown soil
A glimpse into our three year old’s creative thinking…
Some recent toddler art with her descriptions:

A portrait of Mama (in black) and daughter (in blue)

Flowers with long stems

Purple mountains with orange and brown soil
Ah, life with a toddler.
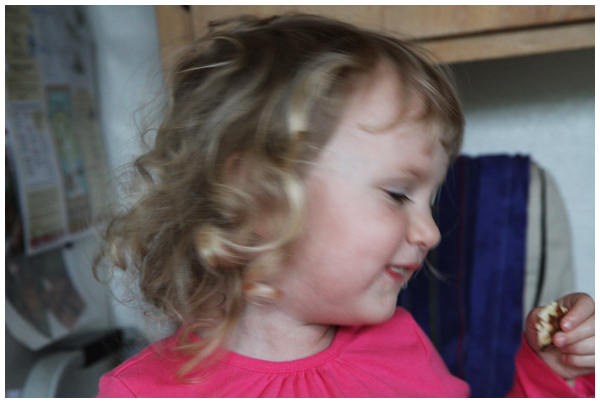
Our three year old refused to try these delicious apple and cottage cheese pancakes from Mollie Katzen’s classic Moosewood Cookbook that’s she’s eaten and loved before, just because she knows I want her to eat them.
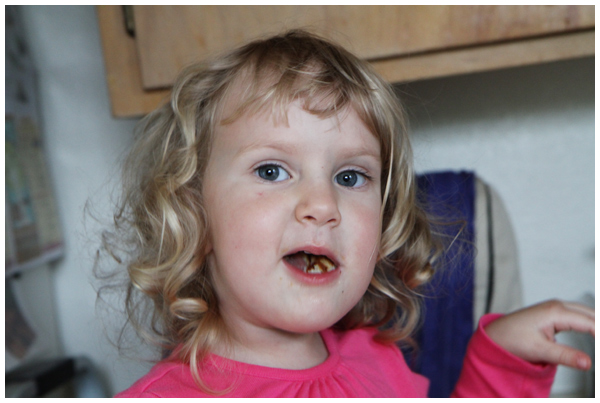
So I said, “Don’t eat them! Don’t take a bite! Don’t even think about it!”
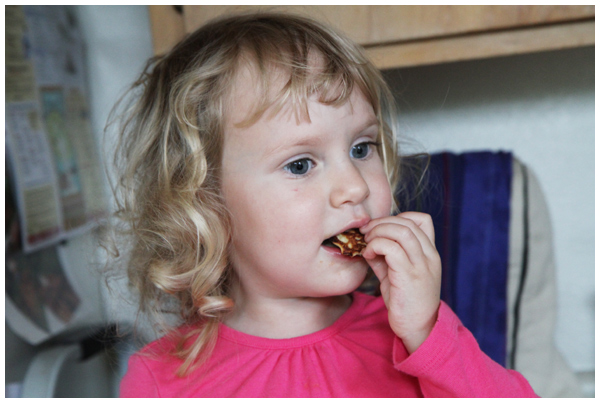
And sure enough she gobbled them up!
Sigh.
Hey, at least I know it (sometimes) works, right?!
I’ve been on the lookout for non-toxic, smell-free, affordable nail polish for a while now. There are several good, expensive non-toxic polishes out there that I’ve tried in the past, but could we find a cheaper one?
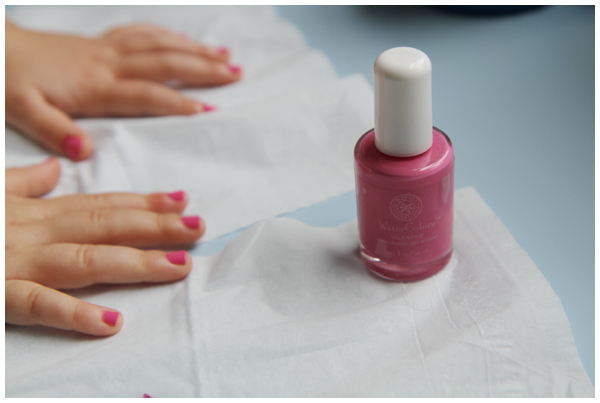
I looked for less-toxic suggestions on Skin Deep, a database that lists and evaluates toxins in cosmetics, and found WaterColors by Honeybee Gardens, a water-based polish with no fumes. What I love best? You can remove it with rubbing alcohol or their less toxic nail polish remover. Perfect for using with kids!
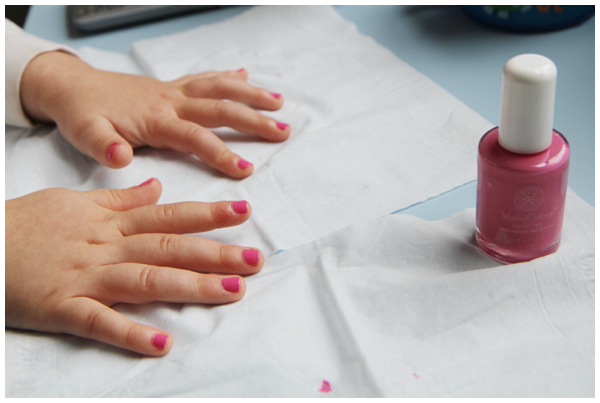
At around five dollars a pop, they aren’t too pricey, plus they come in a variety of fun colors.
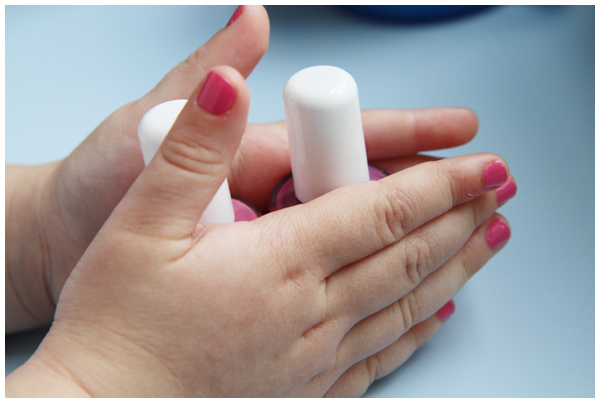
We bought two: Valentine, a bright bubble gum pink, and Tuscany, a metallic purple.
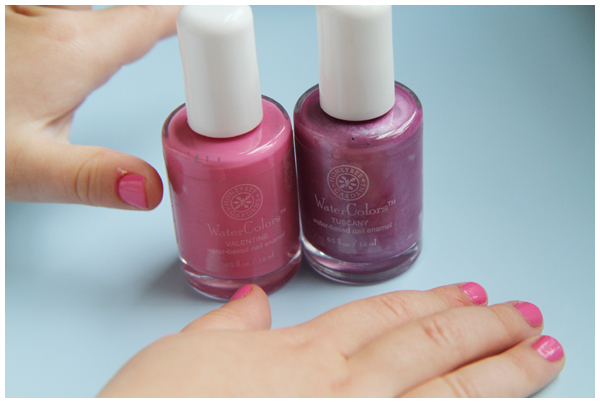
The perfect product for our daughter’s first manicure!
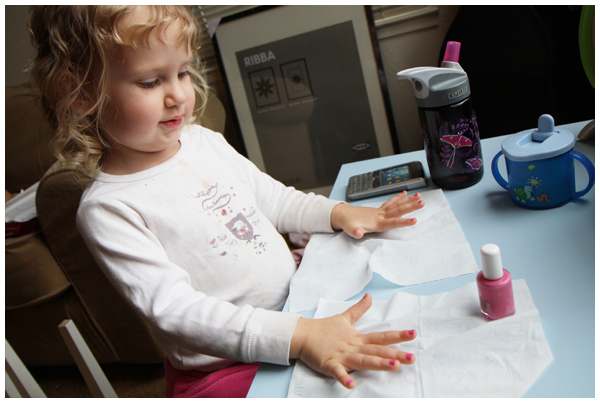
Talk about little girl heaven… plus, mama gave herself a pedicure! We’re both happy girls today.

The little miss asked me to take this picture of her holding hands with her imaginary friends.
If only I could remember who else was in the picture. Was it Savannie, Faladdie or Natashe? I can’t quite recall.
Those imaginary friends are ever changing and always adorable. They visit us every day and for that I am truly thankful. When they’re here, I can get something done cause you-know-who is occupied!
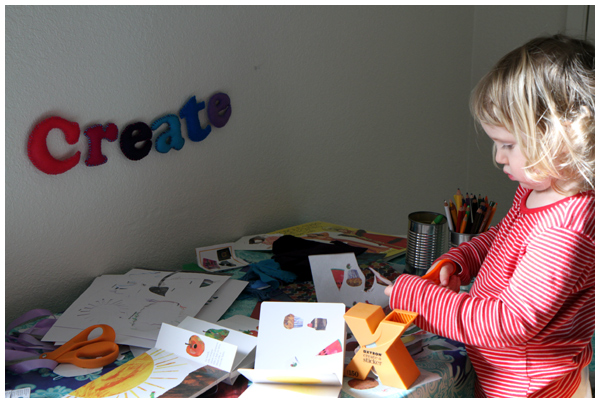
I wanted to embroider something special to hang with the “create” felt banner I made for above the desk in our daughter’s new big girl room (similar to the “sweet dreams” felt banner above her bed).
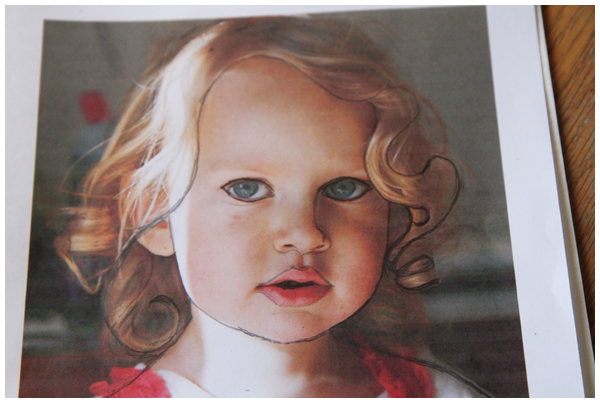
I read about a portrait embroidery project in Country Living Magazine and couldn’t wait to try it. After printing out the photo that I would use as a template, I drew in pencil on the photo where I planned to embroider. I’m glad I used pencil because I drew and redrew the lines until I felt confident with the outline placement.
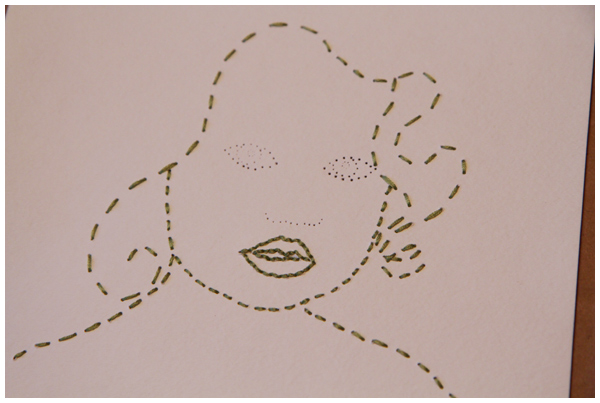
Then I taped the photo template to watercolor paper with scotch tape, placed it on top of some thick cardboard and used a thumb tack to punch holes into the watercolor paper to embroider. (See the Country Magazine link above for the complete directions).
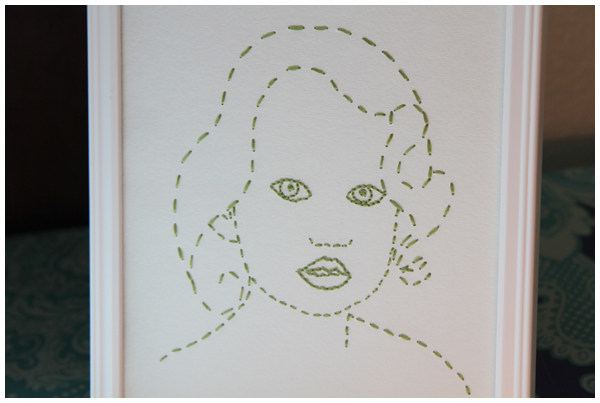
Framed and ready to hang above her desk
I was nervous that the picture wouldn’t look like her, but I’m quite pleased with the final result. In fact, I like her embroidered portrait so much that I’m toying with the idea of making a family portrait for our bedroom.
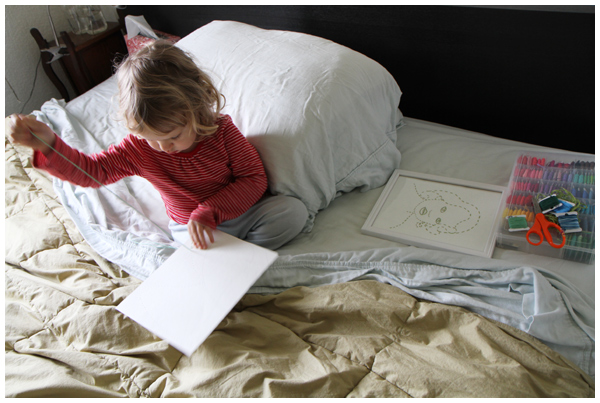
Meanwhile, our daughter is busy embroidering a picture of her own design. I love it when inspiration hits!