Writing Caddy

We’ve been working on organizing our arts and craft supplies.

Writing Caddy

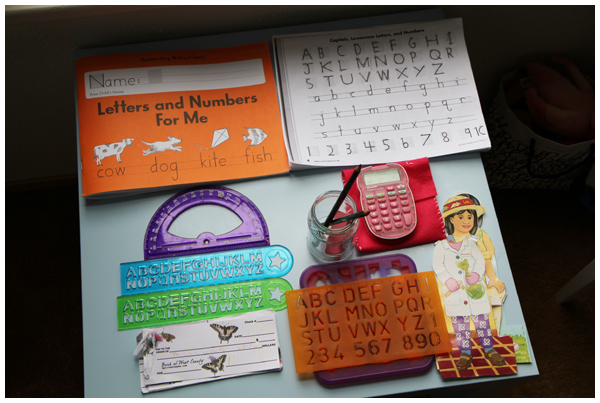
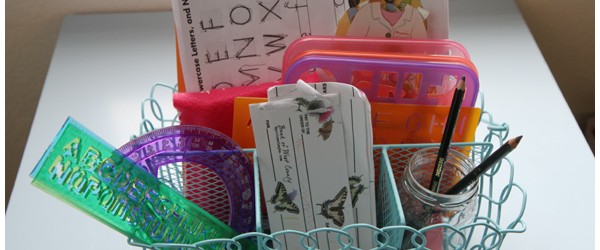
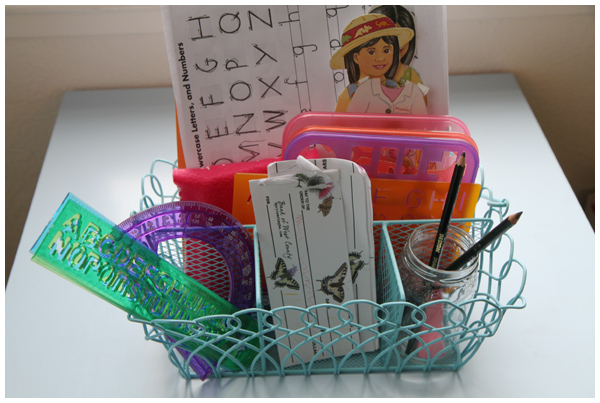
I planned on making a writing caddy for our daughter, but we instead found this blue wire caddy at Joann’s on clearance and the little miss insisted we bring it home. Luckily it’s my style too, so I was thrilled to set it up at her play table in the living room. Inside it we keep:

Writing Caddy

Letters and Numbers For Me activity book (published by Handwriting Without Tears)
– The complete set of Jan Brett’s free traditional coloring alphabet tracers stapled together with a this free downloadable Handwriting Without Tears Capital Letters Formation Chart
– Lined and blank paper

Writing Caddy

– Soft pencils and erasers
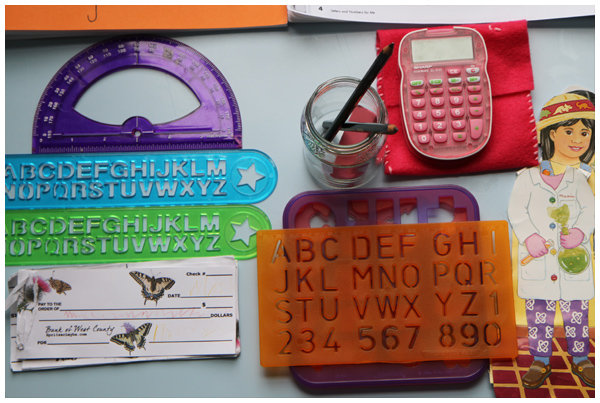
– Shape and alphabet stencils
– Protractor
Maria the Scientist Paper Dolls
– Calculator (used primarily as a pretend cell phone)
– A set of butterfly play bank checks that you can download for free!

Writing Caddy

We keep the writing caddy on the child sized table by the window overlooking our garden. Adjacent to our birding materials (in the baskets/bags on the floor), we’re all set for everyday learning!
Porch Redo with a Sand and Water Table

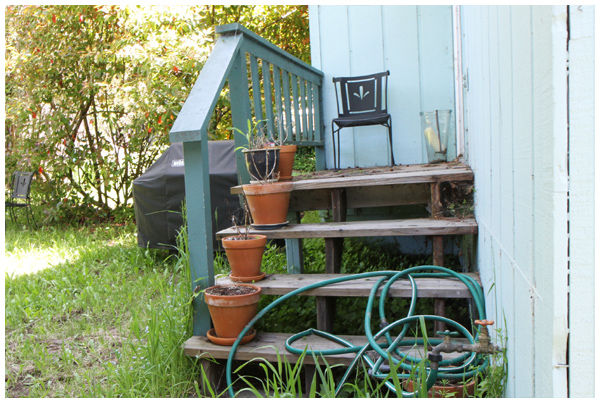
Back porch before

We have a back porch that we’ve never used.

In the two years we’ve rented this house, we’ve walked past the porch en route to the grill and stepped on the porch steps to water our shade-loving plants, and that’s it.

Clearly, our back stoop has been neglected. And, yes, those really are dead plants in the pots on the steps.

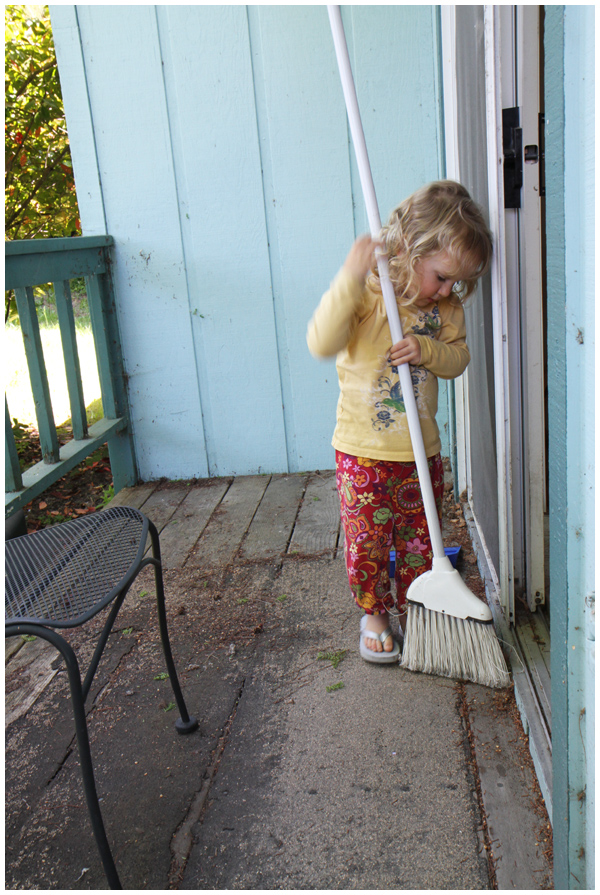
Toddler sweeping the back porch

Our porch is parallel to the kitchen, so I realized that if we set up the porch as a toddler messy play area then I could work in the kitchen alongside our daughter, with the screen door open. It’s also nicely shaded and, being on the north side, remains cool all summer long. This also means that I don’t need to load up my daughter in sunscreen before sending her out to play, another bonus for a busy mom.

Of course, the toddler LOVED the idea of setting up an outdoor play space. She helped me sweep, wash and scrub the porch… removing several years worth of cobwebs and critters.

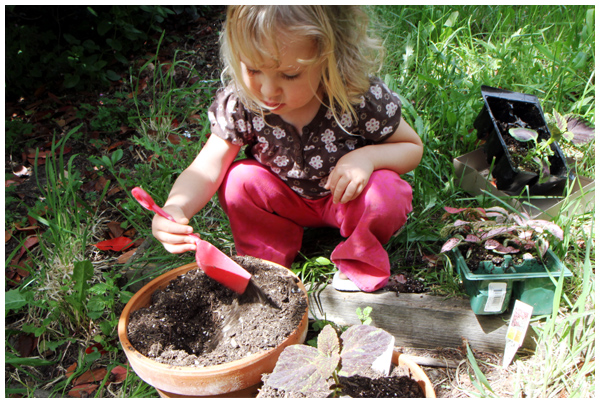
Toddler helping mama garden on Mother's Day

We replanted the shade-loving annuals for the steps on the porch with some of the flowers from my Mother’s Day Bouquet.

Toddler playing at her sand and water table on our back porch

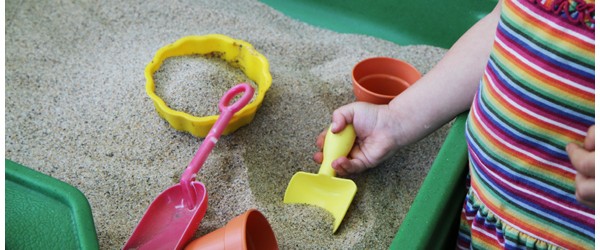
We set up a sand and water table, a HUGE upgrade to last years homemade version that the neighborhood cats just loved to visit. This table with a tight fitting lid is MUCH better. Plus, she gets much less wet and sandy since she’s standing up instead of sitting in the sand table. A big plus.

Toddler playing at her sand and water table

She loves it already. And I love that I can write blog posts at the kitchen table while she’s next to me playing. That’s the thing about small houses: I may be in another room but I’ll never be more than 20 feet away at all times. Here’s one instance when it’s a plus!

Toddler playing at her sand and water table

Here’s to many summer afternoons full of messy, creative play on our back porch!

Toddler playing at her sand and water table

Repurposed Photo Wreath Frame

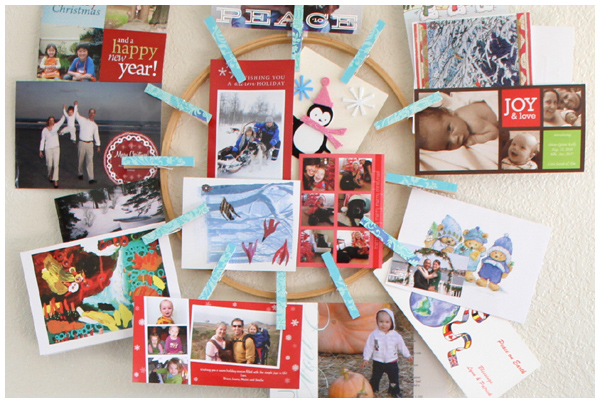
Holiday Photo Wreath from Christmas 2010

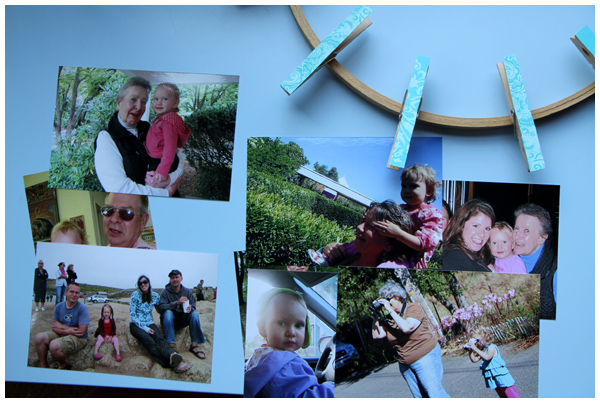
Remember our holiday wreath that we made using an embroidery hoop and clothespins?

Repurposing our holiday photo wreath

We decided to repurpose it for the rest of the year, until next December when we’ll fill it with holiday cards again down in our living room.

Repurposing our holiday photo wreath

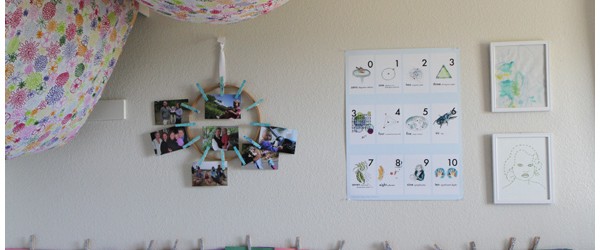
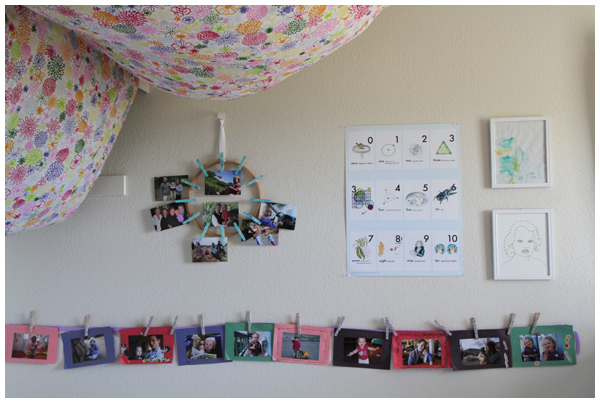
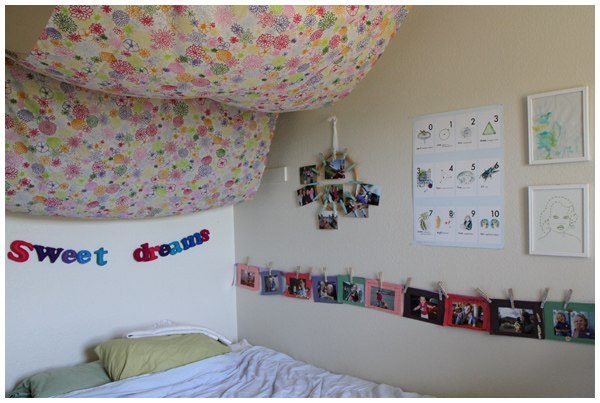
For the time being we’ve decided to place it in our daughter’s new big girl room, in the last bit of free wall space, next to a nerdy baby poster, her embroidered portrait and toddler artwork, and above our photo banner with glittery clothespins.

Photo wreath in our daughter's room

We intend to place photos from our recent travels (to New Mexico and New York) in the frame, but in the meantime we’ve clipped some older favorite family photos to the wreath for now.

Little girl room

A perfect fit for the space!

Now I need to work on updating her linens. Perhaps some embroidered pillowcases are in order or a tie dye project for the sheets. What do you think?

The Felt Box

Another post in our Arts and Crafts Organization project. To read all of the posts in this series, please click here.

I had a sneaking suspicion that we had a tremendous quantity of felt in the house.

We buy it secondhand (usually in unused condition complete with their original price stickers) from our local craft resale shop for $2/lb. Whenever we spy a great color, we snatch it up. It costs us pennies. Literally.

We’ve been storing these overflowing bags of felt in inconvenient places, such as down in the kitchen (why o why?!) and tucked away in a corner of my daughter’s bedroom.

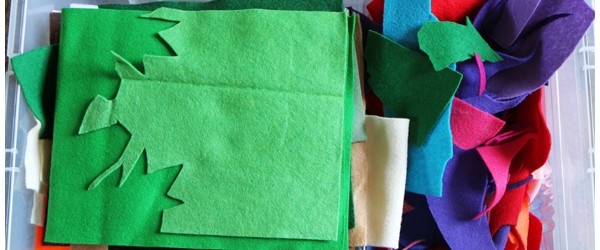
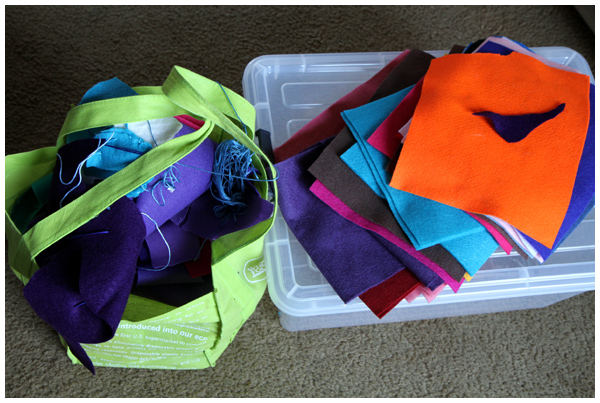
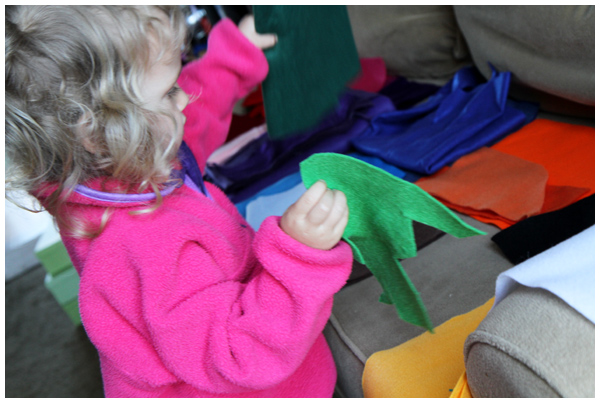
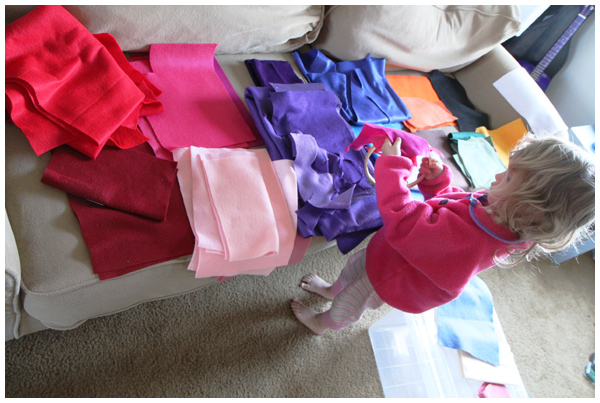
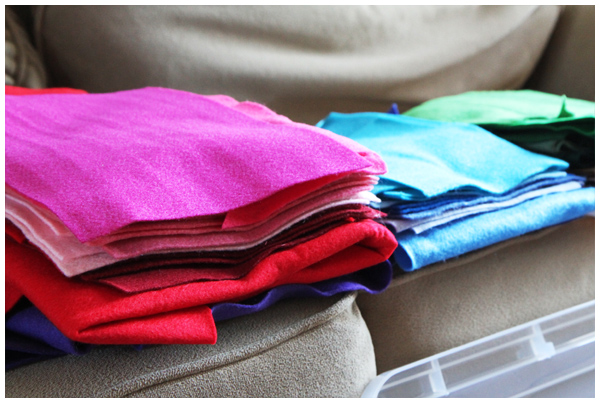
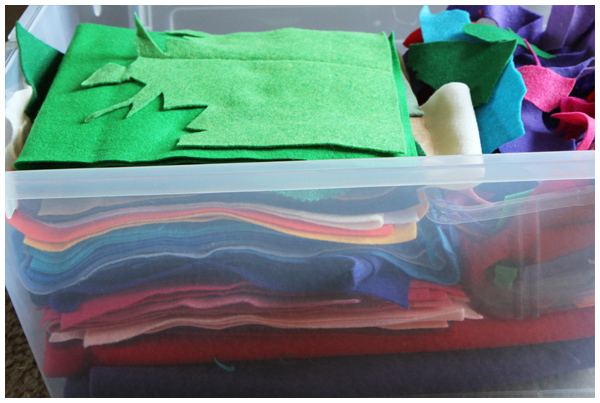
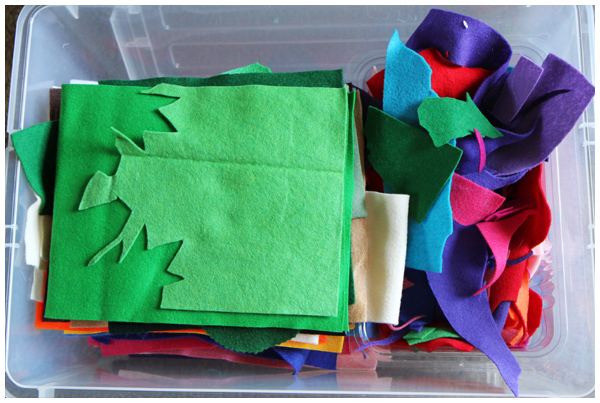
I didn’t realize quite how much we actually had though until we gathered it up to one place, sorted it by color, and stored it away in this giant plastic storage bin.


Above, felt sheets on the left and scraps on the right.

Yes, we have a lot of felt. A tremendous amount.

Nevertheless, we’ve found we need a few more shades of orange (for sewing carrots!) and light green (to sew more mixed salad greens!). We better keep a lookout for those shades at the craft store.

Because heaven forbid we don’t have the exact right shade of felt and have to drive into town. (Ah, life with a three year old. Everything becomes terribly dramatic.)

Meanwhile, time to get crafting!
Craft Drawers

We’ve finally been making headway on our arts and craft supplies organization project.

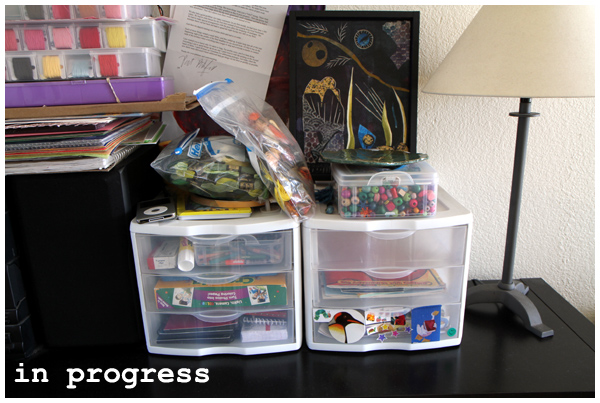
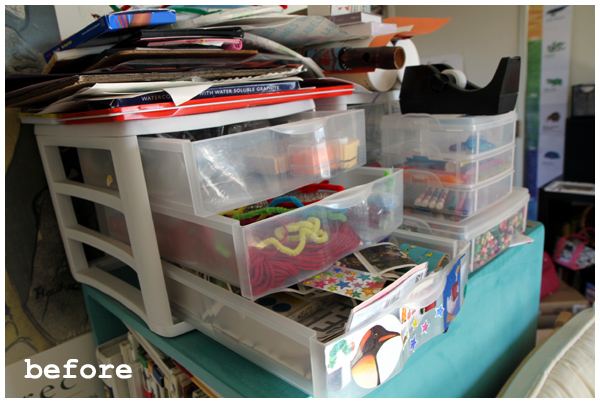
This week we focused on decluttering and reorganizing these plastic drawers. To refresh your memory, here is what the drawers looked like before:

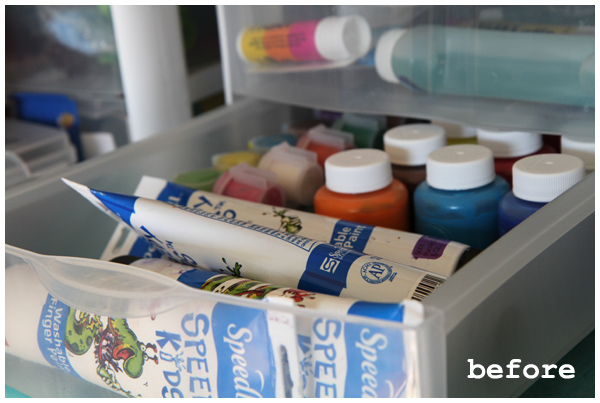
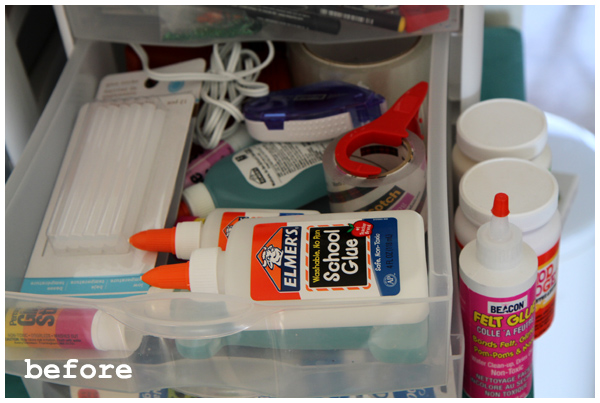
They were (inadvertently) fully accessible to our daughter (who discovered that she could reach the drawers by standing on a chair), yet full of all sorts of messy supplies that we didn’t particularly want her to use entirely by herself like finger-paints and mama’s hot glue gun:

Luckily she always asked before she delved in those drawers, so I don’t have any horror stories to share. Nevertheless I knew the day would come when she explored them entirely on her own, so we had to move the supplies around to get them out of her reach.

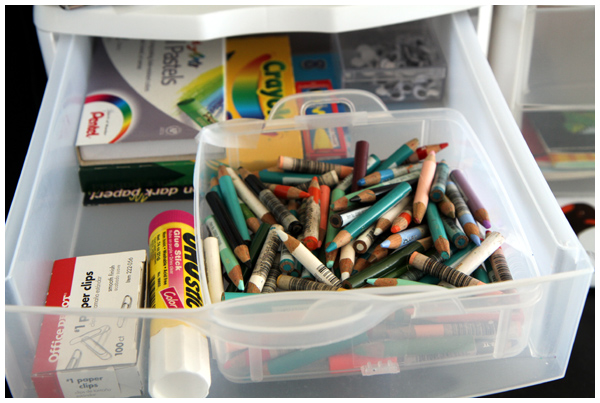
We essentially emptied these drawers, placing those supplies elsewhere (more on that soon!), and filled the drawers up with more age-appropriate supplies.

We also moved the drawers to a more easily accessible location so she can help herself to…


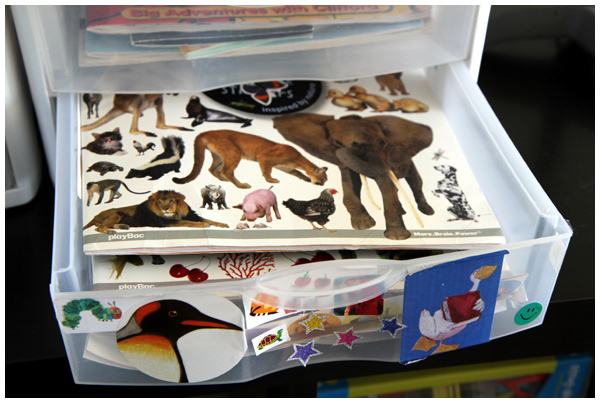
stickers,


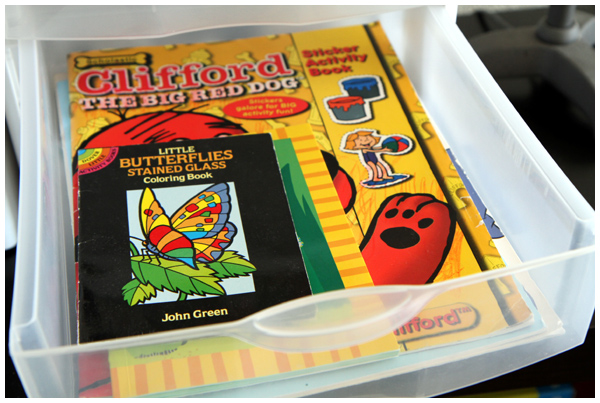
activity books,


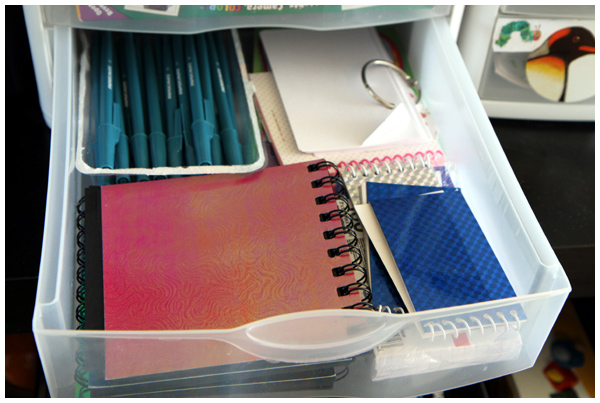
pads and pens (pencils are always accessible, placed out on the table),


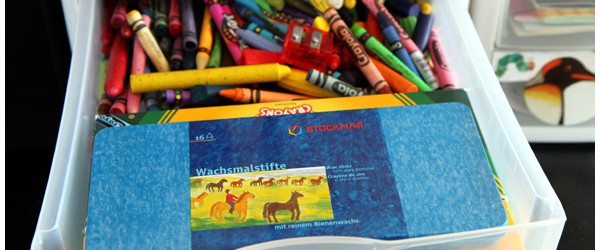
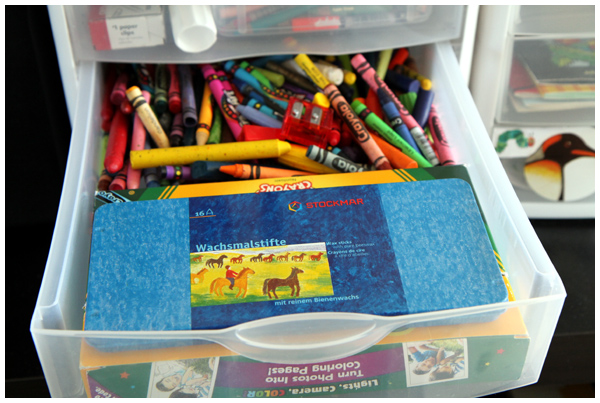
crayons,


and miscellaneous supplies.

We’re very pleased with the results. We have one more drawer to fill and I have yet to tackle the clutter on top of the shelves, but it’s better and supplies that had been forgotten are being used. Success!