The Bobbin Winding Continues

We’ve been hard at work organizing our arts and craft supplies. Today I am focusing on our ongoing attempt at bringing order to our giant stash of embroidery floss.
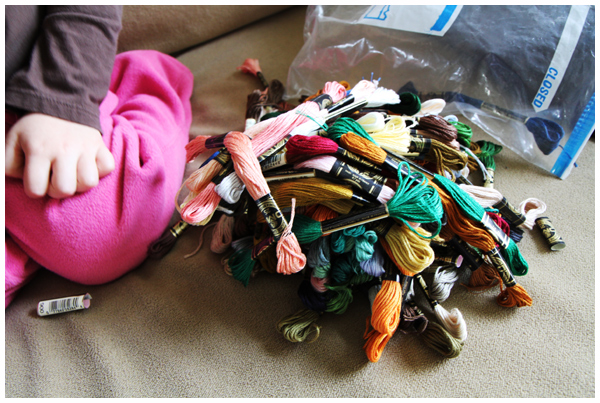
We have been slowly and steadily winding our way through the enormous quantity of embroidery floss that my mother-in-law gave me for Christmas. (Have I mentioned how much I love that my in-laws own an arts supplies store and gallery?!)

Lucky for me, our three-year old daughter loves to help me wind bobbins.
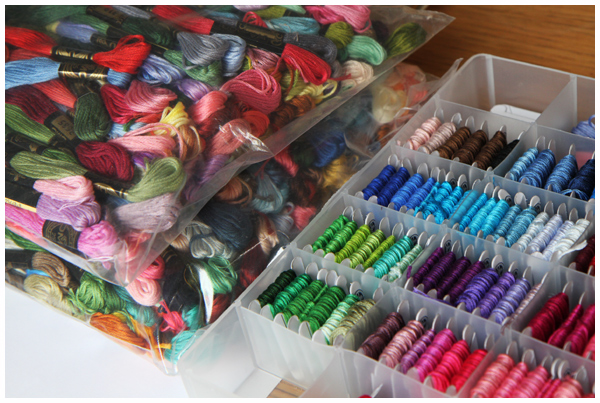
I believe bobbin winding is a great activity to build hand strength. I’ve read about how cutting with scissors helps build hand strength in children, an essential first step towards writing. I believe that bobbin winding also helps with this as well. Both the winding of the handle and the holding of the string helps develop hand dexterity and strength.
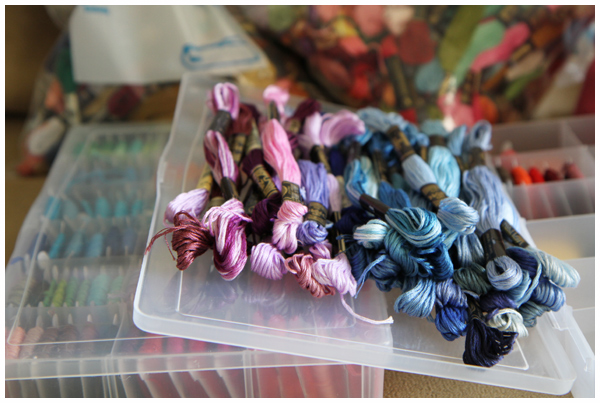
We also added a color lesson to today’s bobbin winding activity. (I love how every day activities can be transformed into learning experiences!) We sorted the strands into piles of different colors:
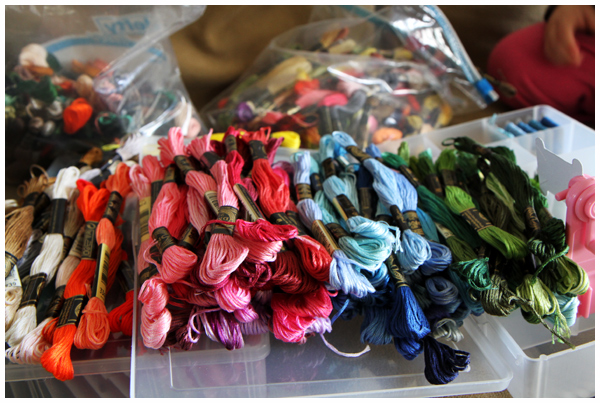
We also giggled when we mixed them up, purposefully placing (throwing!) a pink floss in the blue pile, for example, which sent my daughter into a fit of giggles:
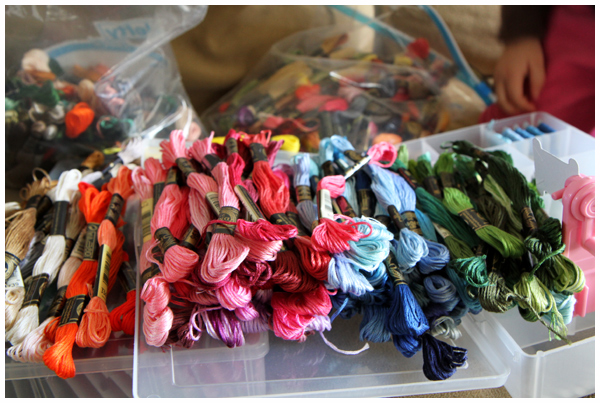
The kid loves adding chaos to my attempt at finding order.
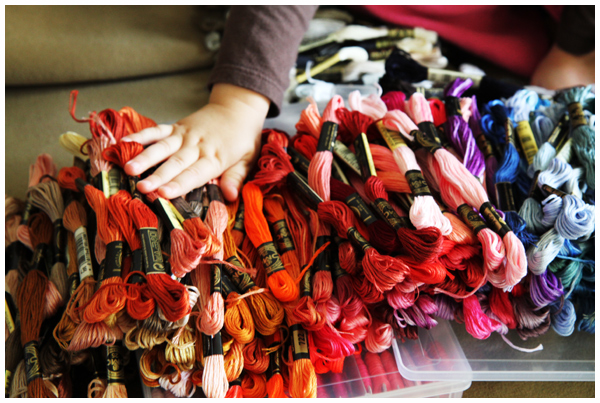
We so enjoy these mama-daughter activities. We’ve found sorting floss and winding bobbins to be a calming, quiet activity to do together.

We only have a couple hundred bobbins to go. Piece of cake! I think it may take us all year.
Arts and Craft Supplies Organization – Paper Storage Inspiration

We’ve been working on organizing our arts and craft supplies. Today I am focusing on different ways to store paper.

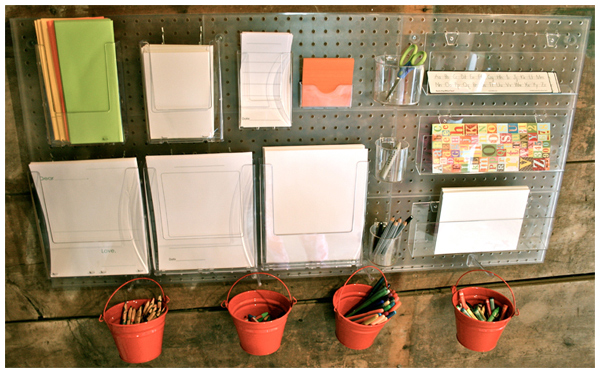
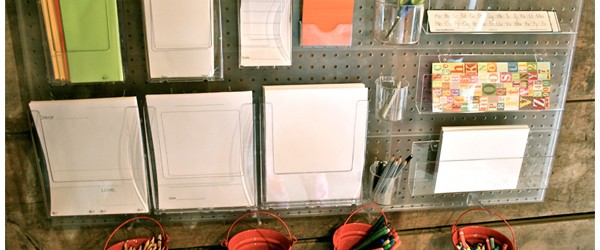
I adore the simplicity and functionality of this writing center, from one of my favorite educational sites Playful Learning:

Everything stored is easy to see and readily accessible!

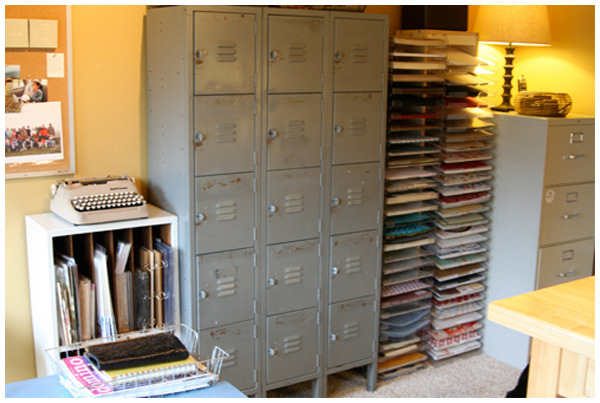
Ali Edwards also has fantastic paper storage ideas in her old studio:

I love the three different types of paper storage shown in the above photograph, but I am not sure that any of them would work for us. I especially like the open paper storage, but I wonder if the paper might get dusty being uncovered in our house.

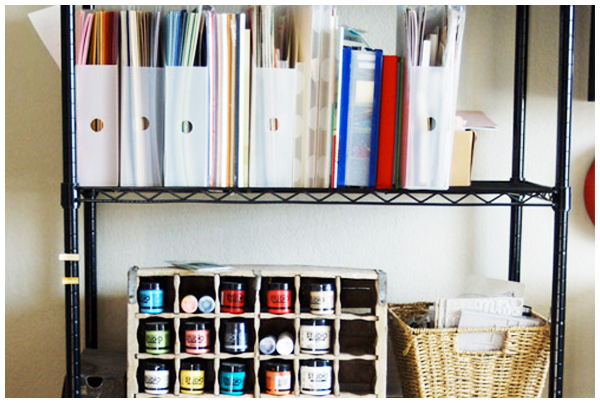
I also like the idea of using clear magazine files to organize paper:

I like how this solution takes up little space and with the clear files it’s easy to see the different papers. My concerns with this solution are that we’d have to keep the files full or the paper might warp, and that the paper may get dusty.

(Clearly, the theme of this post is that I need to dust more frequently.)

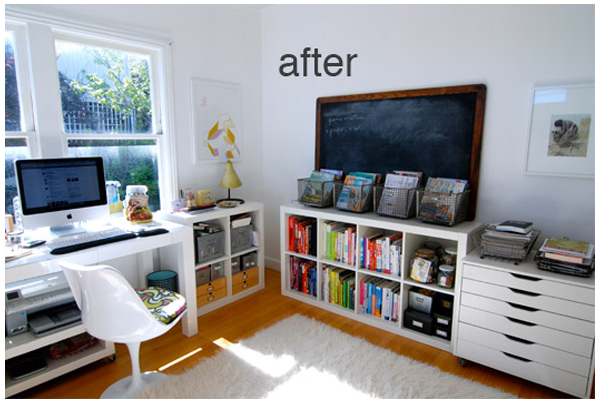
A dust-free solution might involve this IKEA drawer unit shown in Victoria’s beautiful (!) home office all the way on the right:

Unfortunately those drawers would take up space that I’m just not sure we have. Sigh.

What paper storage method are we going to use? I have absolutely no idea! I need to get to the stores and see what inspires me.

I have a sneaking suspicion that I’m going to be reusing the plastic, semi-transparent drawers we already own.

Stay tuned…

Arts and Craft Supplies Organization – Supplies Storage Inspiration

We’ve been working on organizing our arts and craft supplies. Today I am focusing on different ways to store our everyday, frequently used arts and craft supplies.

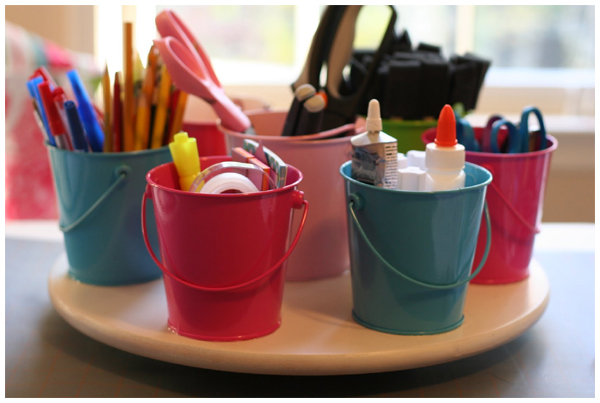
I originally thought we would organize our most frequently used art supplies on a lazy Susan like this one from The Crafters File Box:

Then I remembered that we most frequently make art at the kitchen table where, frankly, there isn’t room for this particular project.

Besides, I want something that I can easily move from the kitchen table for meals.

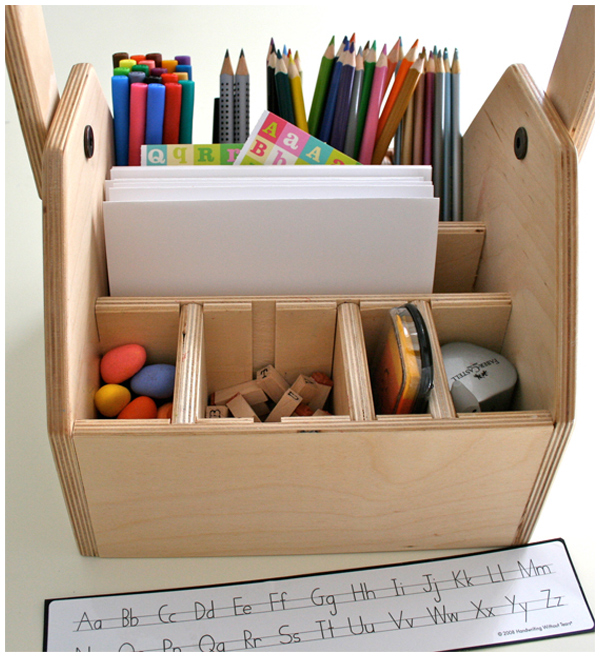
Perhaps something more like this writing caddy from Playful Learning:

I found other similar caddies online at Magic Cabin and Birch Leaf Designs. While I prefer the idea of making one ourselves, I may break down and buy one of these wooden ones.

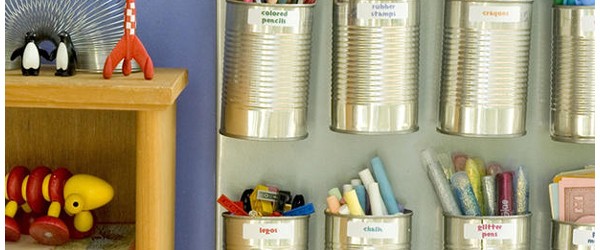
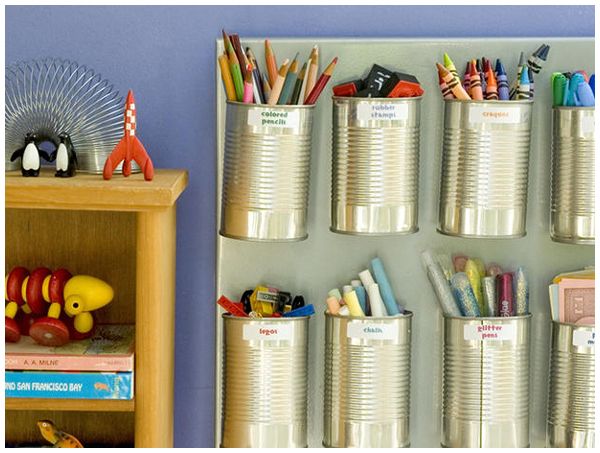
I love the industrial look and thrifty-nature (plus eco-groovy benefit) of reusing aluminium cans to store supplies (though I’m less enamored with storing them against the wall above our kitchen table):

I’ve found that I like the idea of individual bins or compartments for each art medium (pencils, crayons, markers, glue pens). I like the idea of them being adhered to something so they can’t fall over or be easily dumped upside down (ahem).

So my current, do-it-yourself plan is to glue bins (or reuse empty aluminum cans) to a tray that I can easily pick up and move away from the table.

Yes, we won’t be able to swing it around like we could have with a lazy Susan, but reaching over the tray or rotating it ourselves should work just fine for us. We also already have all the art supplies to fill the caddy, so it doesn’t make sense to buy the already outfitted Playful Learning wooden caddy or the smaller wooden ones where our supplies just may not fit.

I’m excited about my plan. Now, to make it…

Crafting Mess

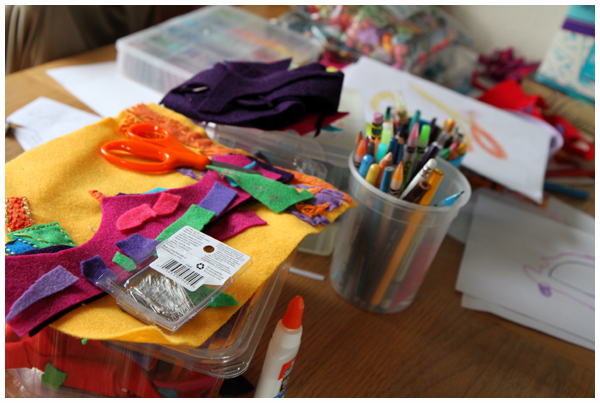
Our kitchen table, after a day full of crafting:

The table, honestly, looks better now than it did a couple of days ago. We’re working on organizing the mess.

No, really.

That table is just the tip of the iceberg.

This is my next house organization project: devising an inexpensive (and hopefully attractive) system to order the craft supplies chaos that is encroaching on the entire house.

You think I’m kidding.

Here are some before shots, with descriptions:


The shelf above our kitchen table complete with cookbooks I haven’t opened in a year and a giant stack of craft supplies (I believe there is more behind the cookbooks). Aside from the cookie cutters, crayons and ribbon that you can easy identify in this picture, I honestly have no idea what’s up there. What a waste of space!


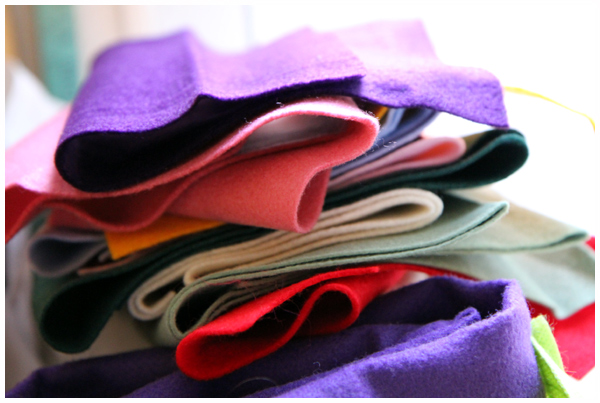
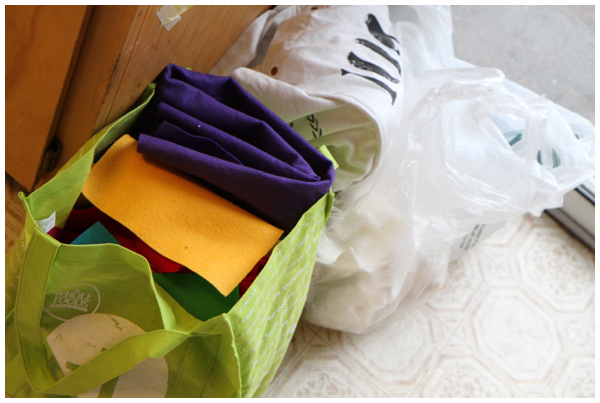
Piles of felt and bags full of stuffing. The top stack of felt, above, I bought from a local crafts resale shop for $1. Yep, I feel pretty good about that purchase. Now, where to store it?!


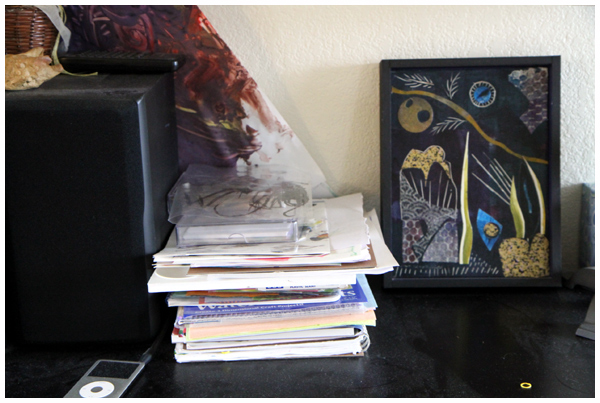
One of several spots where we store different types of paper. A neat stack, yes, but completely inaccessible. And it’s in our living room.


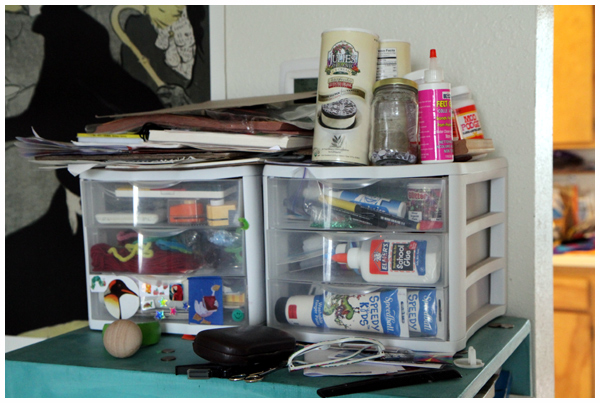
Drawers stuffed to the brim with craft supplies, packed so full that it’s challenging to open and close the drawers, although some are more organized than others. Yes, these drawers are also blocking our thermostat. It’s a disaster. I’ll post more about this soon.


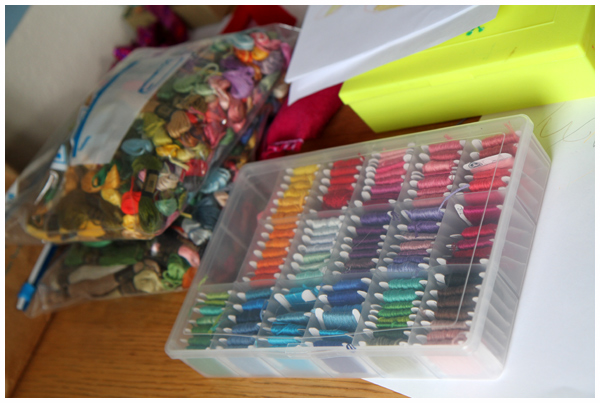
Lots of embroidery floss (thanks to my in-laws for this great present!) in the process of being organized (thank you to my toddler for endless bobbin winding and color organization in the storage box, above!). I honestly feel best about this part of the project because I have a storage plan that’s in progress and it’s a perfect activity while chatting or watching movies (i.e. mindless). Two giant bags of embroidery floss, my, what a project! Want to take dibs on how many floss containers we’re going to need? I’m thinking five.

What’s not pictured: boxes of colored pencils, sticker books, paper dolls, beads, sewing notions, edged scissors, embellishments, stamps, and so many types of paper piles: blank, colored, patterned, textured, watercolor, sketch, etc. Plus we have more boxes buried in the garage that I’d really, really like to dig through, as well as an assortment of craft related books that I need to make more easily accessible.

I think I have my work cut out for me.

Looking Almost as Organized

Time for a pantry update!

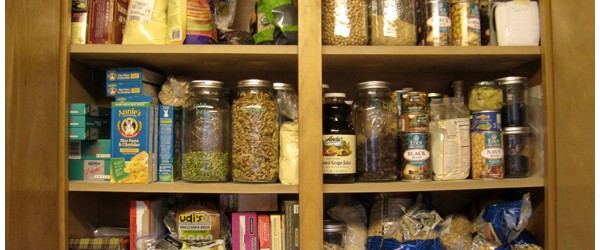
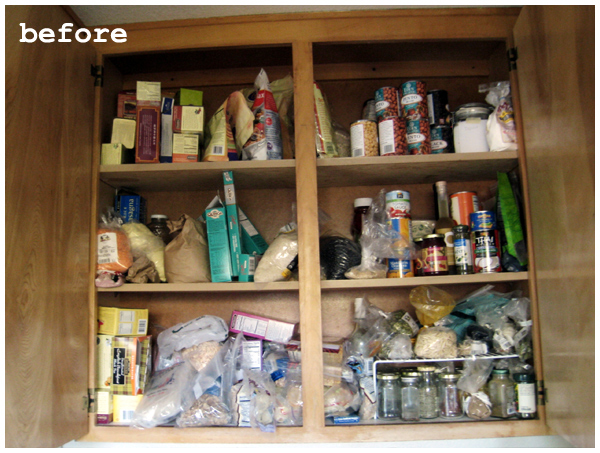
This fall I organized our pantry. To refresh your memory, here’s a shot from back in September before I whipped it into shape:

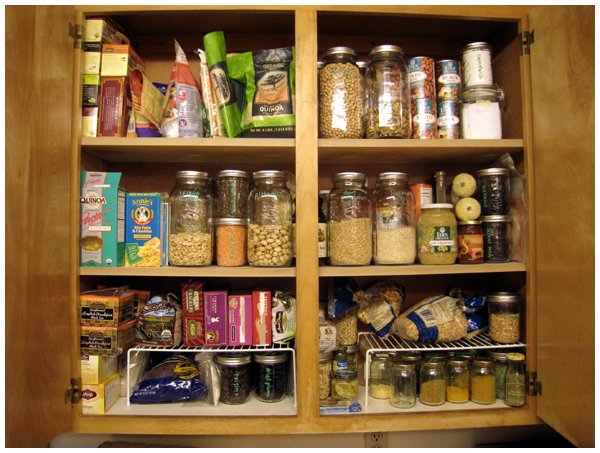
Here’s a view of it immediately after I cleaned and purged the pantry, got rid of the bulk foods baggies by organizing bulk items and spices in to jars, and labeled everything with chalk ink:

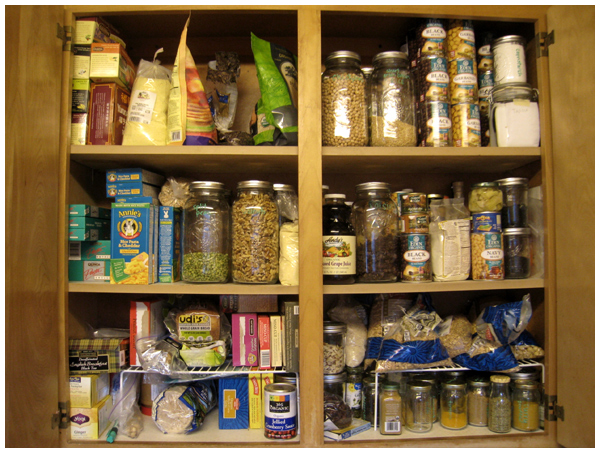
Here it is two months later after a big shop (so stuffed to the brim!) and not too disorganized:

There may be fewer items put in jars and neatly labeled, but overall it’s still organized and I find that finding items remains relatively easy. Success!

I had a feeling that since I promised to show you pictures of the pantry every few months the pressure would be on and I could keep it tidy. :)

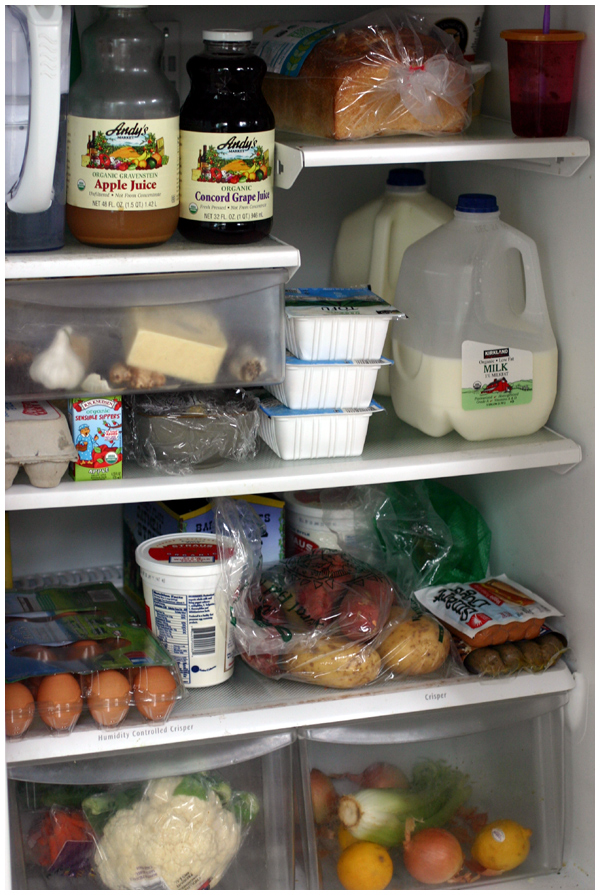
As a bonus to this post, I thought it would be fun to give you a glimpse into our fridge, which truth be told is actually quite organized these days.

Top shelf: water, apple and grape juice, milk, sourdough bread (for David and Miss Leyba), goat cheese (behind) and leftover (really old) smoothie (whoops!).

Second shelf: eggs, juice boxes, leftover polenta, tofu, milk; cheese (blue, Monterrey jack, and cheddar), garlic, and ginger in the cheese drawer.

Third shelf: more eggs, yogurt, potatoes, yams beer (behind, for David), limes (behind, for squeezing into my water), veggie dogs (for David and the peanut; I haven’t been able to find gluten-free ones for me yet).

Crispers drawers: carrots, cauliflower, cucumber, celery, onions, lemons.

Can you tell I visited Costco this week?! (Hence the multitude of (mostly local) dairy products!) I think we’ll have to make a fritata to get through those eggs and I have plans for a veggie intensive cheddar mac and cheese with all that cauliflower (from an article called healthy comfort foods! Bring it!).

Nom nom.

What are your meal plans for the week? I need help. Easy, quick and vegetarian, please.