Learning to Weave

Our daughter recently expressed an interest in learning to weave. (Oh, how we love a new art project!) As a child, I took weaving classes and even owned a full-sized loom on which to practice. I know first hand how good it feels to weave something from scratch!

Daughter learning to weave

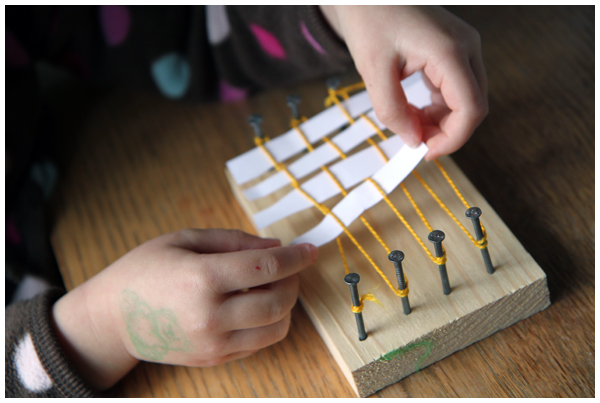
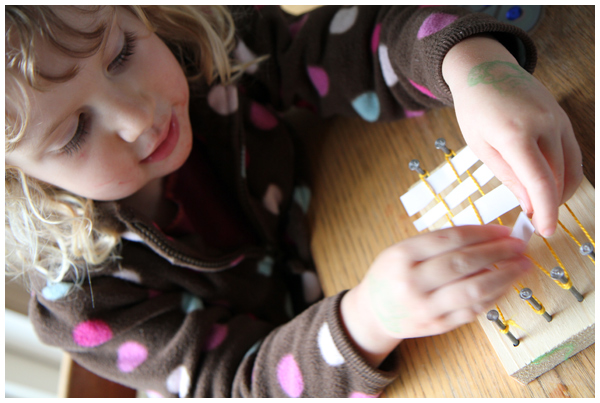
Our daughter first practiced weaving on a little handmade loom (made of nails and wood) using small slips of paper:

Daughter learning to weave

Practicing moving the paper over, under, over, under.

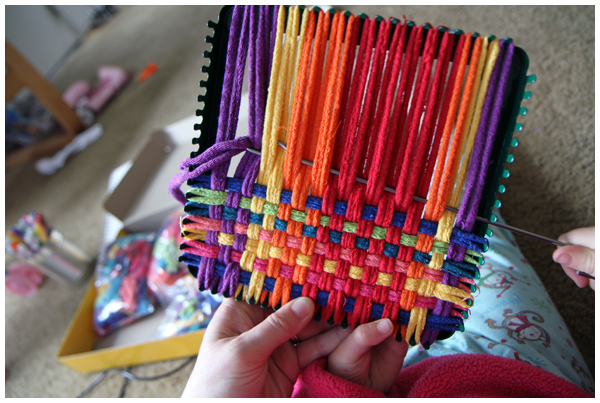
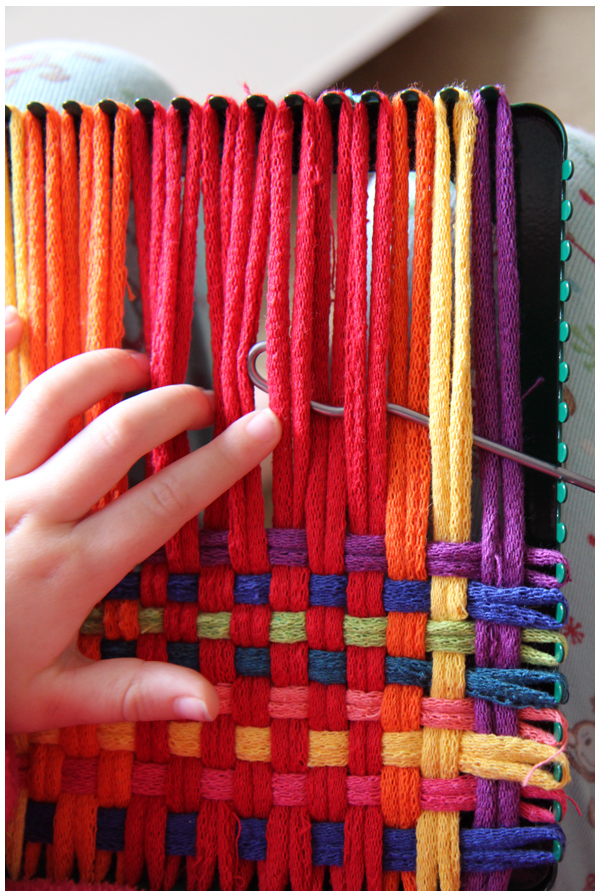
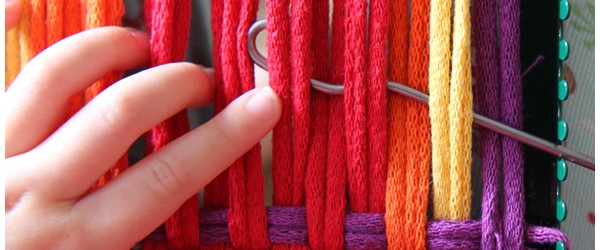
She then graduated to a sturdy metal potholder loom (made in the USA by Harrisville Designs who primarily manufactures full-sized looms). I particularly like this metal loom because the loops stay on the metal hooks, instead of popping off the frame over and over again as they tend to do with plastic or wooden looms.

Daughter learning to weave

Our daughter has been steadily working away on holiday presents for the grandparents. I’ve found we can never start those handmade gifts too early, especially when it takes our four year old several weeks to complete one potholder!

Daughter learning to weave

Next up we’ll weave on a laploom or weaving frame. I have fantasies of owning a table loom (like the one I learned on as a girl!). We may need two though because I’m not sure how we’ll share. ;)
Dreaming of: Bunk Beds

Any time a Land of Nod catalog arrives in the mail, our daughter snatches it up, grabs a pen, and starts circling things that she loves. Her most recent obsession?  Bunk beds.

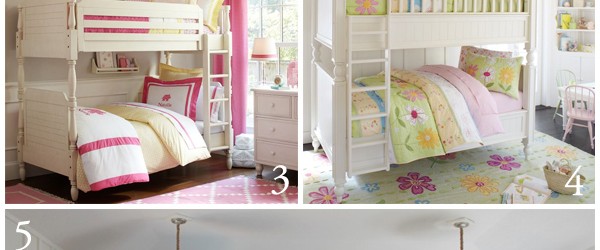
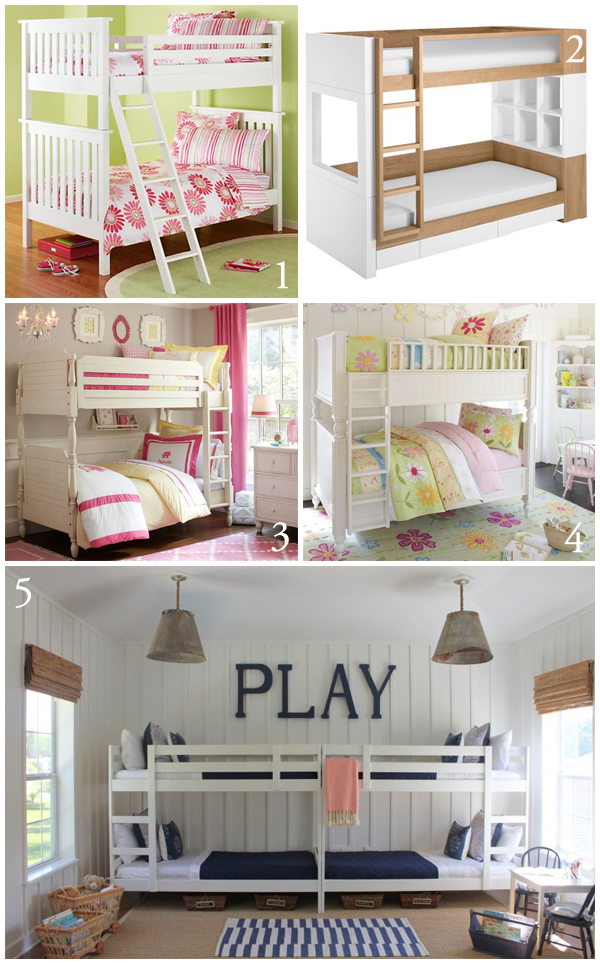
Here’s a round-up of adorable bunk beds from across the internet. As much as we’d love to buy her the Land of Nod bunk beds (#1, below), they’re awfully expensive!

Featured above:
1. The Land of Nod White Simple Bunk — the bed our daughter adores.
2. Layla Grace Duet bunk bed by Nurseryworks — love this one’s modern flare, but not it’s over-the-top price tag.
3. Pottery Barn Kids Caroline Bunk Bed — elegant, sophisticated, and really on sale.
4. Pottery Barn Kids Thomas Bunk Bed — more affordable than the Caroline, above, simple, classic, and on sale.
5. IKEA MYDAL Bunk bed frames that have been painted white (pin) — this budget option may be the best fit for us. We already own no-VOC white paint (left over from the dollhouse!) just waiting to be used. Who knew that affordable IKEA could look so good?! The question is, are they rickety? We’re looking for something stable and safe.

We personally think these built-in bunk beds are the very option of all:


I love everything about that room!

I Heart My Electric Pressure Cooker

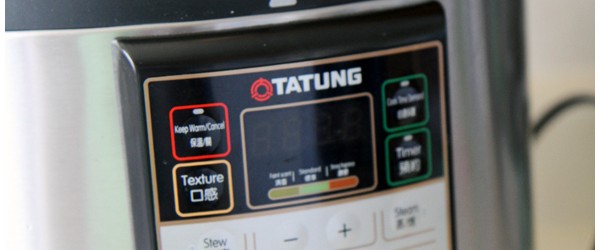
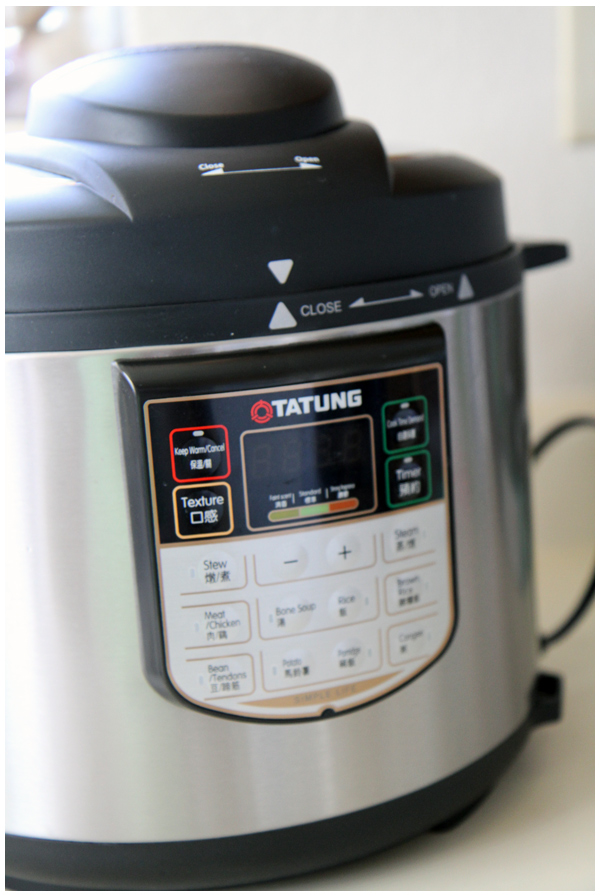
David gave me an electric pressure cooker for Christmas this year. At first I was skeptical. After all, I really wanted a rice cooker. In the past week I’ve finally learned how to use the darn thing and I’ve discovered that what I really wanted all along was a pressure cooker. True to form, David realized it long before I did.

electric pressure cooker

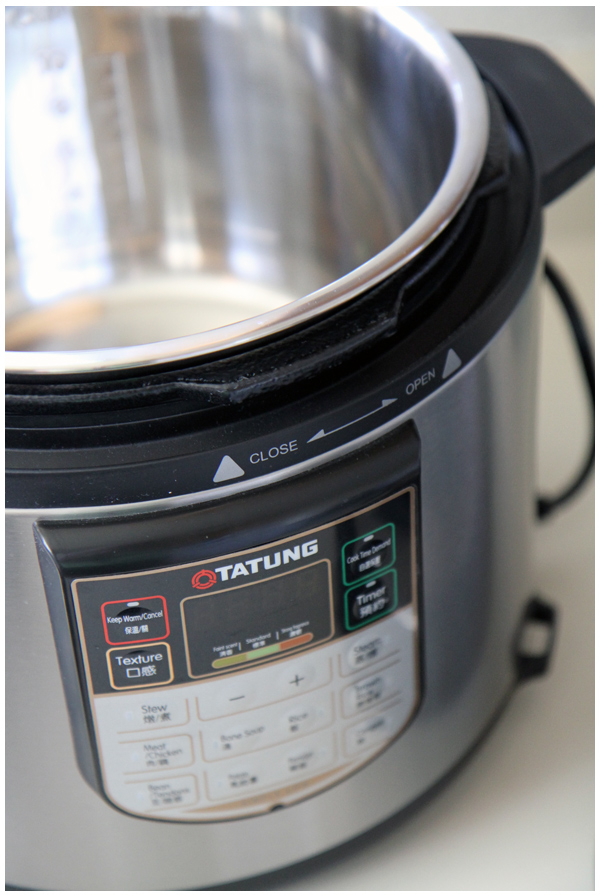
You see, modern pressure cookers are so easy to use and the particular one that David bought contains a stainless steel insert (so no nonstick coating touches our food!).

electric pressure cooker

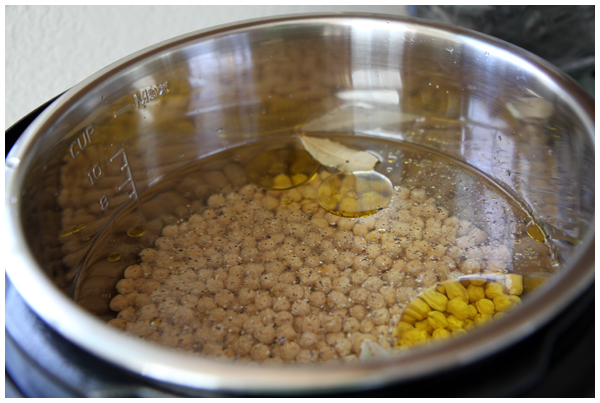
I can make chickpeas, black beans, brown rice, etc, with the push of a button. No need to soak the beans beforehand or keep an eye on the stove. I simply put the ingredients in the pressure cooker, plug it in, pick a setting with the push of a button, and about an hour later a weeks worth of beans are fully cooked and being kept warm, ready to be devoured.

Exactly how did I prepare meals before this?!

electric pressure cooker

It’s so easy! Plus, we’re saving quite a bit of money making our own beans instead of going through cans of them each week.

This pressure cooker is my new favorite kitchen tool. Thank you, David. I’m sorry it’s taken me three months to use it finally. I really love it now.

Dying Eggs Naturally

The winter rains have finally arrived to Sonoma County, yet the former East Coaster in me can’t help but feel that Spring is really here each time we don our rain gear and head out into the March rains. Our garden is in heaven!

This past week we’ve been busy with Spring crafts, blowing out eggs, and dying them with ingredients found in our kitchen. We’ve found natural-egg dying to be incredibly easy and fun, thanks in large part to this excellent list of all-natural Easter egg dye recipes from Better Homes and Gardens (pinned here on Pinterest).

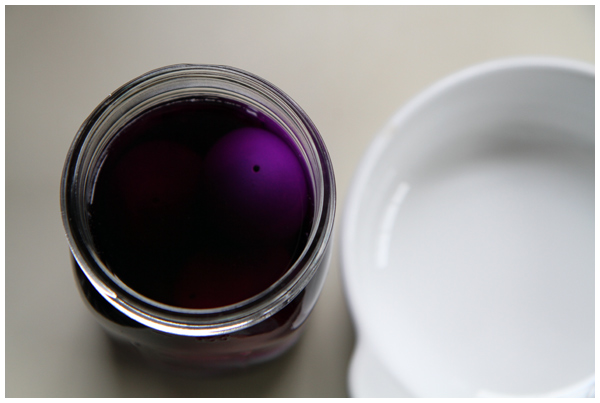
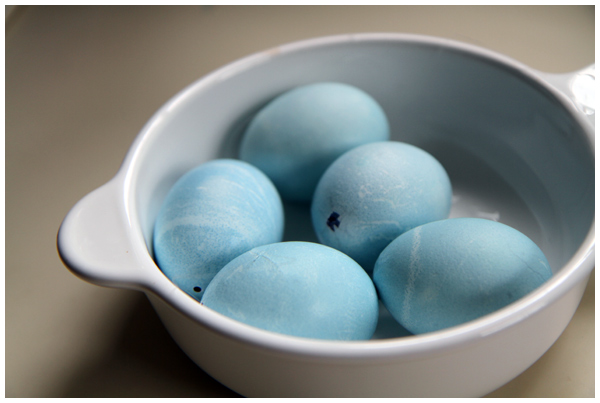
Our favorite and most vivid dye so far? Cabbage!

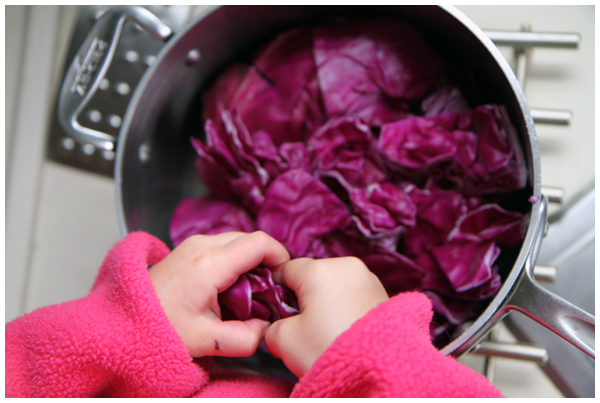
Preparing cabbage Easter egg dye
Dying eggs naturally with ingredients from your kitchen

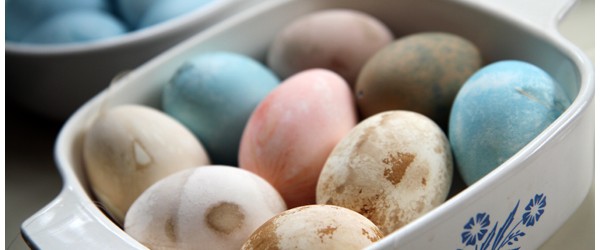
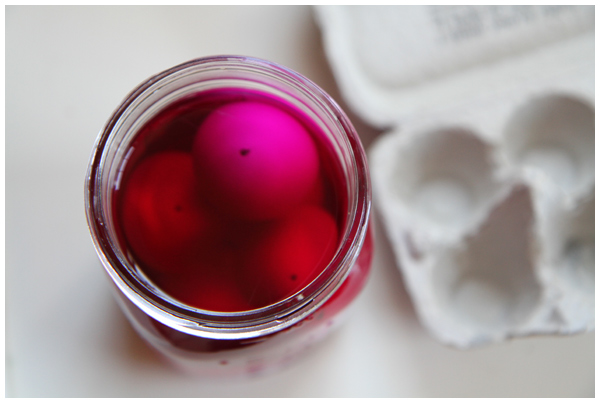
From the color of the dye you might expect bright red or purple colored eggs, yet red cabbage makes for the most beautiful light blue eggs instead. (Such a fun Everyday Learning project for the kids! We’re all about science in the kitchen.)

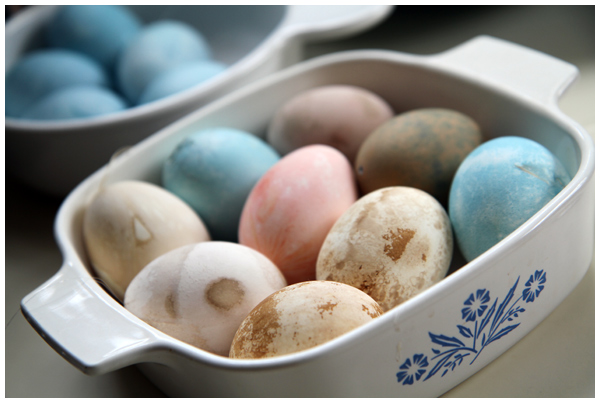
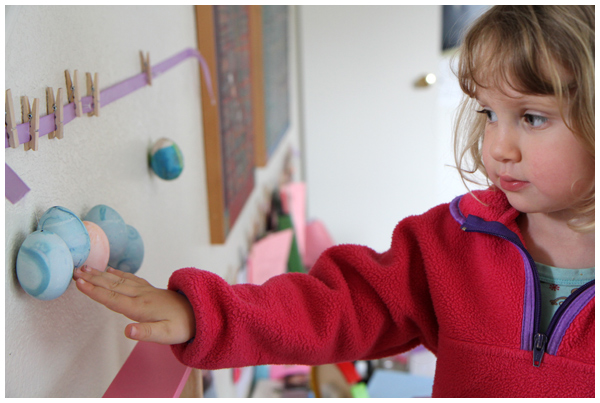
While the eggs dyed with cabbage and saffron were vivid, the other ones we tried (tea, beets, and paprika) were less successful:

Dying eggs naturally with ingredients from your kitchen

I’m still hoping to try yellow and red onion skins (for orange and jade green eggs, respectively), and grape juice to make some lavender colored ones.

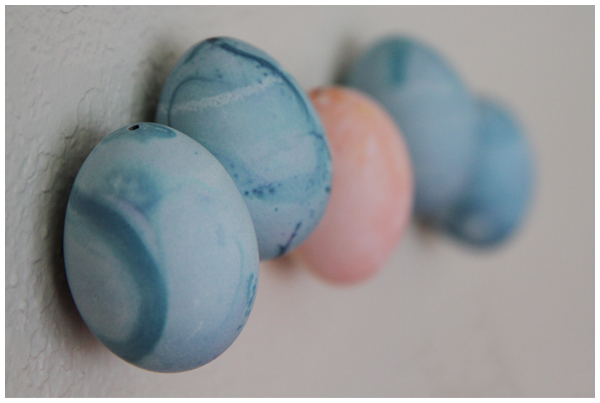
In the mean time, look at this fine little row of eggs:

Dying eggs naturally with ingredients from your kitchen

Hands on learning is such fun!

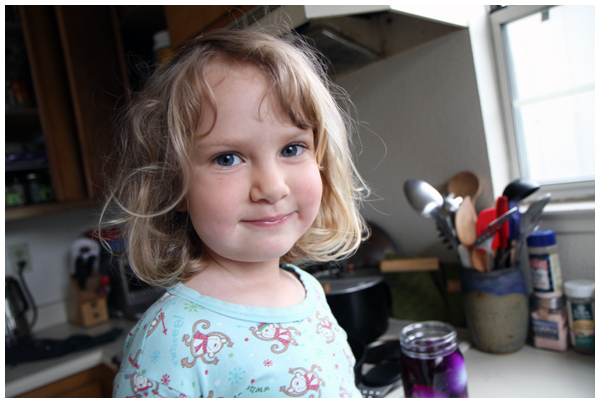
Happy girl -- dying eggs is fun!

Especially when we get to spend a rainy day at home in our pajamas doing art projects in the kitchen.

Happy Spring!

A Quick and Easy Way to Blow Out Eggs

With the Spring Equinox upon us, we’ve been busy preparing for the plethora of Spring Holidays!

Blowing out Easter eggs

My friend Dorothee (who owns the wonderful German kids accessories shop, Sofee and Lenee!) showed us an easy way to blow out Easter eggs using an unexpected tool that most parents have in the house: a bulb syringe (or nasal) aspirator.

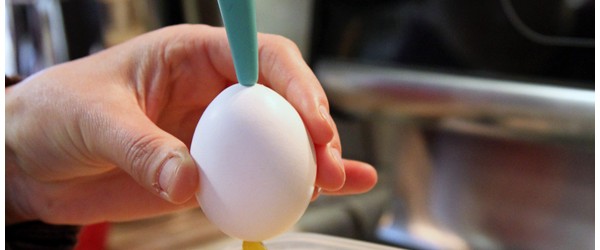
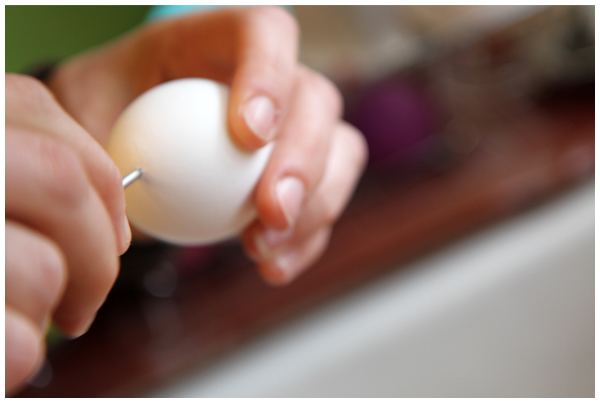
To blow out eggs, Dorothee first pricked the egg on the top and bottom (she used a tool from Germany, similar to this egg piercer, but I’ve heard you can do this with a needle, metal skewer or push-pin). Dorothee enlarged each hole using a metal skewer, making one of the holes particularly large so that the yolk could smoothly pass through.

Blowing out Easter eggs

She then grabbed the aspirator (left over from when her girls were babies!) and pressed it firmly against the uppermost (smaller) hole and gently blew air into the egg. The egg contents then dropped through the larger hole at the bottom into a bowl below. After several squeezes the egg was empty and could be washed out and dried.

Blowing out Easter eggs

I particularly love this tip because most families have an aspirator lying around, gathering dust once the babies grow up. Instead of taking up valuable space in the medicine cabinet, we can use our aspirator for perpetuity in blowing out eggs. (Once used in the kitchen, I have a feeling it needs to stay in the kitchen).

After you’ve blown out eggs, color them using all-natural dyes! (More on THAT later in the week!) Such a perfect activity for Spring.