Heart Shaped Oatmeal Raisin Cookies with a Chocolate Surprise

We hope you have a wonderful day full of love! In our house, we’re appreciating friends, family, and good food today!

Yes, I anticipate there will be chocolate involved.

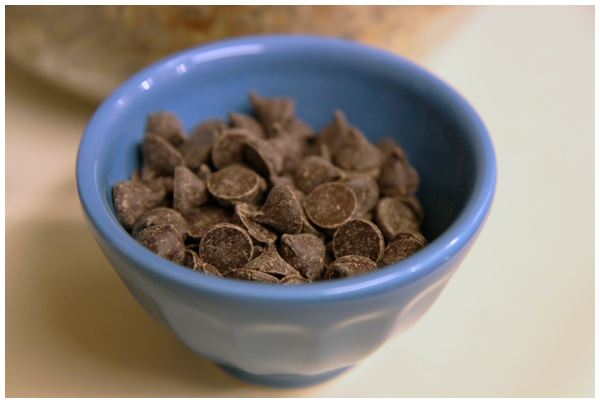
Dark chocolate chips in a blue Anthropologie Mini Latte Bowl

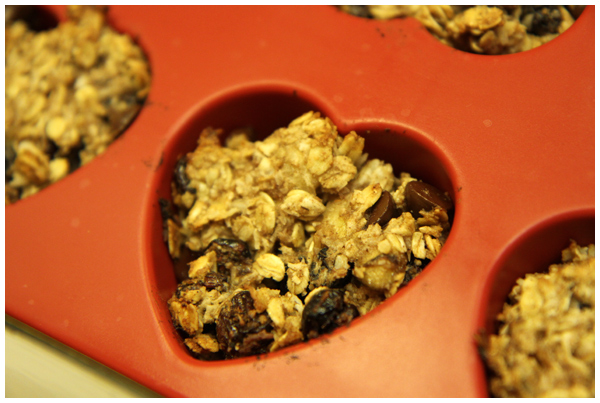
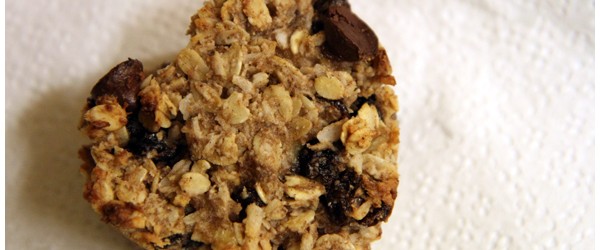
To make these gluten-free oatmeal raisin cookies, we dressed up this fabulous healthy cookie recipe (pin) (containing no gluten, processed sugar, butter or egg) with dark chocolate chips and baked it in a heart shaped silicone pan.

Heart shaped cookies

We doubled the amount of almond flour (by grinding whole almonds in 15 second increments in our Vitamix blender) to add a bit more protein to offset the added sugar in the chocolate chips.

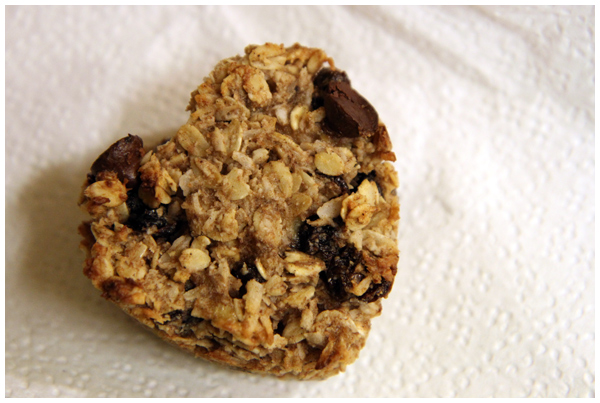
Heart Shaped Oatmeal Raisin Cookies with a Chocolate Suprise

Indulgent, but not too indulgent…

Oatmeal Raisin Chocolate Chip Cookies

Ingredients:
1 1/2 cups gluten-free rolled oats
1 cup shredded coconut
1/2 cup of almond meal
1 cup dried fruit (we used 3/4 cup raisins and 1/4 cup dried cranberries)
1/2 teaspoon salt
1 teaspoon cinnamon
1/2 teaspoon allspice

3 ripe bananas
1/4 cup canola oil
1 teaspoon vanilla extract

3 oz chocolate chips

Preheat oven to 350 degrees Fahrenheit. If you are using a baking sheet, line it with parchment paper; otherwise, grab your silicone baking mold and place it within an easy reach.

In a large bowl, combine oats, coconut, and almond meal. Add salt, cinnamon, and allspice and stir until evenly mixed. Add dried fruit and stir until well combined, checking to ensure that the dried fruit does not stick together in big clumps.

In another bowl, mash bananas with the back of a fork, then add canola oil and vanilla extract; thoroughly mix. Mix the wet ingredients into the dry ingredients, then add the chocolate chips and thoroughly combine.

Press the batter into the silicone mold or place spoonfuls of batter on a cookie sheet. Bake for about 20 minutes or until edges are golden brown. Cool and then enjoy!

Have any left over? Save them for the next morning. We really like eating these cookies for breakfast! They taste better and are more healthy than grabbing a granola bar on your way out the door.

Happy Valentine’s Day!
Postcards from Monterey

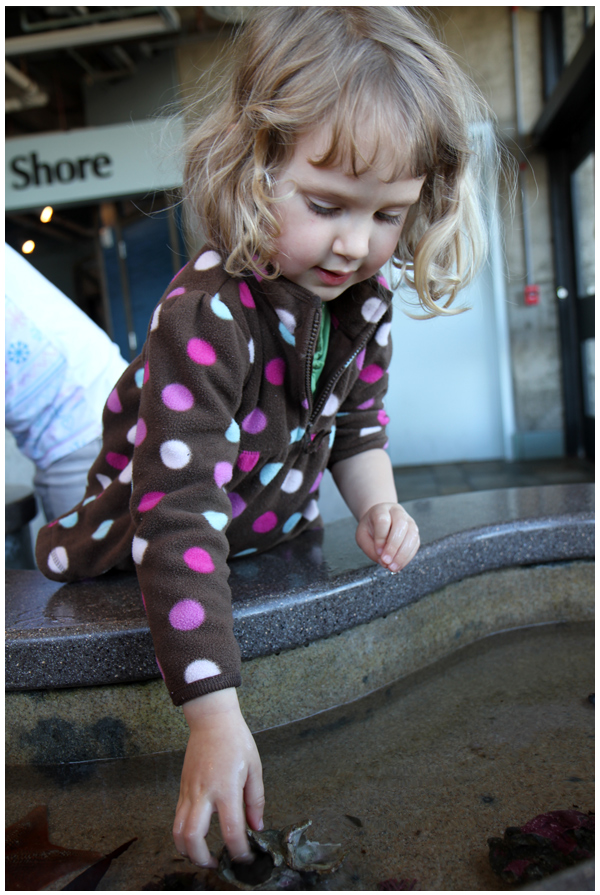
My parents are visiting us from the East Coast, so this past week we headed south to Carmel, Pacific Grove, Monterey, and Moss Landing. We greatly enjoyed our wildlife encounters at the Monterey Bay Aquarium, and in the Elkhorn Slough and Pacific Grove Monarch Sanctuary:

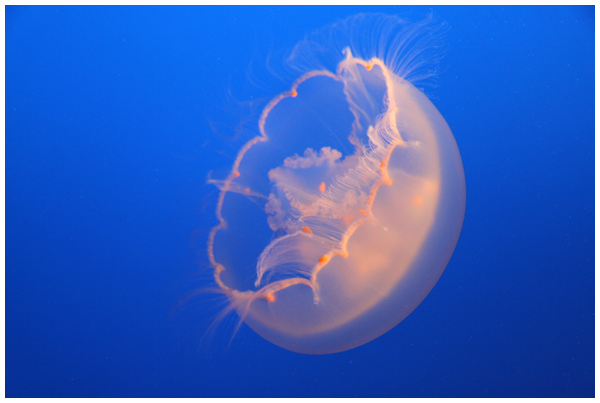
Jelly Fish at the Monterey Bay Aquarium
Monterey Bay Aquarium
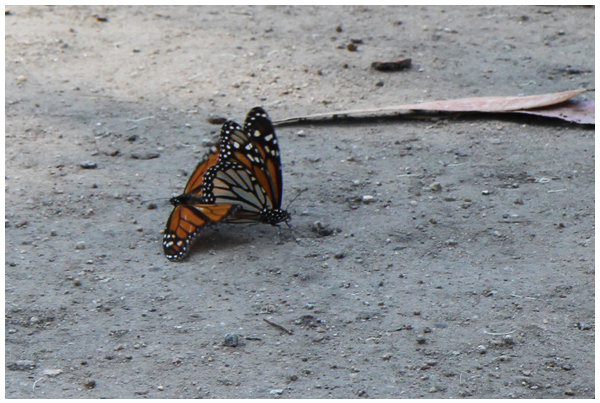
Coupling monarch butterflies in Pacific Grove
Elkhorn Slough Nature Tour
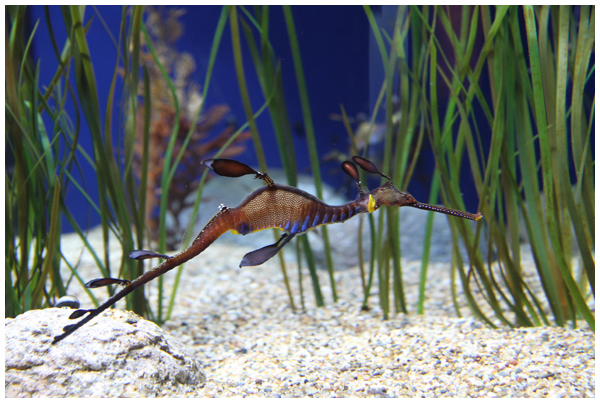
Seahorses at the Monterey Bay Aquarium
Jelly Fish at the Monterey Bay Aquarium
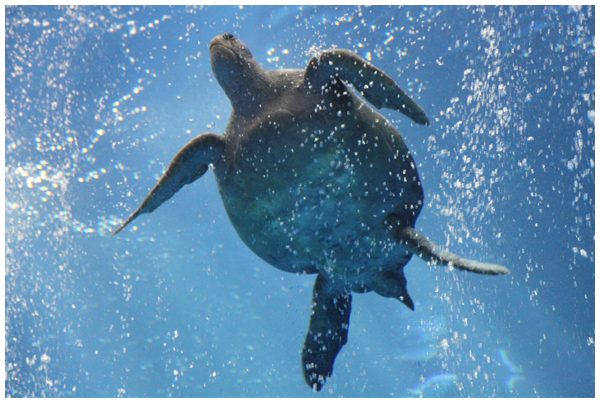
Sea Turtles at the Monterey Bay Aquarium
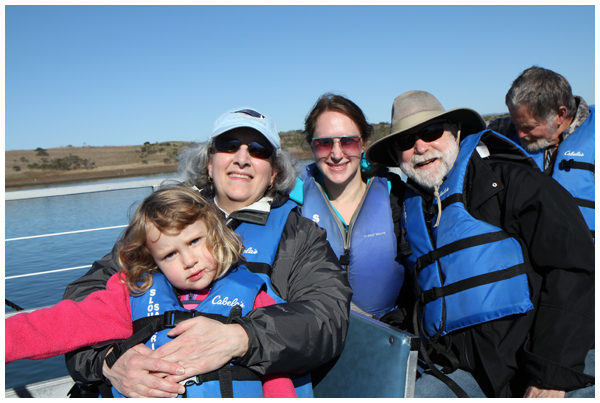
Family photo on Elkhorn Slough Nature Tour

We so love living here in Northern California!

Click here to see more photos from our trip.

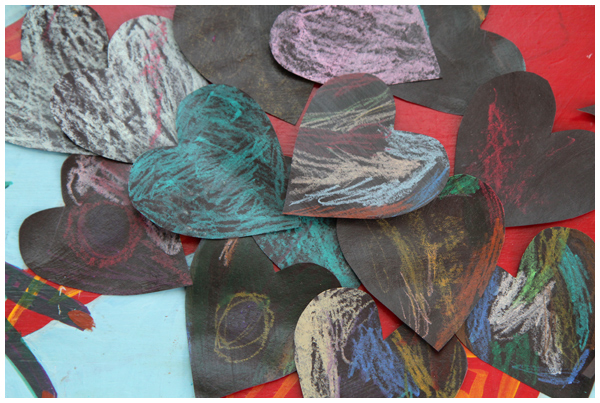
Black Paper Pastel Hearts for Valentine’s Day

Here’s a simple project that can easily be adapted depending on the amount of time you have (more on that at the end of my post!).

Black Paper Pastel Hearts for Valentine's Day

We had such fun making our Valentine’s Day hearts!

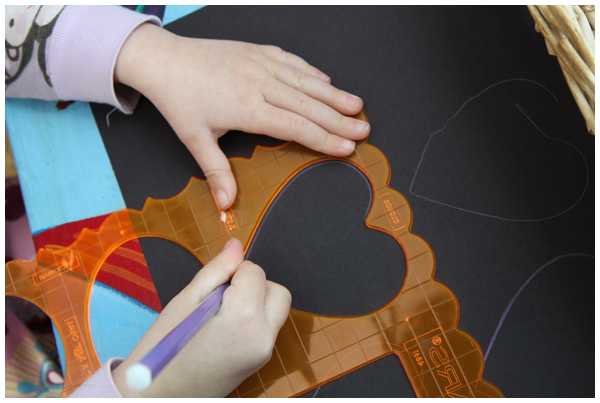
First we used colored pencils and a heart-shaped stencil to trace hearts on to black construction paper:

Black Paper Pastel Hearts for Valentine's Day

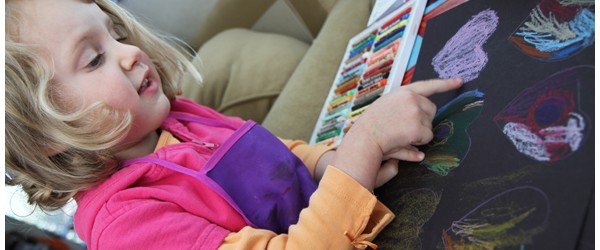
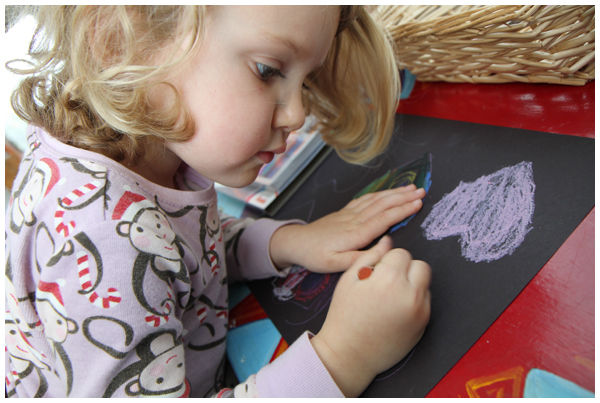
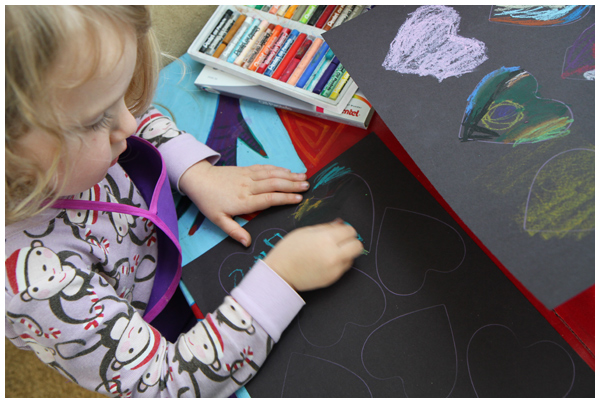
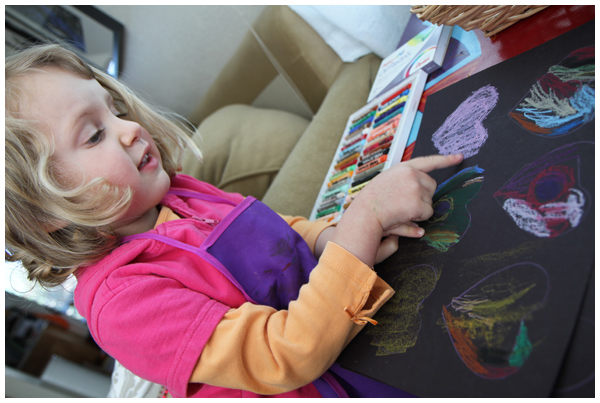
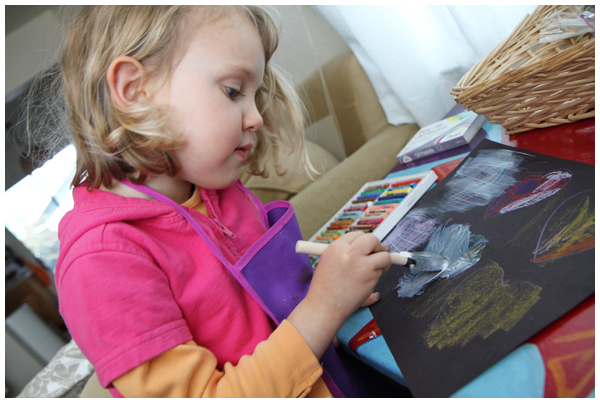
Our daughter then colored each of the hearts with pastels:

Black Paper Pastel Hearts for Valentine's Day

We applied a thin coat of Mod Podge to seal the pastels and give a sheen to the paper:

Black Paper Pastel Hearts for Valentine's Day

After the paper dried, we cut out the hearts and wrote messages in metallic gel pens on the opposite sides:

Black Paper Pastel Hearts for Valentine's Day

Here’s a tip if you don’t want do deal with the extra step of Mod Podging your project:
Use colored pencils, crayons, or gel markers instead of pastels to color your hearts! Since they don’t rub off, you don’t need to seal them.

A quick and easy alternative with the same colorful, fun results.

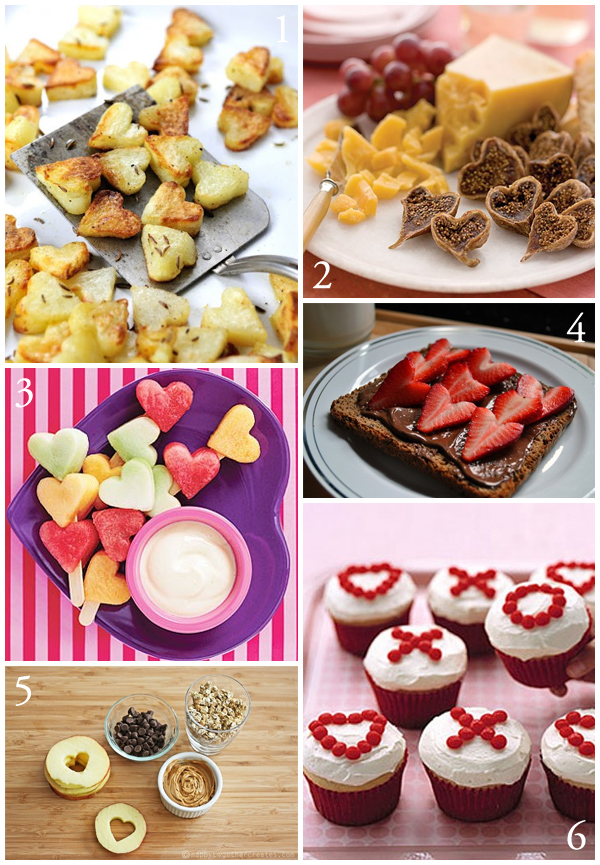
Tasty and Easy Valentine’s Day Food Ideas

I have a quick and fun Valentine’s Day craft to share with you tomorrow (stay tuned!), but first here are some easy to make love-related, mostly-healthy food pins from my Valentine’s Holiday Fun board over at Pinterest.

Featured above:
1. Roasted Potatoes for Valentine’s Day (pin/source)
2. Calimyrna Fig Hearts (pin/source)
3. Fruity Valentine heart kabobs (pin/source)
4. Heart Strawberries on Toast (pin/source)
5. Hearts in an Apple Sandwich (pin/source)
6. Simple XO Cupcakes (pin/source)

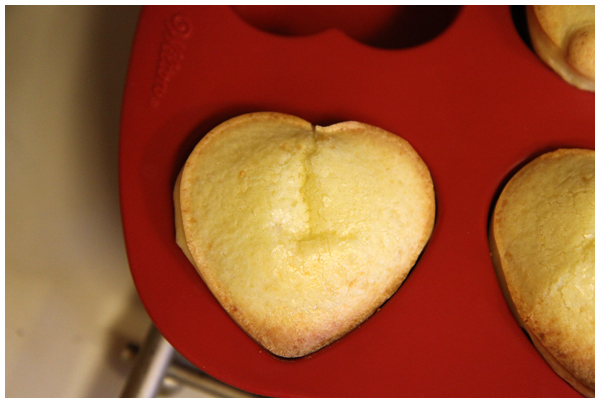
We are particularly fond of making ordinary cookies, muffins or breads (like the Brazilian Cheese Bread shown below) in heart shaped silicone baking molds (we own this one):

Heart shaped Brazilian Cheese Bread for Valentine's Day

Also, be sure to see my list of kid-friendly Valentine’s Day craft activities for hours of entertainment.

View these and many more fun Valentine’s activities, gifts and recipes on my Valentine’s Holiday Fun Pinterest board.

(images obtained via Pinterest)

DIY Photo Decoupage Platter

The round-up of decorations from this year’s birthday extravaganza continues. To see all the birthday party posts, please click here.

DIY Photo Memory Decoupage Platter

Growing up, the Spritzer family had a special glass platter (with etched hearts!) that came out for birthday celebrations. My daughter and I thought it would be fun to recreate this tradition, while adding a Creative Salad twist to make it our own.

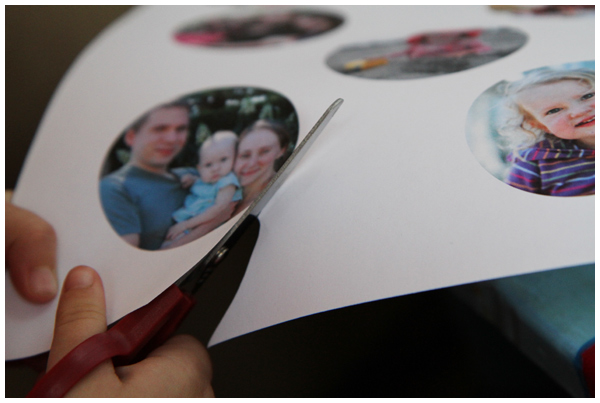
First we cut out some of our favorite family photos that we had printed on plain white paper:

Kid using scissors to cut out circular family photos

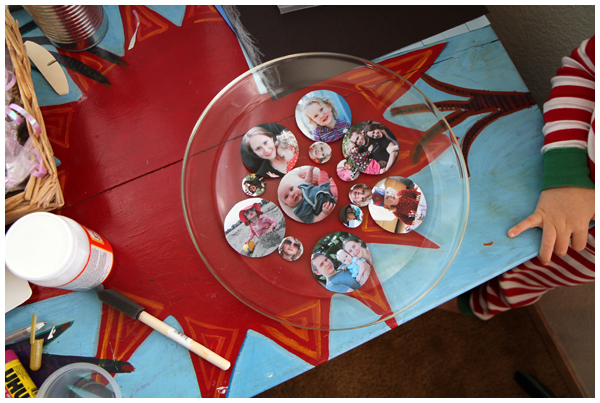
We played with the layout of the photos until our daughter found an arrangement she fancied:

DIY Photo Memory Decoupage Platter

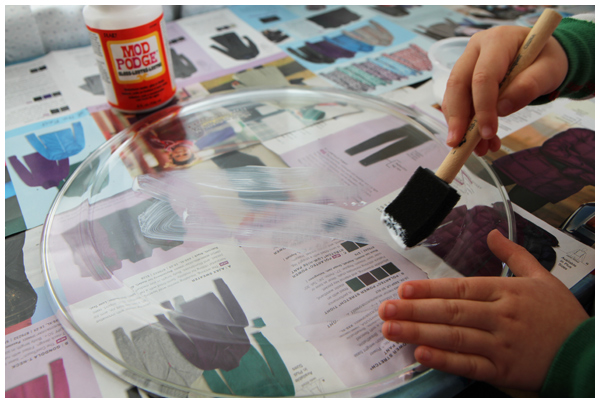
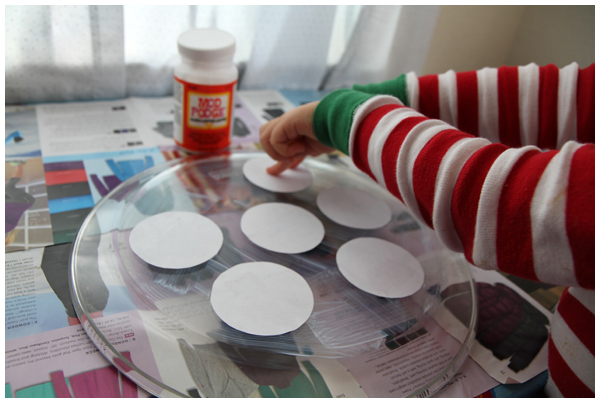
We adhered the photos with Mod Podge on to the underside of a circular, glass Pyrex platter that we found at our local thrift store:

DIY Photo Memory Decoupage Platter

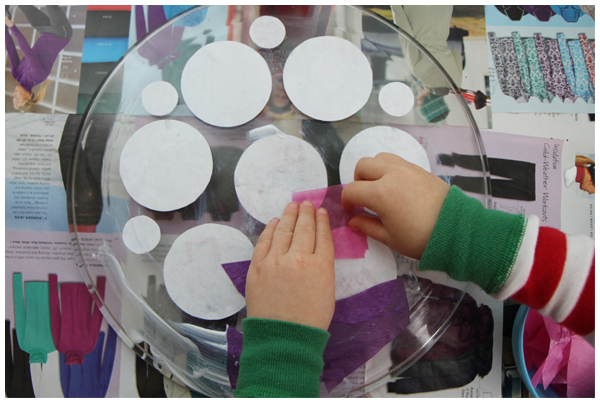
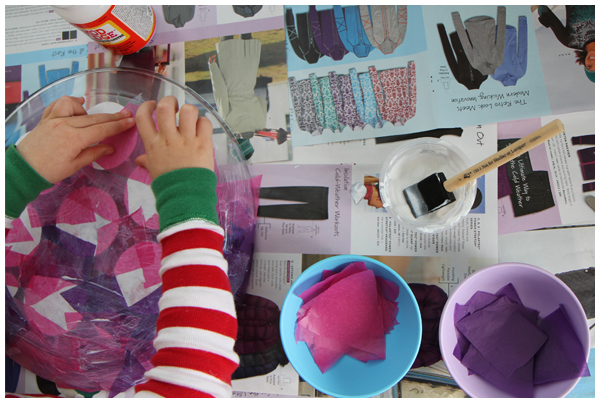
Then we glued small pieces of brightly colored tissue paper on top of the photo layer:

DIY Photo Memory Decoupage Platter

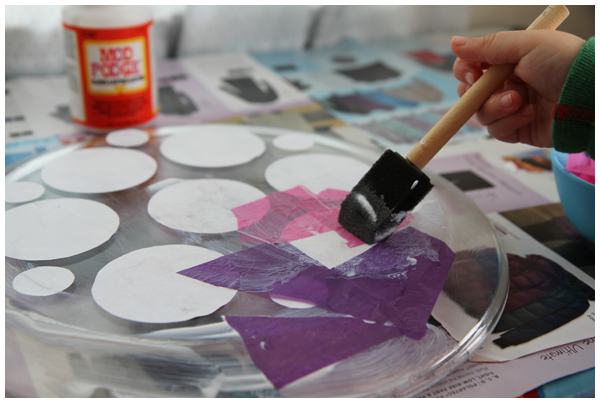
As we placed the pieces of tissue paper, we brushed glue on top to smooth and adhere the paper:

DIY Photo Memory Decoupage Platter

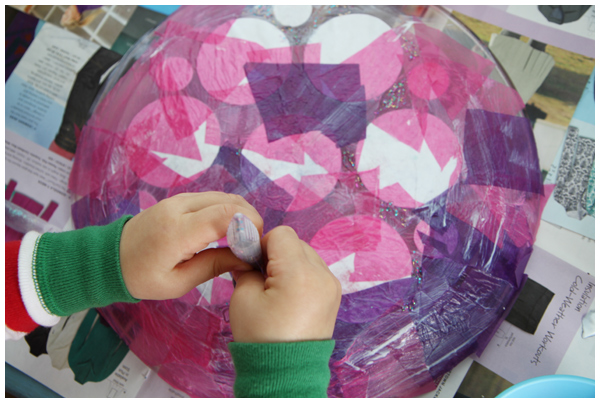
We added glitter glue before adding another layer of colored tissue paper:

DIY Photo Memory Decoupage Platter

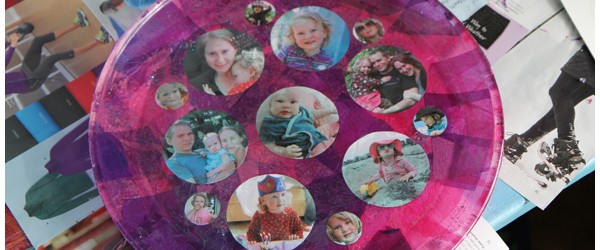
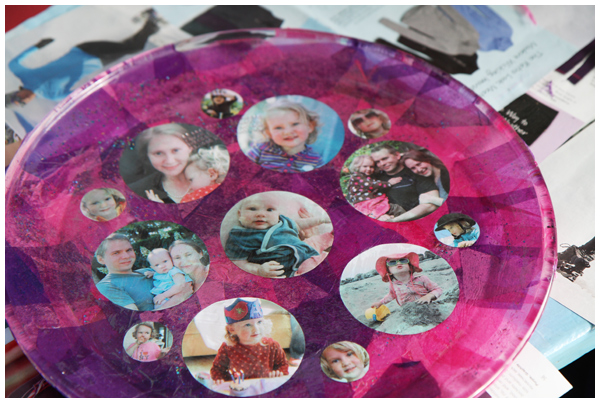
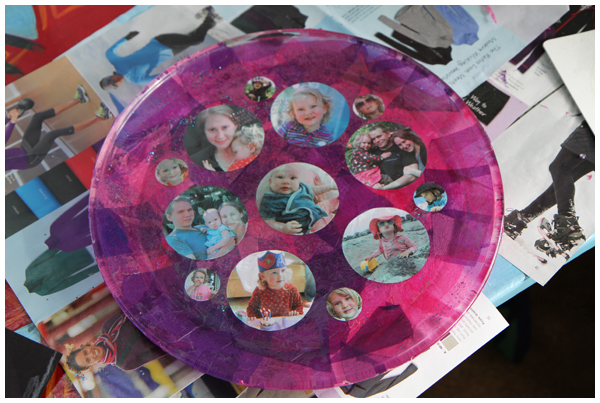
Then we sealed the paper side of the platter with several more coats of Mod Podge, being careful not to get any glue on the front side of the platter. Here’s how our birthday platter turned out:

DIY Photo Memory Decoupage Platter

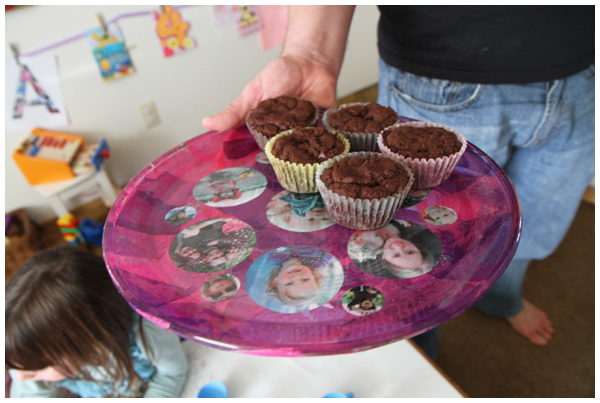
Festive, personalized, and very fun!

DIY Photo Memory Decoupage Platter

A special birthday treat.