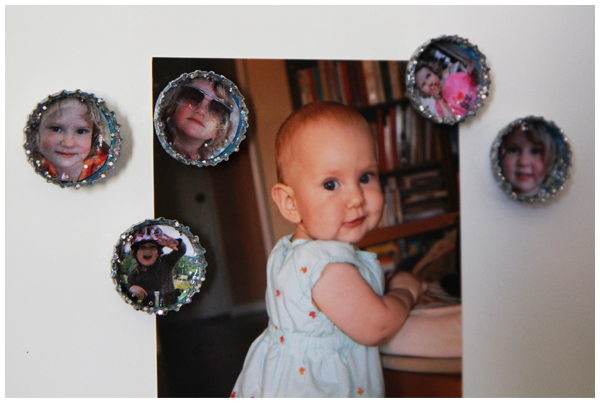
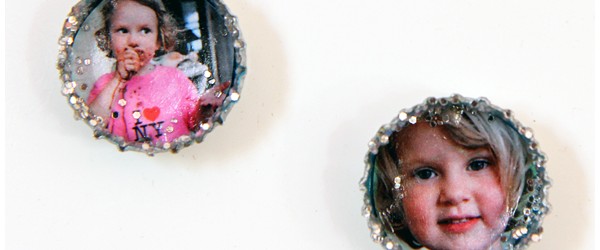
Picture Bottle-Cap Magnets

Making these bottle-cap magnets turned out to be one of the most fun and rewarding projects that my daughter and I have done together — right up there with our felt salad, toddler art napkins, and favorite book character magnets that we use every day!

Picture Bottle-Cap Magnets Tutorial

The idea for making glittered bottle-cap magnets came from Anna Getty’s book, I’m Dreaming of a Green Christmas: Gifts, Decorations, and Recipes that Use Less and Mean More. By adding our daughter’s photo to the magnets, we’ve made a great holiday present for family. (Boy did I blow the surprise by posting this!)

Note: this project involves several layers of paint and glue, so you’ll need to allow several days to complete in order for each layer to fully dry between steps.

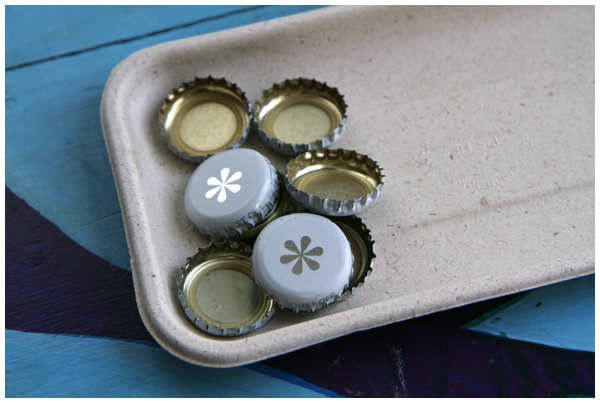
We started by gathering twist-off bottle caps. Since we rarely drink anything but water, milk or coconut water it took us several months to gather this meager collection of seven twist-off bottle tops:

Picture Bottle-Cap Magnets Tutorial

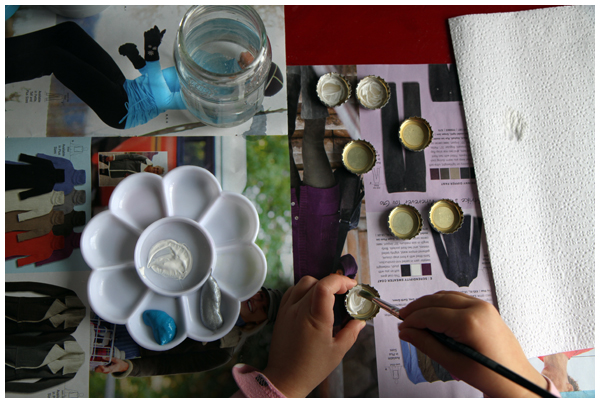
We painted the bottle caps with white, blue and silver paint and let them fully dry:

Picture Bottle-Cap Magnets Tutorial

After selecting favorite photos of our daughter, we used Photoshop to make photos with a 1 inch diameter circle around her face:

Picture Bottle-Cap Magnets Tutorial

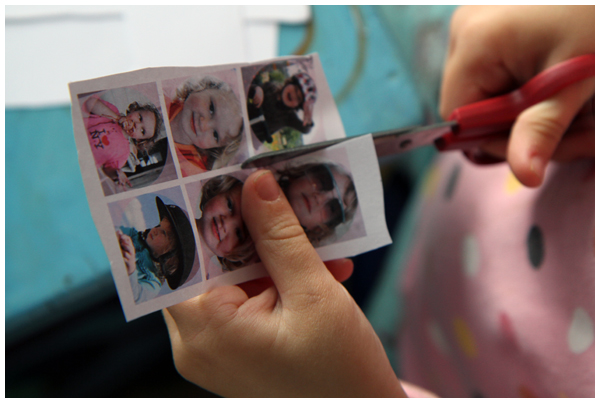
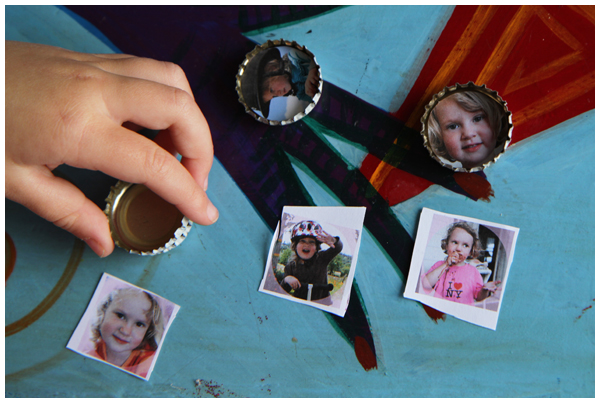
We printed the photos and cut them out to fit in the bottle caps:

Picture Bottle-Cap Magnets Tutorial

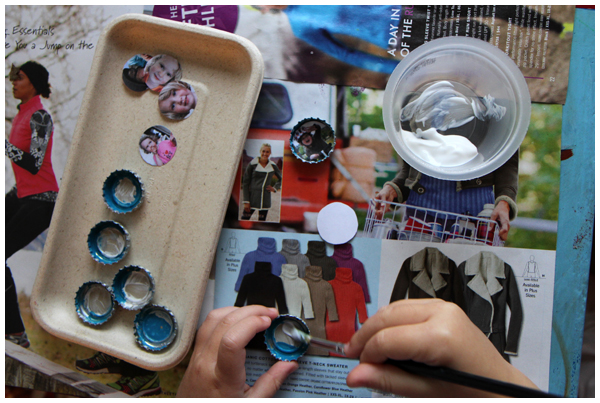
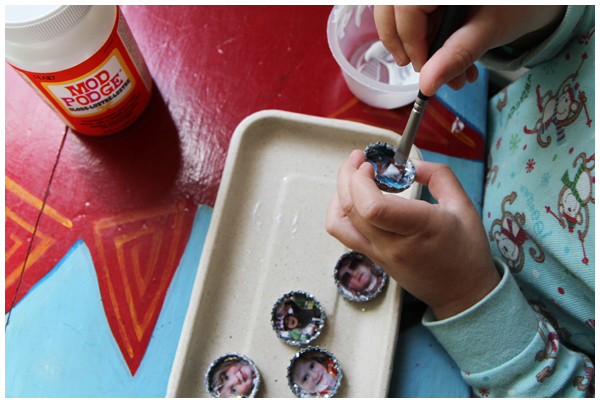
Then we mod podged the circular photos to the inside of bottle caps. After they dried, we sealed the photos by painting another layer of mod podge on top:

Picture Bottle-Cap Magnets Tutorial

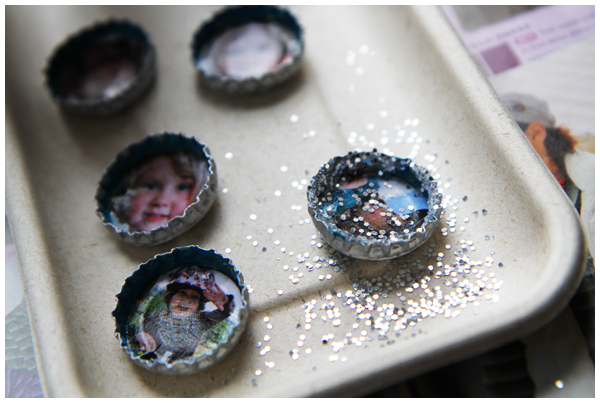
We put glue around the inside lip of the caps (just barely touching the photos inside) and sprinkled silver glitter over the top:

Picture Bottle-Cap Magnets Tutorial

After the glue dried, we shook off the extra glitter and painted one final coat of mod podge to seal the glitter on:

Picture Bottle-Cap Magnets Tutorial

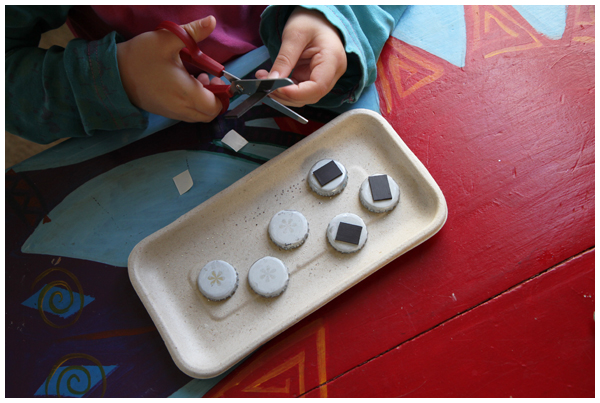
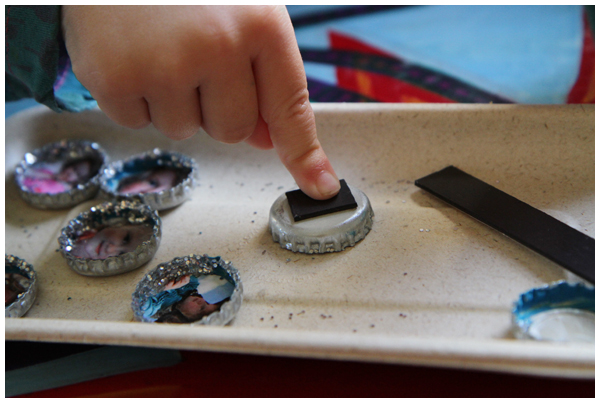
We cut small magnets (from magnetic strips) and adhered them to the back of the bottle caps:

Picture Bottle-Cap Magnets Tutorial

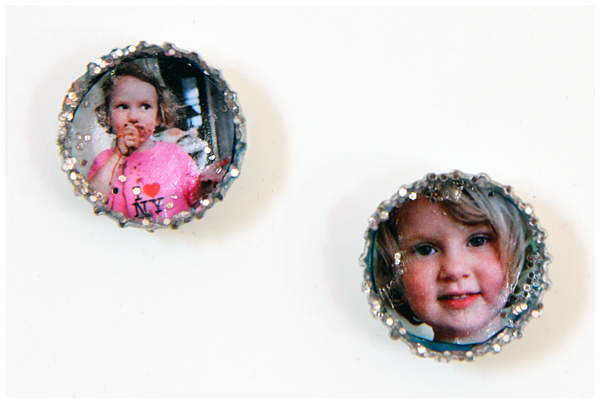
Ready to use! (Or send off to the relatives.)

Picture Bottle-Cap Magnets Tutorial

I’m not gonna lie. We did save two for ourselves. They were entirely too cute to give away.

Now to save up bottle-caps so we can make some more…

Updated 1/13: Click here for more tips and helpful ideas in making these magnets!
Pinned: Inspired Wreath Crafts

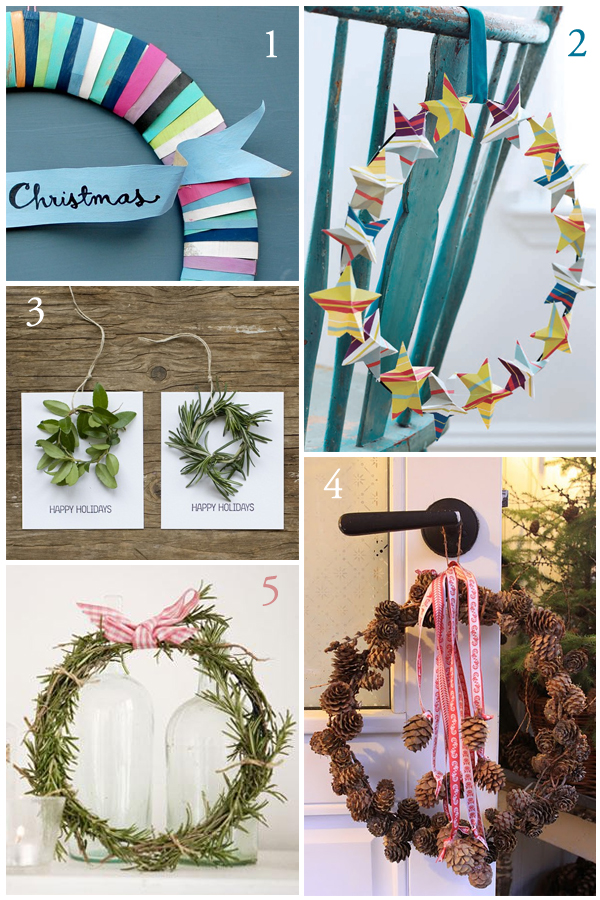
I love these outside-of-the-box, do-it-yourself wreath ideas:


Featured above:
1. DIY Paper Bag Wreath
2. DIY Paper Star Wreath
3. Mini Wreath Holiday Cards
4. Pine Cone Wreath
5. Simple Rosemary Wreath

View these and many more winter holiday inspired pins on my winter Pinterest board.

(images obtained via Pinterest)

Giveaway: Super Natural Every Day Cookbook

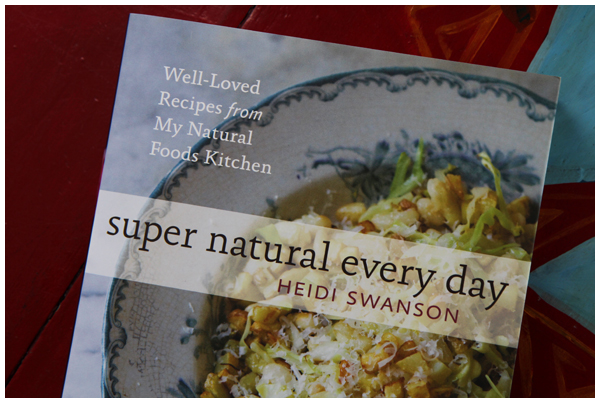
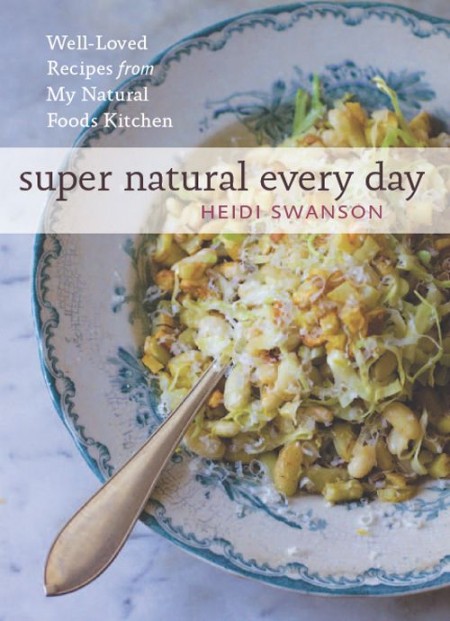
I’ve written before about my love of Heidi Swanson’s cookbooks and her award-winning recipe site, 101 Cookbooks. To shake things up here on the Creative Salad, I thought it would be fun to offer a giveaway of her most recent cookbook, Super Natural Every Day: Well-loved Recipes from My Natural Foods Kitchen that was published earlier this year.

Super Natural Every Day Cookbook

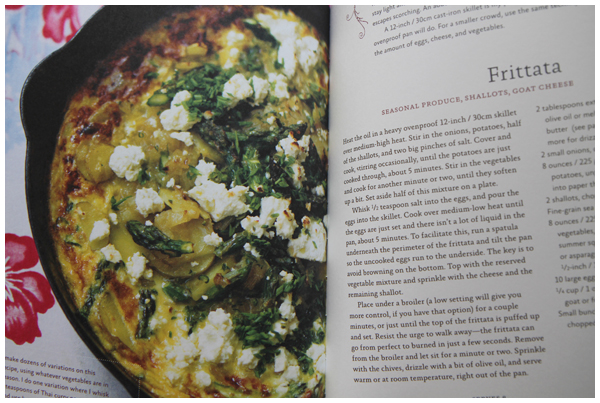
I love this book for its healthy, flavorful recipes that the whole family can enjoy. Plus the pictures are pure eye candy.

Super Natural Every Day Cookbook

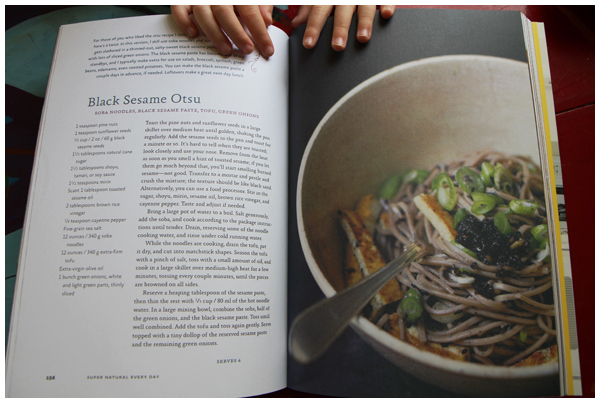
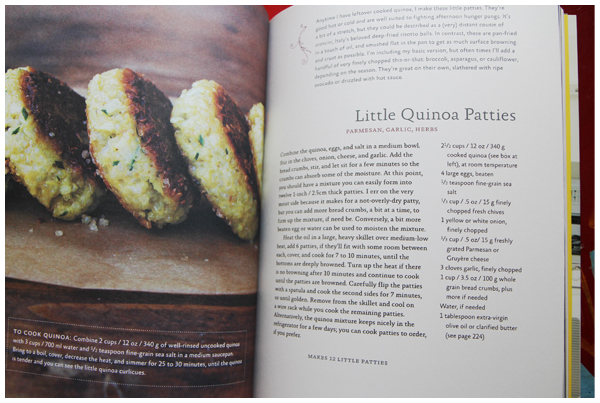
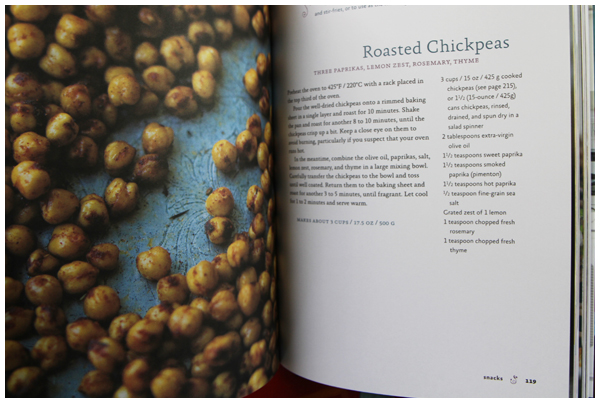
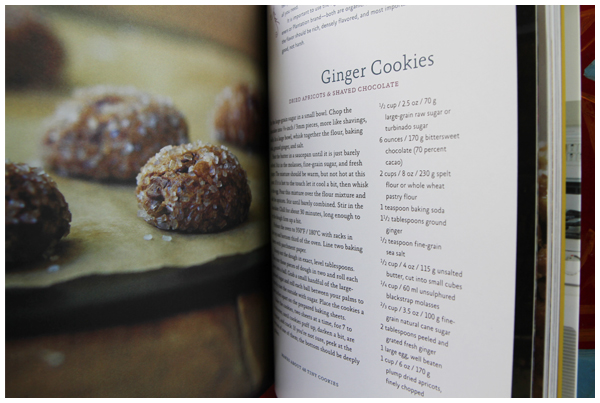
Here’s a peak inside this beautiful book.

Super Natural Every Day Cookbook

Everyone has three chances to win. Here’s how:

1. To enter to win, please leave a comment on this post. If you feel so inclined, we’d love to hear about any great new recipes you’ve tried lately in the kitchen.

2. For an extra entry, ‘Like’ The Creative Salad on Facebook. Then come back and leave another comment here, letting us know that you did so.

3. For another extra entry, subscribe to the Creative Salad RSS feed to never miss a post. Then come back and leave another comment here, letting us know that you did so.

This giveaway will end on Saturday, December 10th.

Super Natural Every Day Cookbook

Good luck!

Updated 12/11
Congratulations to Becca! I’ll email you directly and ship the book off to you asap!

Kale Salad with Lemon Tahini Dressing Redux

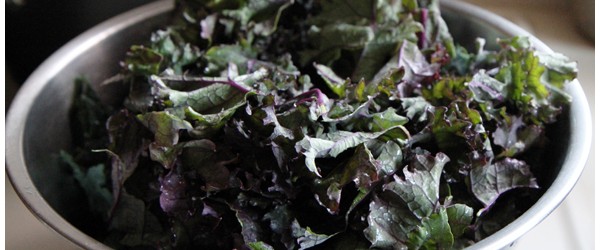
I’ve written before about our favorite Kale Salad recipe.

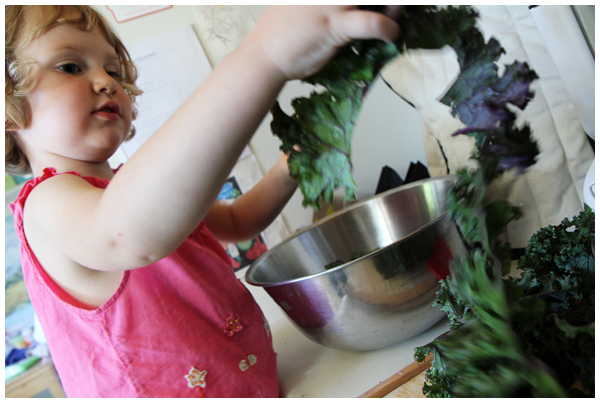
Making Kale Salad

Each Sunday we mix up a giant batch to enjoy through the week.

Making Kale Salad

In a previous post, I linked to the original recipe source, but since so many friends have asked me to specifically publish our take on the recipe, I thought I’d share our adaptation of Kale Salad with you.

What I love most about this particular recipe is that I feel so good after eating it! I don’t know if it’s the extra B vitamins (from the nutritional yeast) or the raw veggies, but it agrees so well with me.

As a busy person, I also appreciate the flexibility of this recipe. You really can add whatever veggies and nuts you have in your garden, fridge or cupboard. You can’t go wrong. It’s incredibly tasty and easy (although a bit time consuming) to make. Trust me, you’ll make this salad again and again.

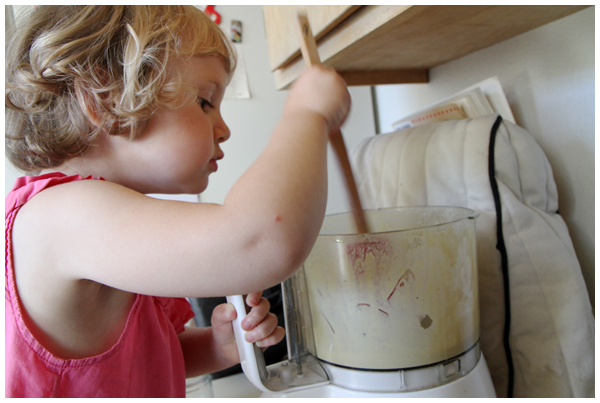
Lemon-Tahini Dressing

We use this dressing on everything: macro bowl of veggies and brown rice, salads, tofu, steamed veggies. It’s versatile and delicious! We usually double (or triple!) the recipe below and make a big batch of dressing for the week.
Ingredients:

1/4 cup Tahini
1 garlic clove
1/4 cup fresh lemon juice
1/4 cup nutritional yeast
2 tbsp olive oil
1 tsp salt
freshly ground black pepper
4 tbsp water

Mix all ingredients in a food processor and puree until smooth.

Kale Salad

In addition to the vegetables listed below, you could add any others you find in your garden or fridge: sugar snap peas, tomatoes, bell pepper, squash or zucchini.

Ingredients:

1 large head of kale
1 cup red onion, finely chopped
1/2 cup carrot, diced
1 cucumber, sliced
1 avocado, diced
1/2 cup raisins, dried cranberries or dried cherries
1/4 cup hemp seed, optional
2/3 cup walnuts, roasted and chopped
14 oz chickpeas, salted
1 cup cooked brown rice, optional

First, remove the stems/veins from the kale (the bitter part!) and break each leaf into several small pieces. Wash and dry kale.

Kale salad recipe

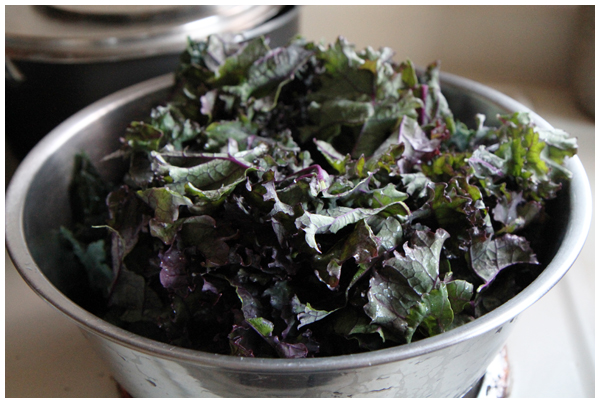
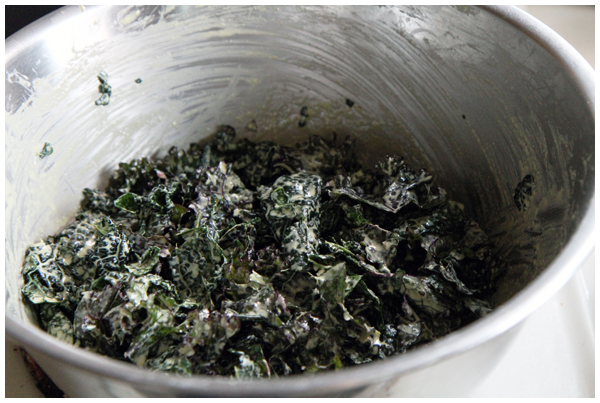
Add dressing to the kale and massage with your bare hands for 5-10 minutes (this is important to break down the kale and make it a bit more digestible!). The kale will reduce from a giant bowl to a much smaller amount:

Kale salad recipe

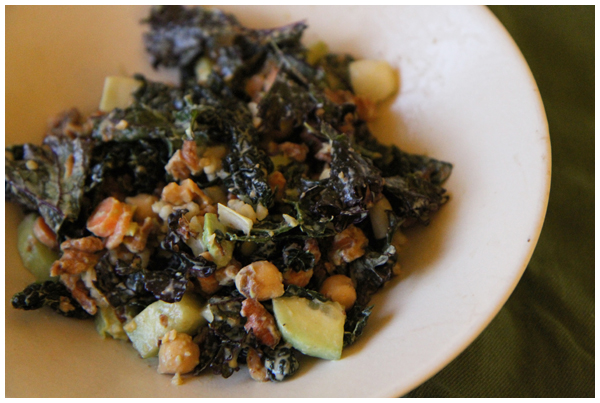
Add remaining ingredients to the salad.

Either eat immediately, or cover, refrigerate and use within three days.

Kale salad recipe

Savor and enjoy!

DIY Felt Tree Ornaments

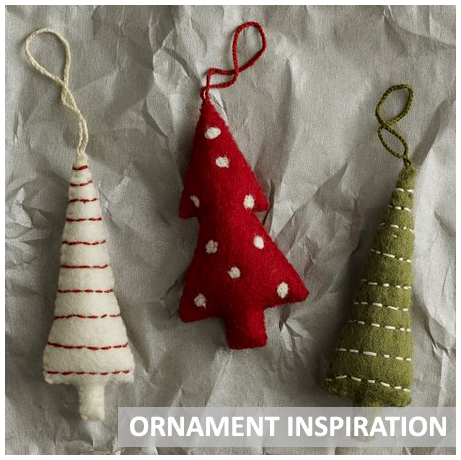
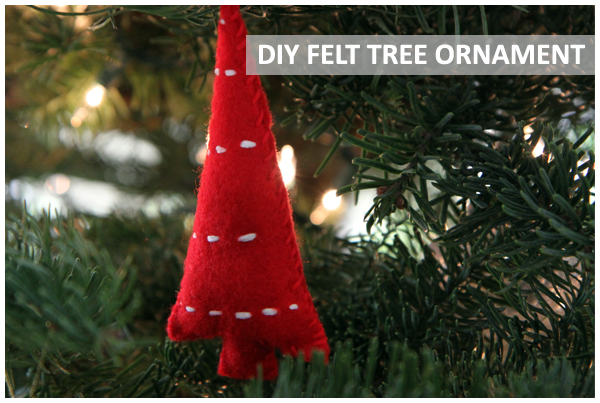
I spotted these adorable felt tree ornaments and immediately set about sewing our own.

DIY Felt Tree Ornaments

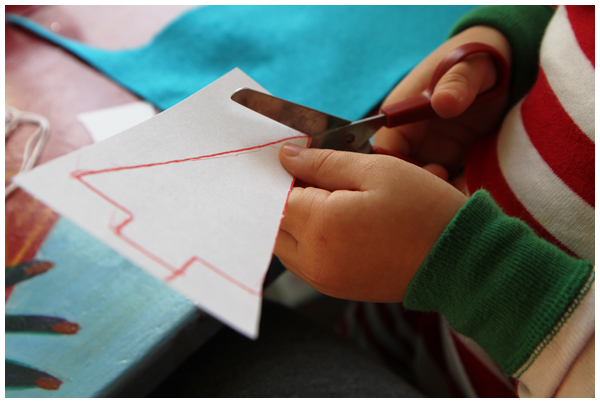
First we drew and cut out a tree template on thick paper:

DIY Felt Tree Ornaments

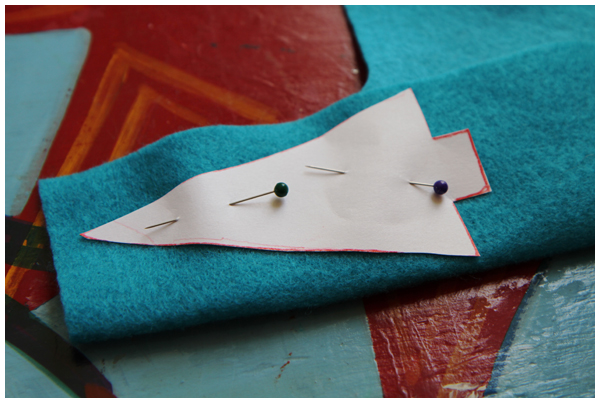
We then pinned the tree template to two layers of felt and cut around the template:

DIY Felt Tree Ornaments

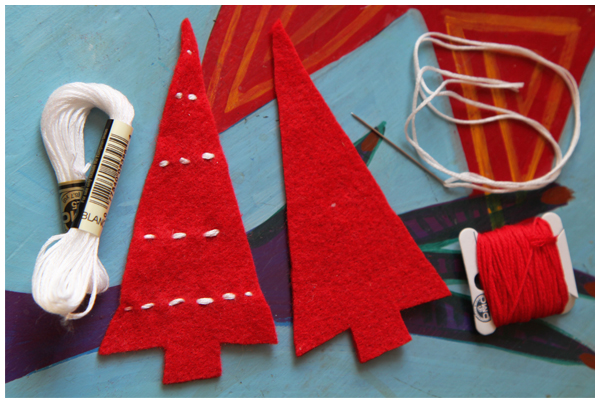
We embroidered a design along one side of one of the felt trees:

DIY Felt Tree Ornaments

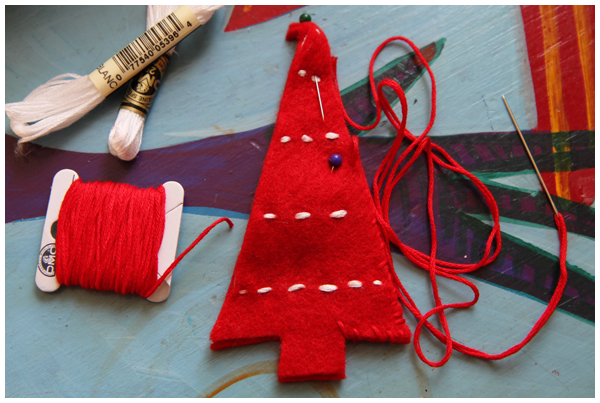
We pinned the two trees together and whip stitched them together, sewing along the outline of the tree, stuffing it up as we made our way around:

DIY Felt Tree Ornaments

After sewing up the tree ornament, we made a loop at the top before tying off the embroidery thread:

DIY Felt Tree Ornaments

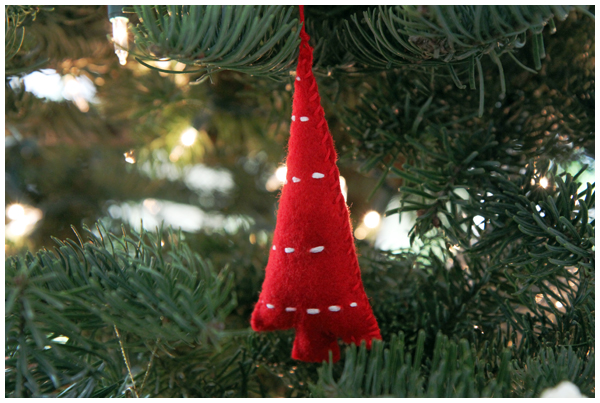
Beautiful!

DIY Felt Tree Ornaments

Our simple, stylish felt tree ornaments feel more special to our family because we made them ourselves.

Don’t have time to sew this ornament? Buy them online at West Elm.