Fabric Procured, Sewing to Be Done

We’re restoring a family heirloom, the dollhouse made for my husband’s grandmother when she was a little girl. Click here to see all the posts about our Dollhouse Redux Project.

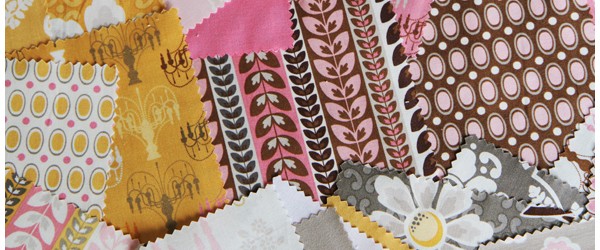
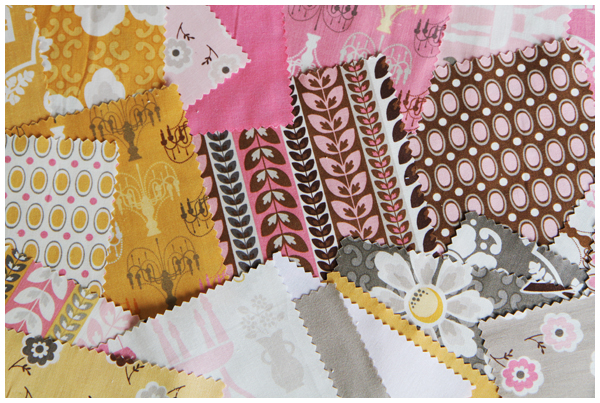
On a whim I ordered two Daisy Cottage 5″ Stackers designed by Lori Holt of Bee in My Bonnet. I really love the combination of pink, gray and yellow; three colors I don’t typically think of going well together. In this case, boy do they!

Fabric to use in the dollhouse

Now I have the following sewing projects to complete begin:
– curtains,
– bedspread,
– pillows for the bed and living room chairs, and
– I’m hoping to sew a mini cushion or pouf.

After all, you never know when our dollhouse family might want to curl up on the floor with a good book. That certainly sounds appealing to me.

Inspired by the Colors of Autumn

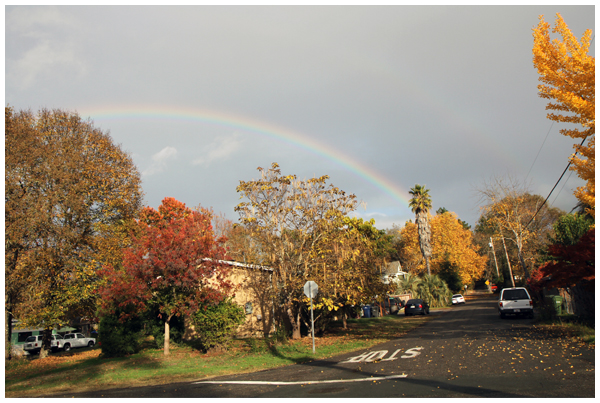
Autumn has arrived in California’s wine country and the leaves are finally changing their colors.

Inspired by the Colors of Fall

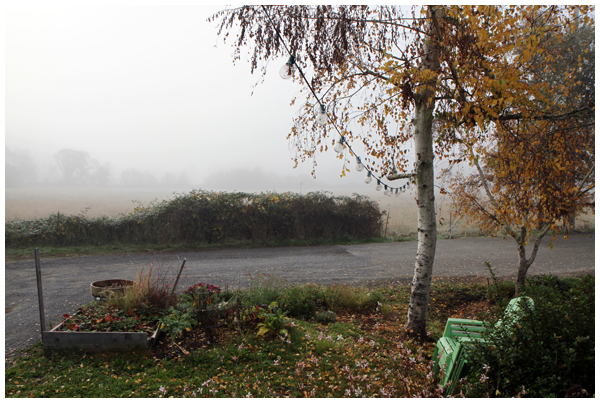
We wake up each morning to coastal fog obscuring (enhancing?!) the view from our porch.

Inspired by the Colors of Fall

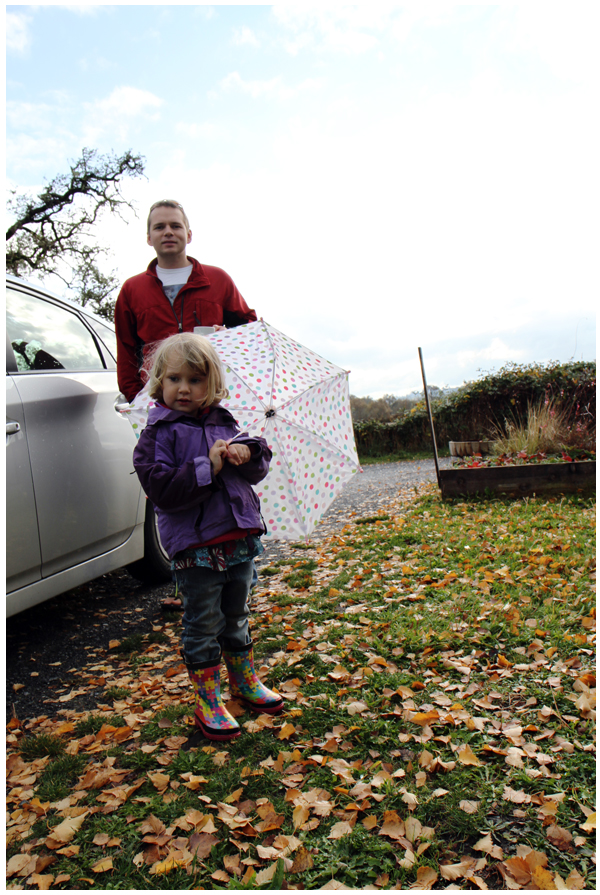
We carry rain coats and umbrellas with us, never knowing if the fog will burn off or if it merely is hiding the winter rains.

Inspired by the Colors of Fall

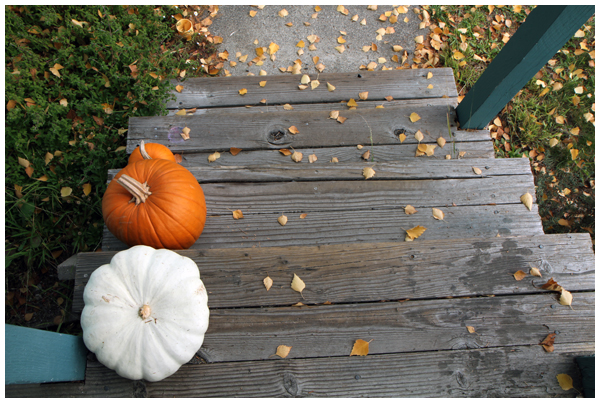
Suddenly the idea that we’ll be celebrating Thanksgiving doesn’t seem that far-fetched. (It’s so much harder to imagine when it’s 70 degrees out!).

Inspired by the Colors of Fall

Everywhere I go I feel inspired by this brilliant display nature puts on for us each fall. The deep reds, brilliant oranges, and warm yellows that greet us everywhere we go.

Inspired by the Colors of Fall

We feel so lucky to live here.

Company Cheesecake Recipe

I love making this simple, quick cheesecake for special occasions. We served it at our wedding, make it each year for Thanksgiving and Christmas, and mix it up for special occasions like birthdays and anniversaries. My mother-in-law taught this one to me; straight out of her long-faded Betty Crocker cookbook (it’s such an old recipe that it’s not even available on the Betty Crocker website).
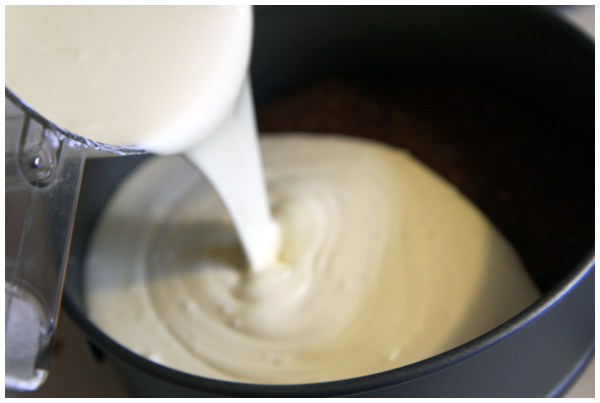
Making Company Cheesecake

What I love about this particular cheesecake is that it’s easy to make and completely non-fussy. It doesn’t matter if you have bubbles or cracks in the top because you’ll be completely covering the top with cherry, strawberry, or mandarin orange glaze. With a fruit glaze on top, you can’t go wrong.

We’ve made various adjustments to the recipe over the years, so I’ve included our new (and gluten-free) recipe, in addition to the original Betty Crocker recipe as taught to me by my mother-in-law (thank you, Diana!).
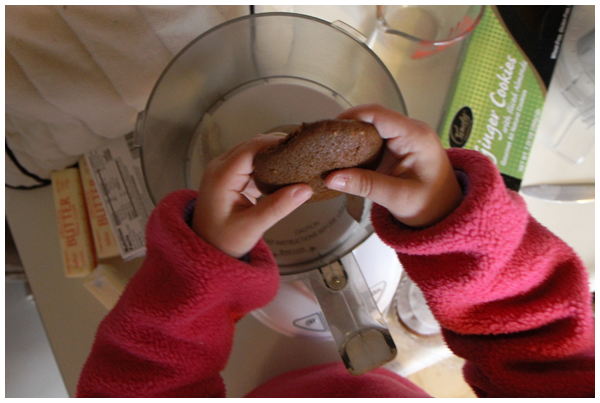
Making Company Cheesecake

Company Cheesecake with a Gingersnap Crust
My take on the Betty Crocker classic.

1 1/4 cups of Mi-del Gluten-Free Ginger Snaps (or any other ginger snap cookies) crumbs
3 tablespoons melted butter

1 package (8 ounces) of full-fat cream cheese, softened
1 package (8 ounces) plus 1 package (3 ounces) of low-fat cream cheese (Neufchatel), softened
1 cup sugar
1/4 teaspoon vanilla
3 eggs

1 cup dairy sour cream or fruit glaze

1. Heat oven to 350 degrees Fahrenheit. Stir together cracker crumbs and the melted butter. Press mixture evenly in bottom of 9″ springform pan. Bake 8-10 minutes; cool.

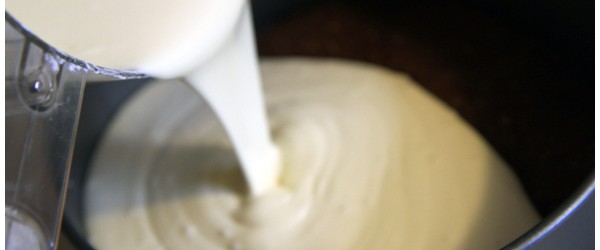
2. Reduce oven temperature to 300 degrees Fahrenheit. Beat cream cheese in large mixer bowl or food processor. Gradually add 1 cup sugar, beating until fluffy. Add vanilla. Beat in eggs, one at a time. Pour over crumb mixture.

3. Bake one hour or until center is firm. Cool to room temperature. Spread with sour cream or glaze. Chill at least 3 hours. Loosen edge of cheesecake with knife before removing side of pan.
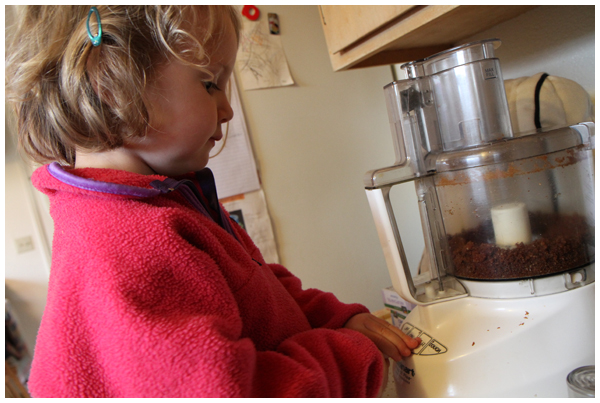
Making Company Cheesecake

Classic Company Cheesecake

1 1/4 cups of graham cracker crumbs (about 15 crackers)
2 tablespoons sugar
3 tablespoons butter or margarine, melted

2 packages (8 ounces each) plus 1 package (3 ounces) cream cheese, softened
1 cup sugar
2 teaspoons grated lemon peel
1/4 teaspoon vanilla
3 eggs

1 cup dairy sour cream or fruit glaze

1. Heat oven to 350 degrees Fahrenheit. Stir together graham cracker crumbs and 2 tablespoons sugar. Mix in butter thoroughly. Press mixture evenly in bottom of 9″ springform pan. Bake 10 minutes. (Optional: pour bag of chocolate chips into the pan, put back in the oven to melt.) Cool.

2. Reduce oven temperature to 300 degrees Fahrenheit. Beat cream cheese in large mixer bowl. Gradually add 1 cup sugar, beating until fluffy. Add lemon peel and vanilla. Beat in eggs, one at a time. Pour over crumb mixture.

3. Bake one hour or until center is firm. Cool to room temperature. Spread with sour cream or glaze. Chill at least 3 hours. Loosen edge of cheesecake with knife before removing side of pan.

Strawberry Glaze (the only one of the three glazes that I’ve tried)

Mash enough fresh strawberries to measure 1 cup. Blend 3/4 cup sugar and 3 tablespoons cornstarch in a small saucepan on the stove. Stir in 1/3 cup water and the strawberries. Cook, stirring constantly, until mixture thickens and boils. Boil and stir one minute. Cool thoroughly.

Cherry Glaze

Drain 1 can (1 pound) of pitted red tart cherries, reserving liquid. Add enough water to cherry liquid to measure 1 cup. Mix 1/2 cup sugar and 2 tablespoons cornstarch in a small saucepan. Stir in the 1 cup liquid. Cook, stirring constantly, until mixture thickens and boils. Boil and stir 1 minute. Remove from heat; stir in cherries and 4 drops of red food color (optional!). Cool thoroughly.

Mandarin Orange Glaze

Follow the above glaze recipe, substituting the juice from the oranges (which are in a light syrup) instead of water, plus a dash of rum. Add the oranges at the end.
Rolling Beeswax Candles

As the days grow shorter, and in anticipation of the approaching holidays, we decided to make our own rolled beeswax candles.

Rolling Beeswax Candles

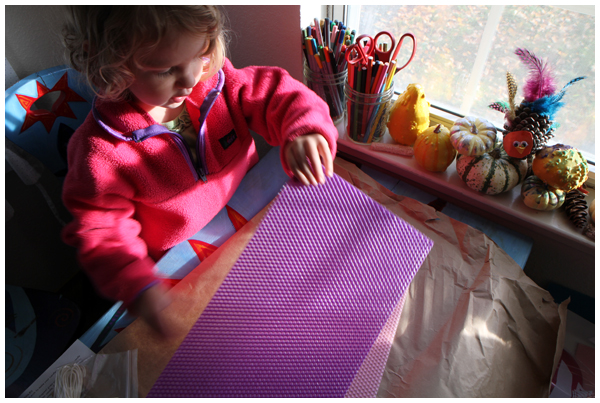
We bought beeswax sheets in a honeycomb design from our local honey and beekeeping supplies store. (Don’t have a beekeeping store near you? You can buy a candle rolling kit here.) We also bought non-toxic pre-waxed wicks that are free of zinc and lead.

(To test for lead or zinc in a wick, press the wick into a piece of paper and drag it while pressing with your finger. If it leaves a mark on the paper, it probably contains things you wouldn’t want to breath.)

Rolling Beeswax Candles

After cutting the wax sheets to size, we measuring wicks for each candle allowing for an extra 3/4″ to extend beyond the candle. We then used a hair dryer (set on low) to warm the sheet for 30-60 seconds, until it became more flexible, less prone to breaking, and easier to roll.

Rolling Beeswax Candles

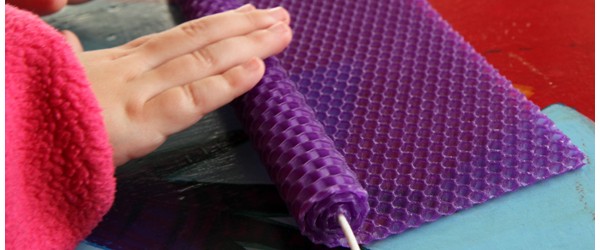
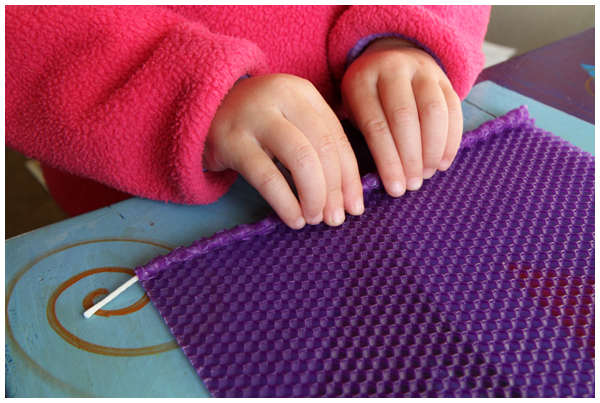
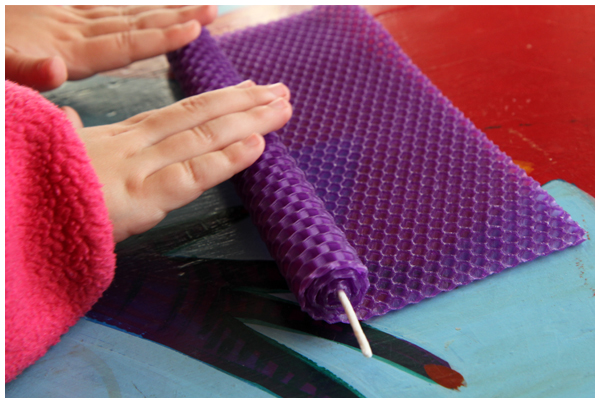
We laid the wick along the edge of the sheet (making sure to leave the extra length hanging over one side) and then rolled the wick tightly into the wax. We then rolled the rest of the sheet lightly, ensuring that our candle didn’t take on an oval shape that occurs when you press or roll too hard. We slowly rolled up the candle, making sure the edges stay straight so that the candle has a level base on the bottom edge.

Rolling Beeswax Candles

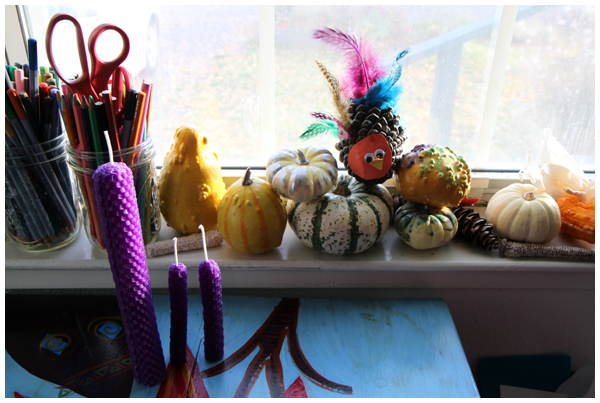
Once fully rolled, we pressed and smoothed the top in towards the wick, and pressed the bottom against the table to flatten the base. We trimmed the wick 1/2″ from the top and placed it into a candle holder, ready for use!

Rolling Beeswax Candles

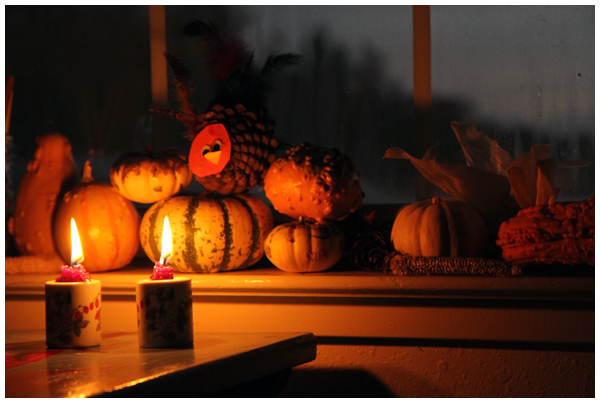
Whether you decide to dress them up (using colorful wax or glitter) or keep them plain (as we did), handmade candles are meant to be used — not just displayed!

Rolling Beeswax Candles

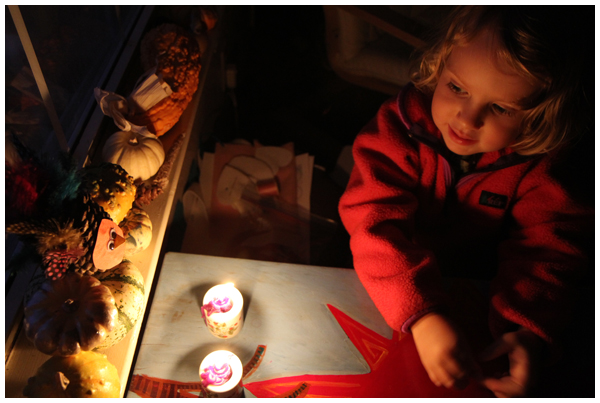
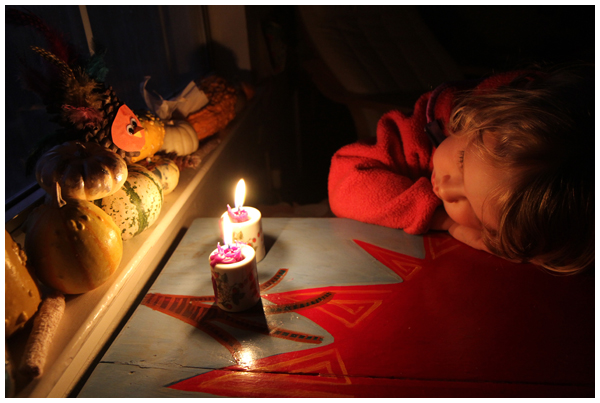
We’ve so enjoyed lighting ours.

Rolling Beeswax Candles

Homemade candles feel so much more special than store bought ones. For us, it’s as though we are bringing a bit of homemade light into our house as we head into this dark, winter season!