New (Old) Dollhouse Furniture

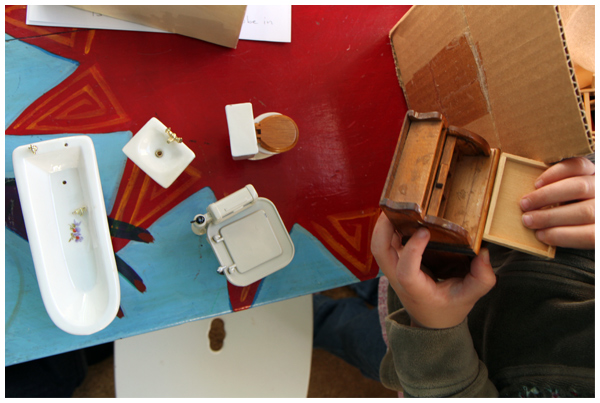
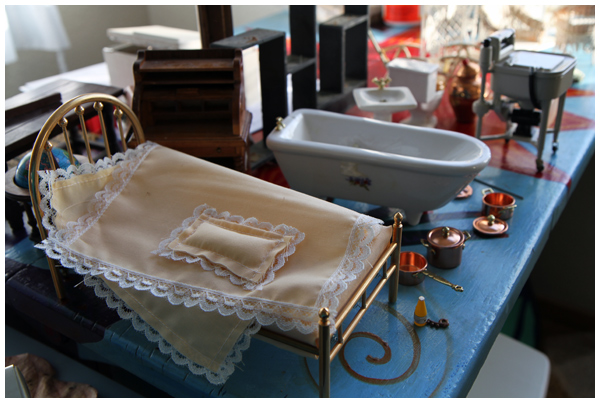
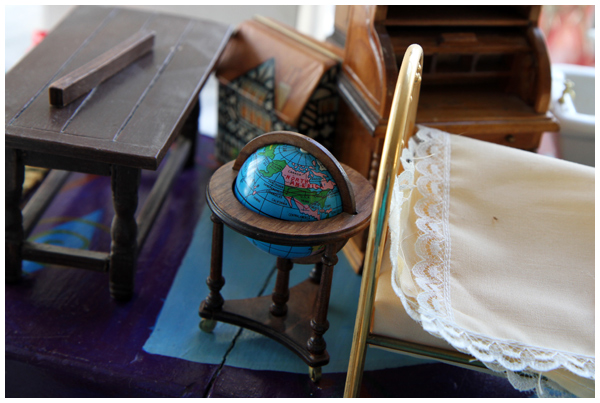
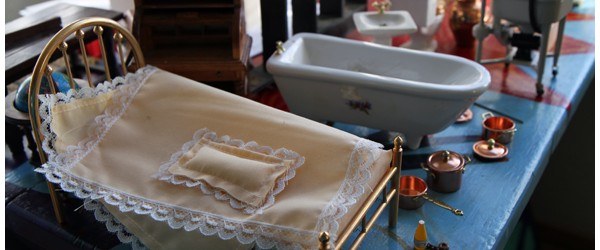
Earlier this week six pounds of dollhouse furniture arrived in a giant box from my mother-in-law in New Mexico.

Dollhouse furniture to clean and restore

Our daughter loved unwrapping and playing with each item that had belonged to her great-grandmother. In fact, many of items were handmade, making them even more special for our family.

Dollhouse furniture to clean and restore

Now we’re beginning the process of cleaning and lovingly restoring much of the furniture.

Dollhouse furniture to clean and restore

Last night’s project involved some cute chairs and pink paint and that’s all I’m going to say about THAT until the big reveal. Stay tuned…

Easy Kale Chips Recipe

I’m ashamed to admit that I’ve been buying those tiny yet expensive ($7!) bags of raw kale chips at Whole Foods. I know they’re ridiculously over priced for such a little bag of kale goodness, but they’re just so tasty and tempting. Especially when I need to bring a quick snack on an outing with friends. We all love them so.
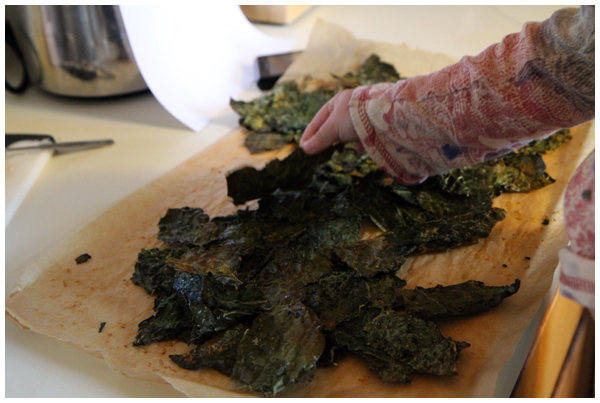
Making kale chips together from scratch

Well, a friend encouraged me to make them from scratch at home and now that I’ve discovered just how easy (and CHEAP!) making kale chips can be, I doubt I’ll ever buy a bag from the store again.
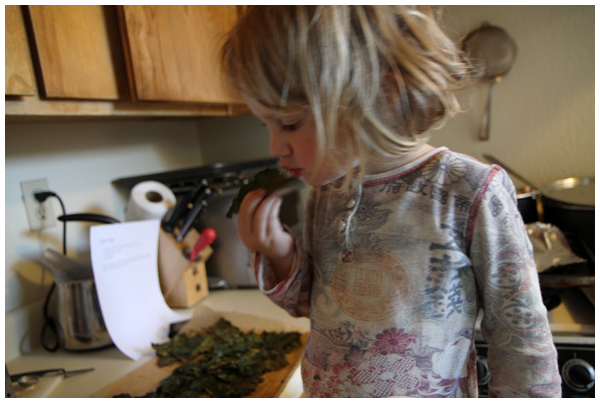
Making kale chips together from scratch

I know the idea of kale chips may sound weird, but trust me — they are delicious and you must try them! Even our daughter loves them and UNTIL NOW she has had an aversion to dark leafy greens. (And you know that’s been killing me!)

Making kale chips is so simple, quick, and tasty. Here’s what you do.

Kale Chips

1 bunch kale – wash, dry fully, remove stems, and tear into 3 to 4 inch pieces
1/2 tablespoon apple cider vinegar
1 tablespoon olive oil
2 tablespoons nutritional yeast (or Parmesan cheese)
Pinch of sea salt
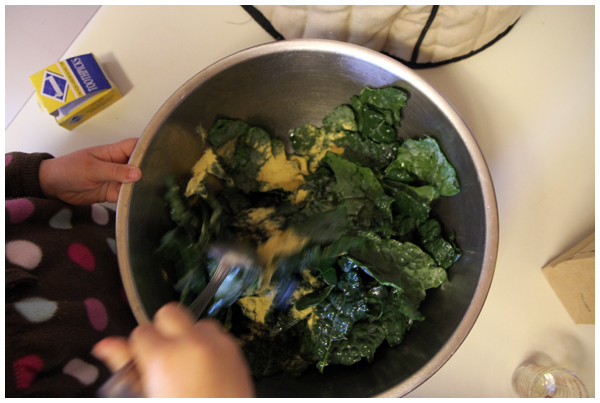
Making kale chips together from scratch

To make them quickly:
Heat oven to 375 250 degrees. Mix vinegar and oil, pour over kale and toss to coat evenly. Sprinkle in cheese/yeast and salt. Toss again until kale is evenly coated. Spread in a single layer onto a baking sheet, and bake for approximately 15 20-30 minutes or until just crisp.
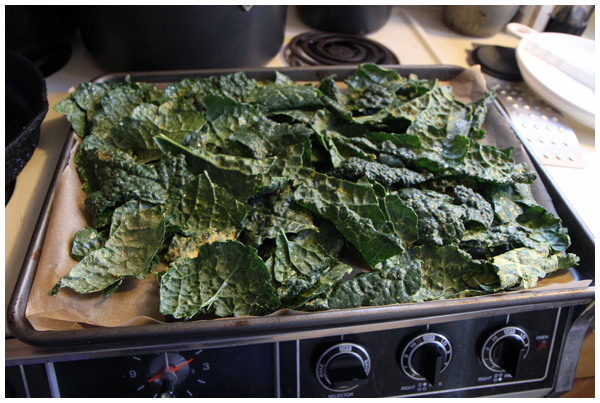
Making kale chips together from scratch

To make them raw:
Mix vinegar and oil, pour over kale and toss to coat evenly. Sprinkle in cheese/yeast and salt. Toss again until kale is evenly coated. Spread in a single layer onto a baking sheet, and dehydrate at 115 degrees for 4-6 hours until crispy.
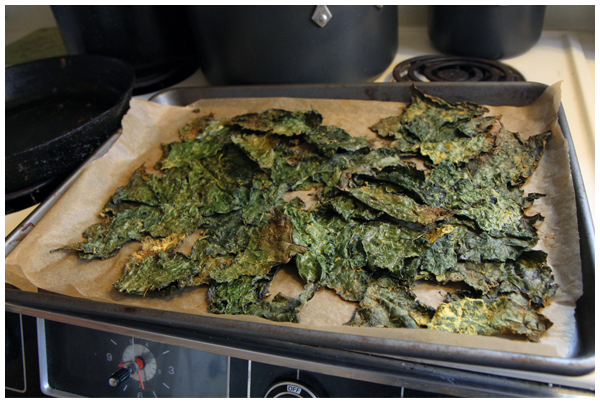
Making kale chips together from scratch

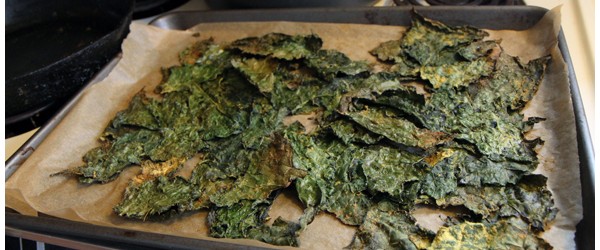
Enjoy them on their own or crumbled on top of quinoa, baked potatoes, pasta dishes or salads. This particular batch didn’t last ten minutes in our house. We all went to town.

Recipe from Eat Drink Better.
Leaf Rubbings and Characteristics Activity

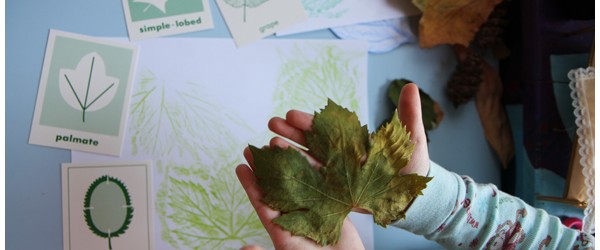
We’ve been having such fun this fall playing with leaves and making all sorts of autumn-themed art projects. Here’s a simple one that’s also educational: categorizing simple leaf rubbings. Think of it as an art project with a Montessori twist!

Leaf rubbings and characteristics homeschooling activity

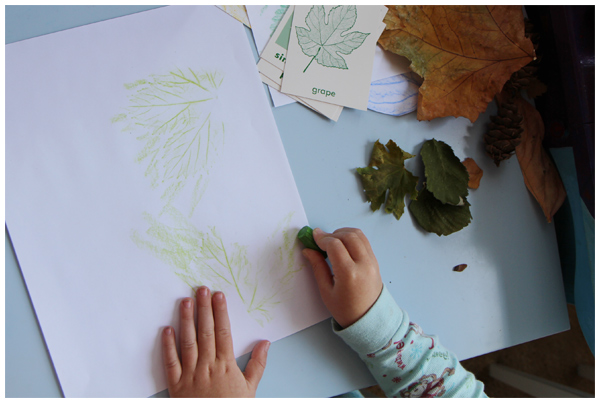
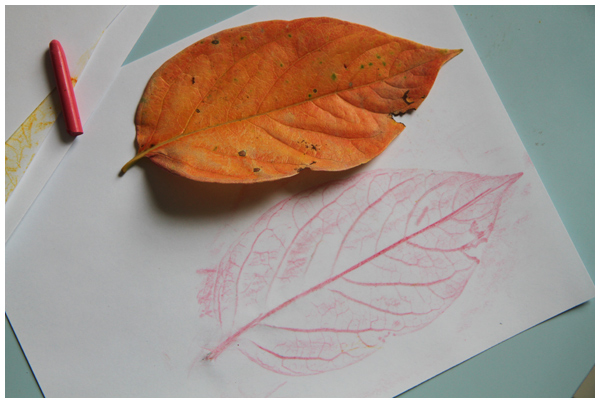
First, to make a leaf rubbing you simply place a leaf under a plain piece of paper, then rub a crayon along its side over the top of the paper. Voilà! A leaf shape appears!

Leaf rubbings and characteristics homeschooling activity

We found that these Clementine Art soy crayons were BY FAR the easiest ones to use because they are softer than the typical Crayola crayon variety. That being said, use what you have! Any crayon will work.

Leaf rubbings
Above: gigantic persimmon leaves

Collecting leaves and making rubbings has occupied many mornings over the past few weeks.

Leaf rubbings
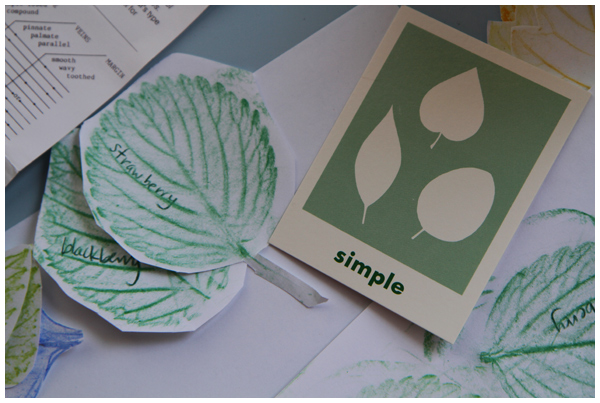
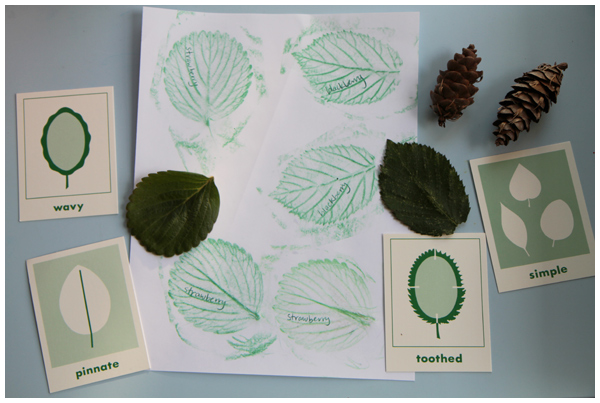
Above: blackberry and strawberry leaves from our garden

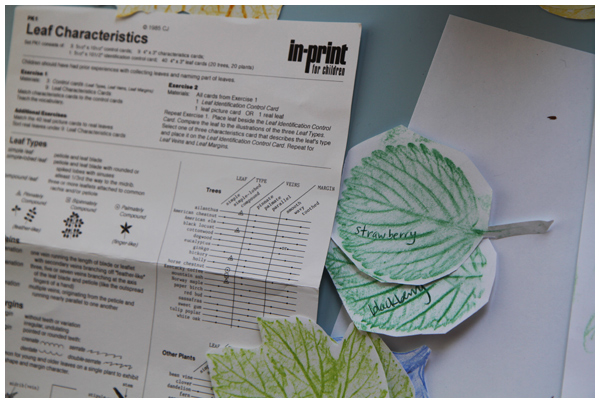
After making our rubbings, we wrote the names of each leaf on the rubbings, then set about characterizing the leaves.

Leaf rubbings and characteristics homeschooling activity

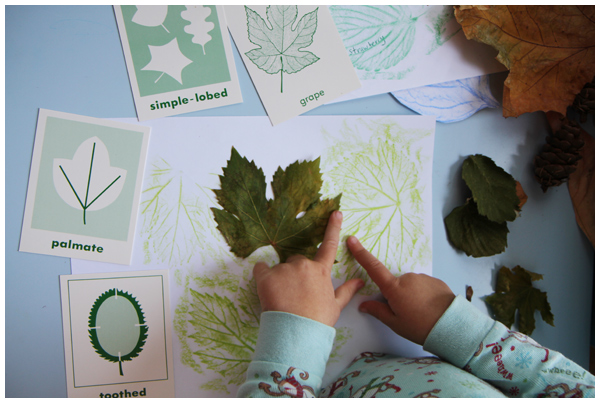
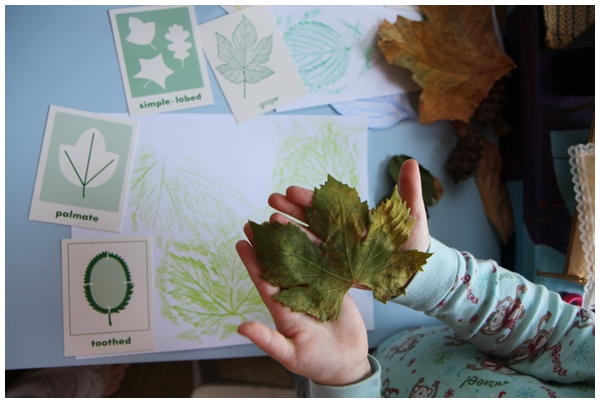
We described the leaf type (simple, simple-lobed, compound), veins (pinnate, palmate, parallel), and margins (smooth, wavy, toothed) with the help of In-Print for Children’s Leaf Characteristics set (available and currently on sale at the locally owned and operated Montessori Services).

Leaf rubbings and characteristics homeschooling activity

A very Montessori activity that has been educational for both mama and child.

Leaf rubbings and characteristics homeschooling activity

As far as our daughter is concerned, classifying leaves is a fun game!

“Let’s do more, Mama! What leaves have wavy leaf margins?!”

Now to find a ginkgo growing in the neighborhood…

Red Glitter Clothespins Tutorial

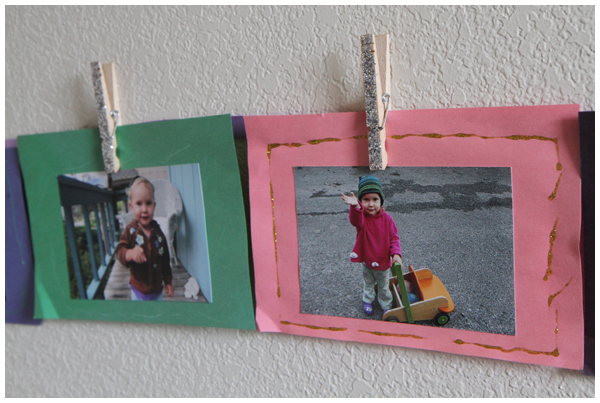
Over the years we’ve discovered that you can never have too many clothespins in the house: for drying laundry on the line, for pinning up photos, for hanging artwork, for closing chip bags in the pantry.

DIY Silver Glittery Clothespins

And glittery clothespins?! Well, the girls in this house love how fun they are. The three year old especially is all about the sparkle.

So we decided to make a red version of the silver glitter clothespins we made last winter.

DIY Red Glitter Clothespins

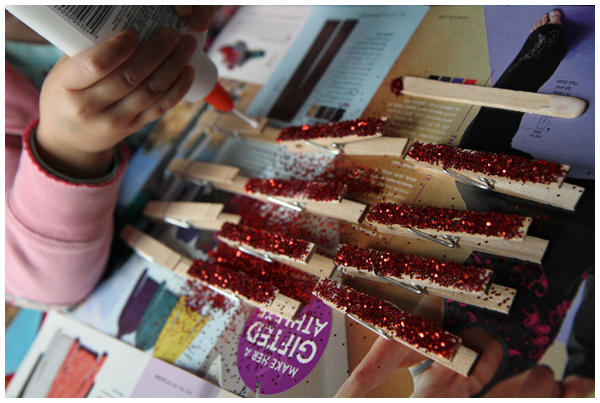
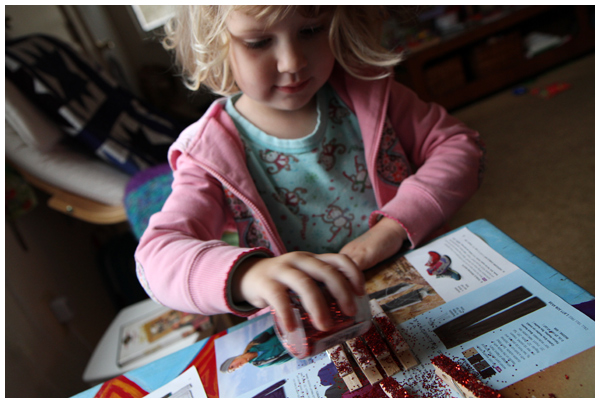
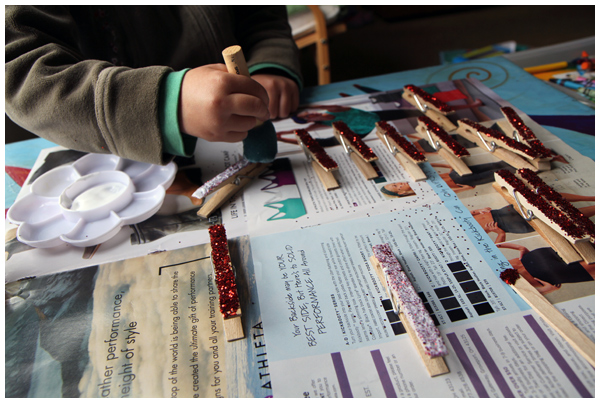
We spread plain Elmer’s glue on one side of the clothespins, and then sprinkled red glitter over the top.

DIY Red Glitter Clothespins

After letting them dry for a few hours, we covered the glitter with glossy Mod Podge to seal the glitter on.

DIY Red Glitter Clothespins

The Mod Podge took away a little of the shine, but at least we don’t have glitter all over the house.

DIY Red Glitter Clothespins

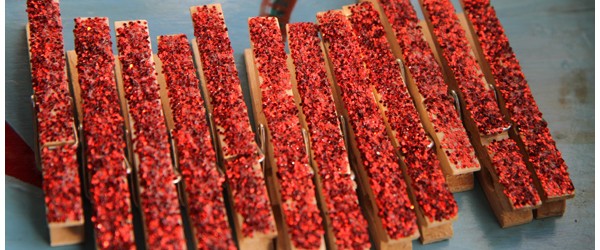
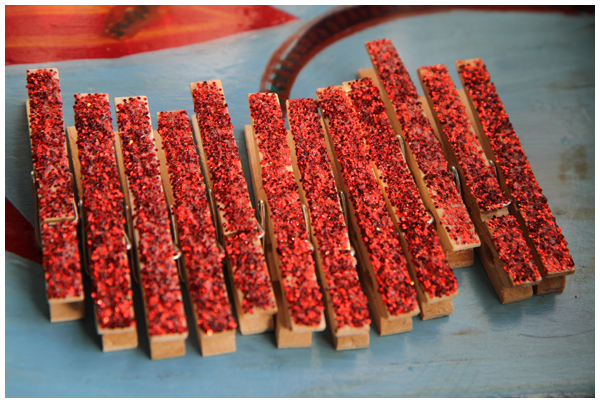
Here they are: our red, glittery clothespins, perfect for the holidays or simply to add some more sparkle to a little girl’s room.